Geoff Wrote:
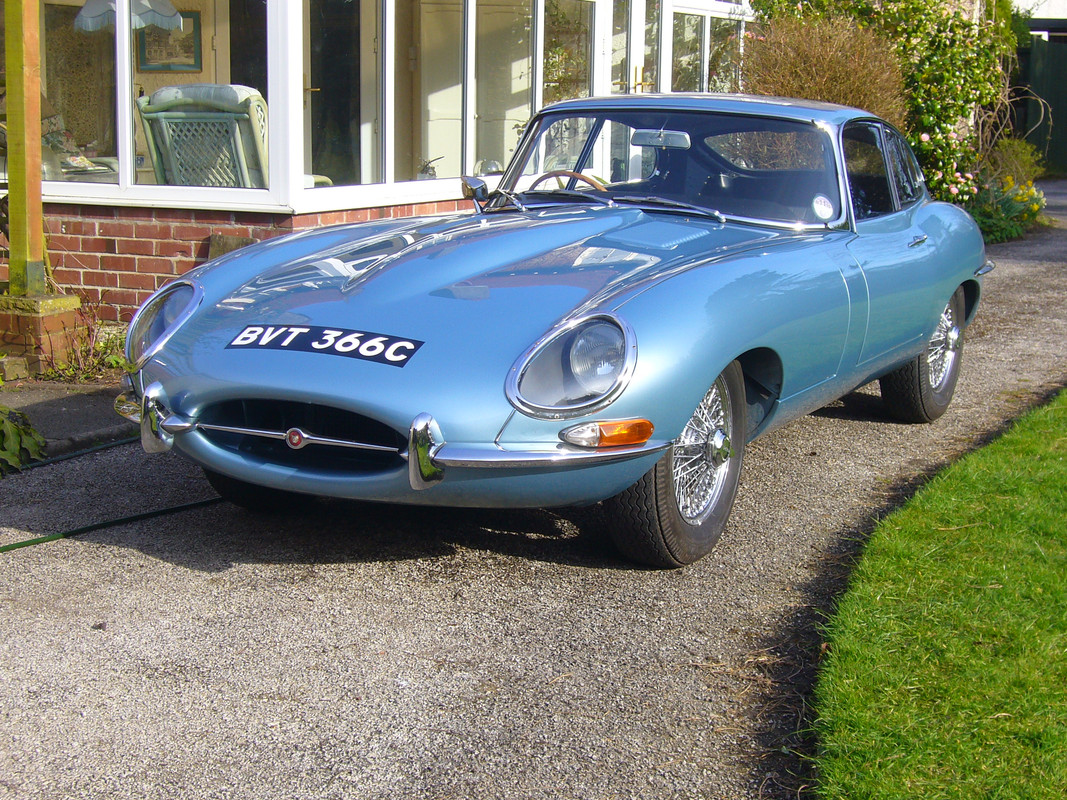
The S1 cars show a panel gap between the centre and side panels below the headlights, but the later cars with open headlights have this filled in.
Does anyone know the reason why?
Do any restorers leave the gap open on the later cars?
An open gap lets the sections be fully painted before assembly, but if the gap is filled the bonnet must be painted after assembly.
Any thoughts or comments would be interesting to read.
Hello Geoff,
I suspect that it was a case of expediency when the change to open headlights and the narrow chrome moulding surround came about.
I operate an E Type restoration business in Australia and unless otherwise instructed, complete the restoration true to how the car left the factory, but with a much better build quality.
In the factory, this join was merely filled over with lead. I've seen some restored cars that have had this joint brazed and then filled, but once the joint is brazed, it's a cow of a job if for some reason the wings have to be removed.
When we fill this area, we thoroughly clean the two flanges through which the bolts pass, tin the surfaces using 50/50 solder, assemble the bonnet and ensure a correct fit, then run 50/50 solder into the joint. When completed, the whole area is cleaned of all traces of soldering flux, before metal prepping and priming. This is a better process than just lead wiping over the joint.
On the occasions when the instruction is to leave the joint unfilled, seam sealer is applied prior to paint. Tomorrow, I can Post a picture showing how this looks.
Regards,
Bill