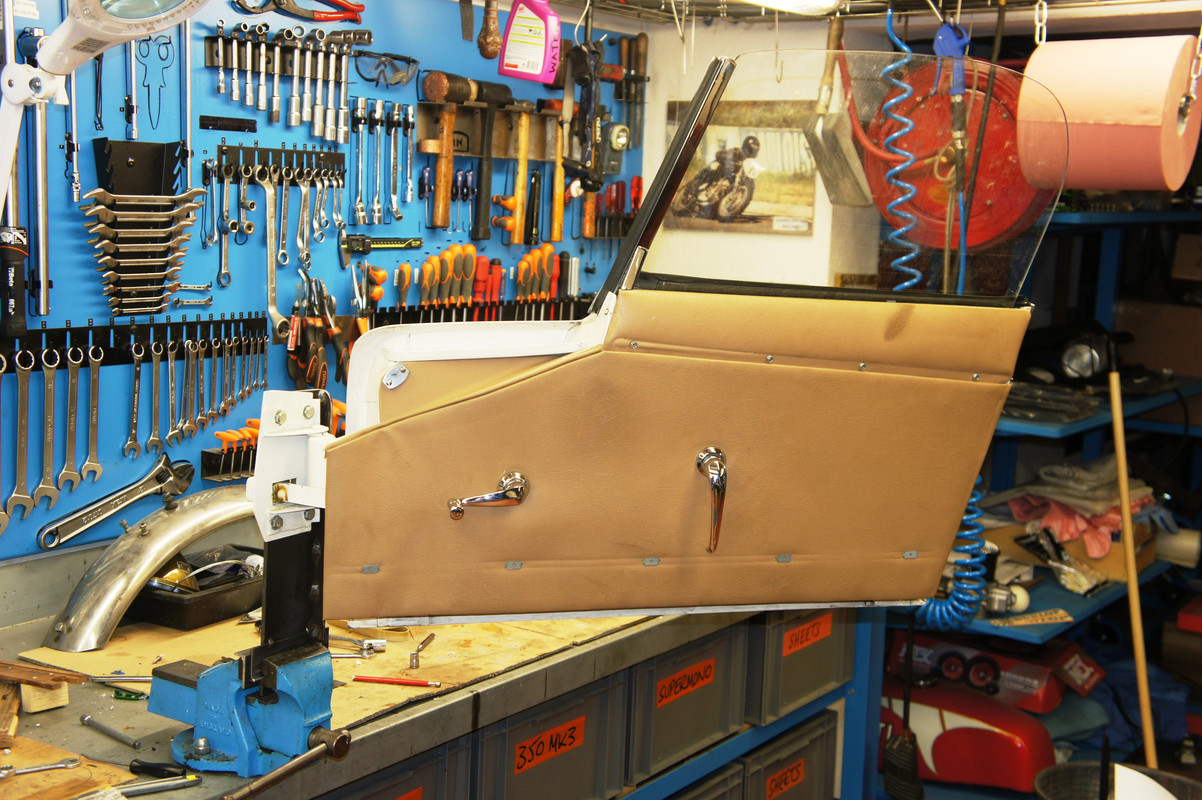
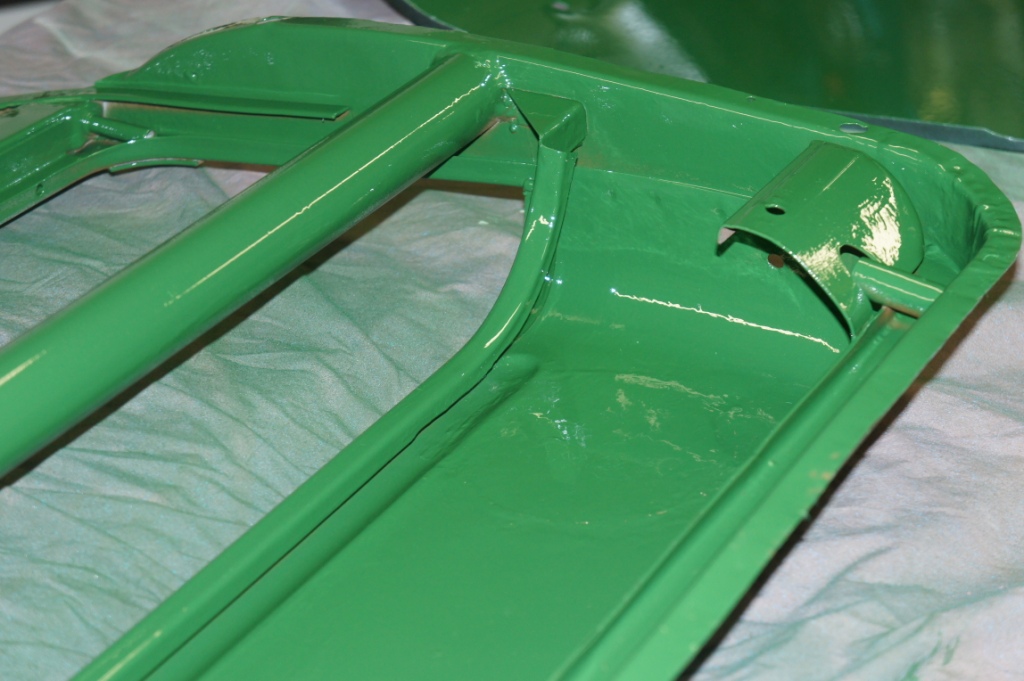
I just HAD to make a Door-Jig, it was "plus fort que moi" as you polyglots will understand.
I couldn't see any reference on the Forum to something like this so went ahead and made one. Hopefully nobody will now go and find me a previous posting ................
As far as I can tell it'll work on both doors, watch this space when I try to do the RH one.
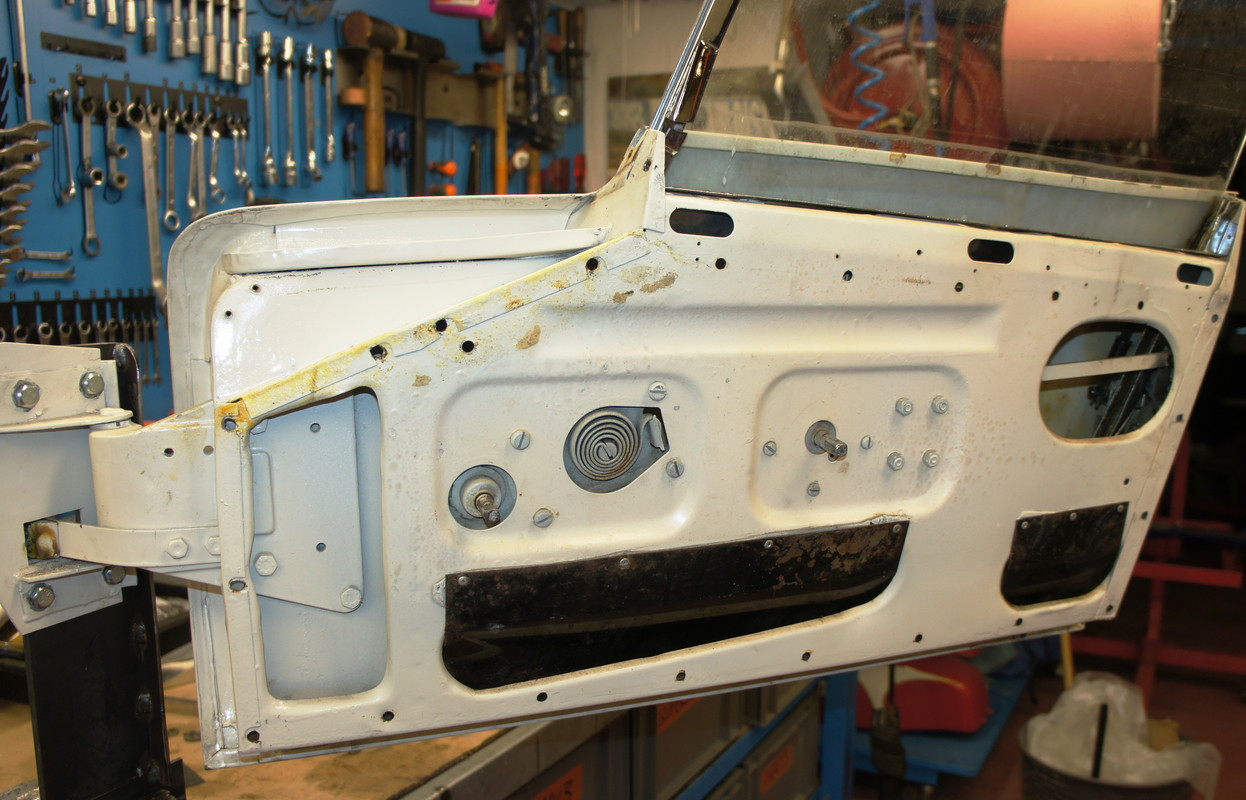
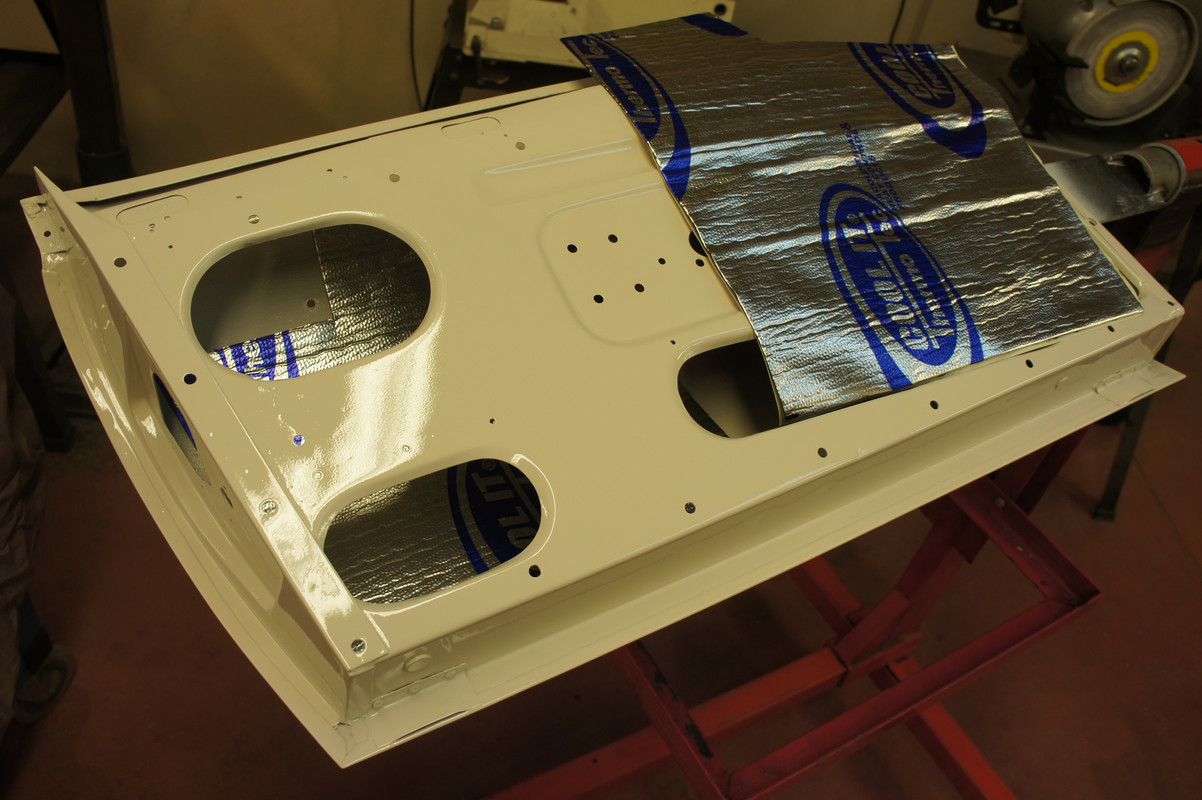
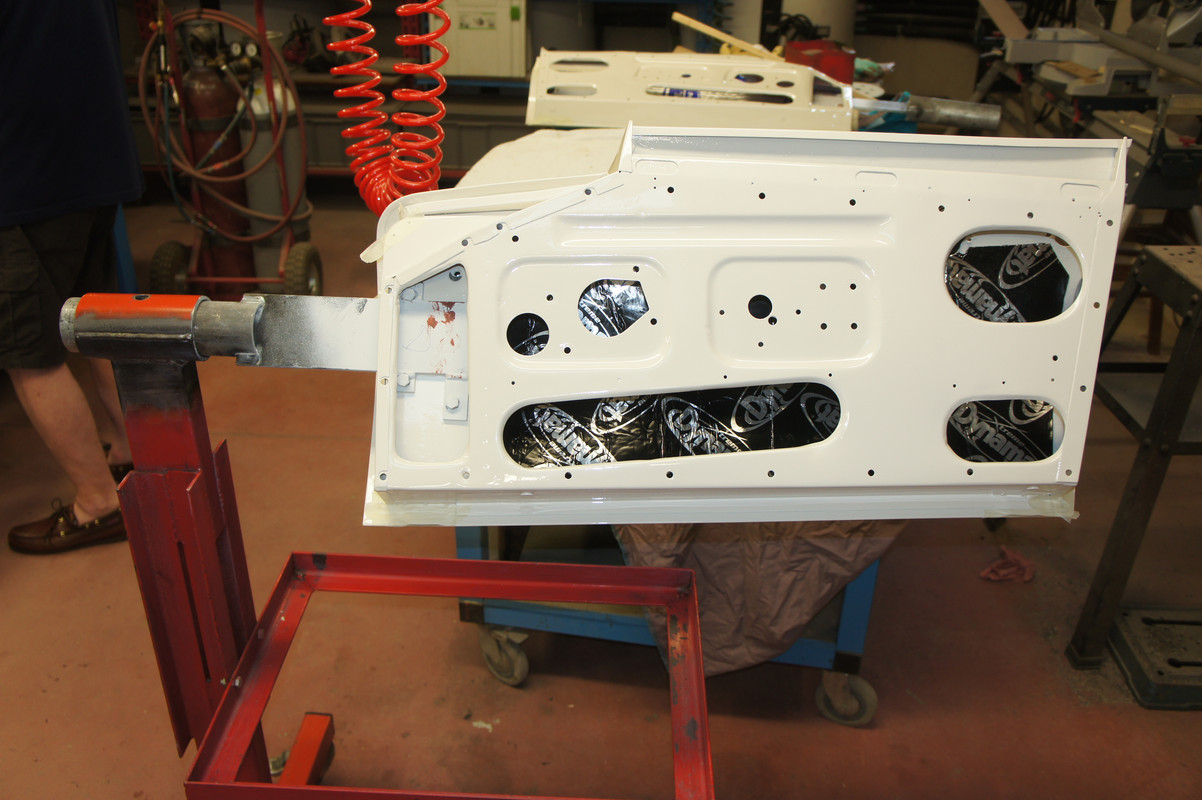
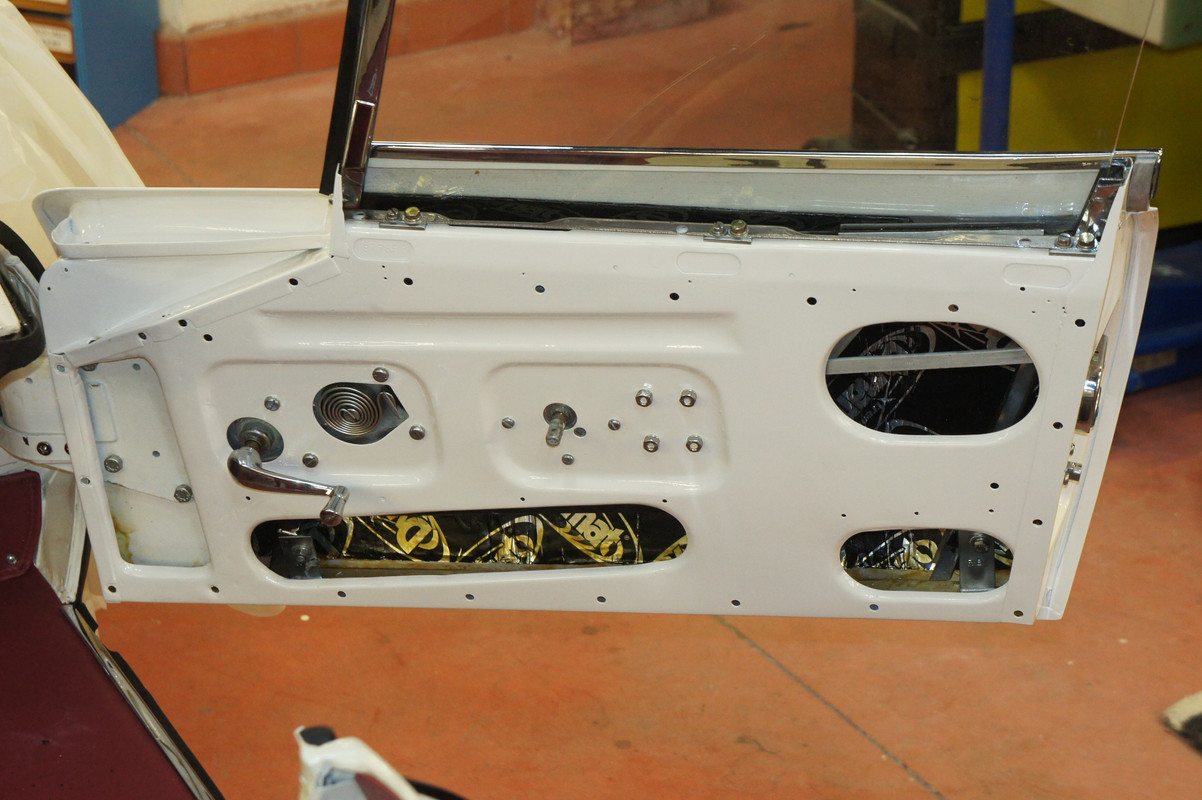
There were 50+ years of tarred anti-drum material plus half a pint of hardened Waxoyl and all the remnants of the PO's restoration (dust, paint over-blow, dropped nuts and bolts) sculling around inside these so wanted a better way to work on them than laying them on carpet on the bench.
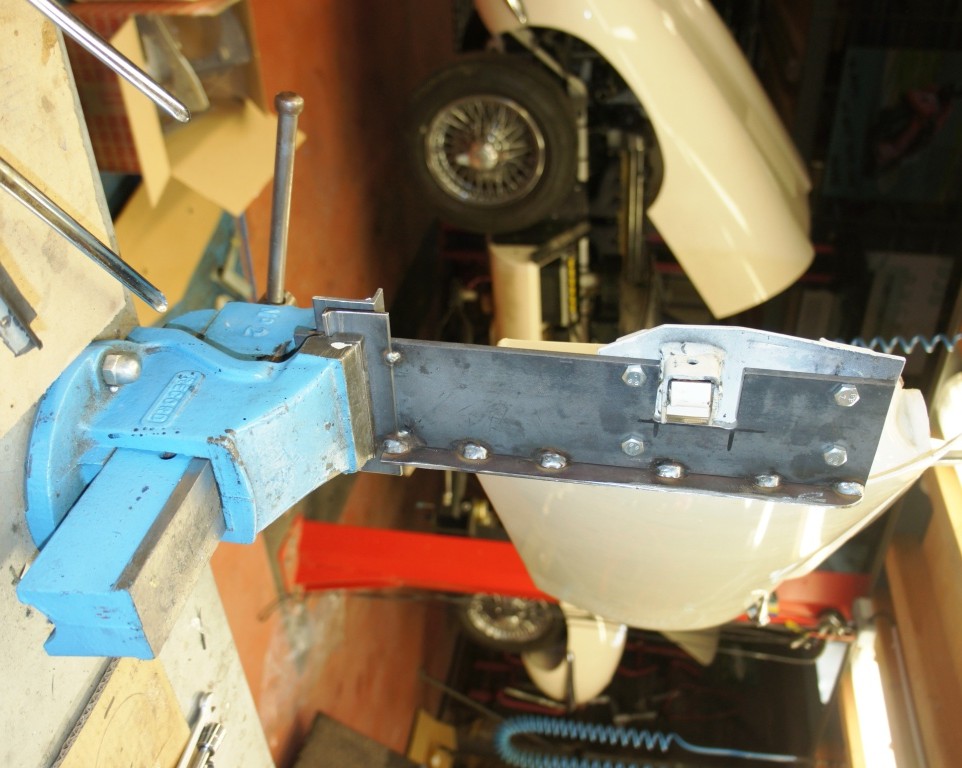
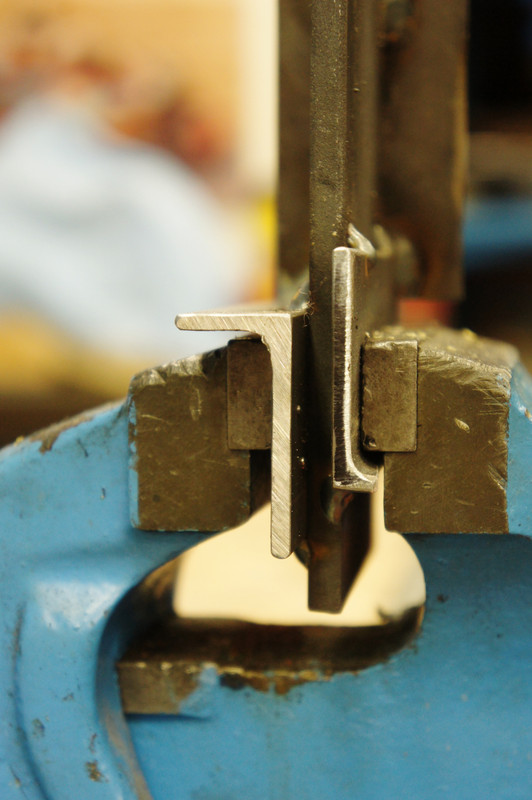
By introducing a U-section into the area that clamps in the vice, it provides a certain degree of fail-safe and what-happens-if -you-don't-tighten-it-enough security.
So, excuses for actually doing anything to the doors now out of the way, can someone advise me over these considerations please - as I'm not sure what some of this is really meant to look like :

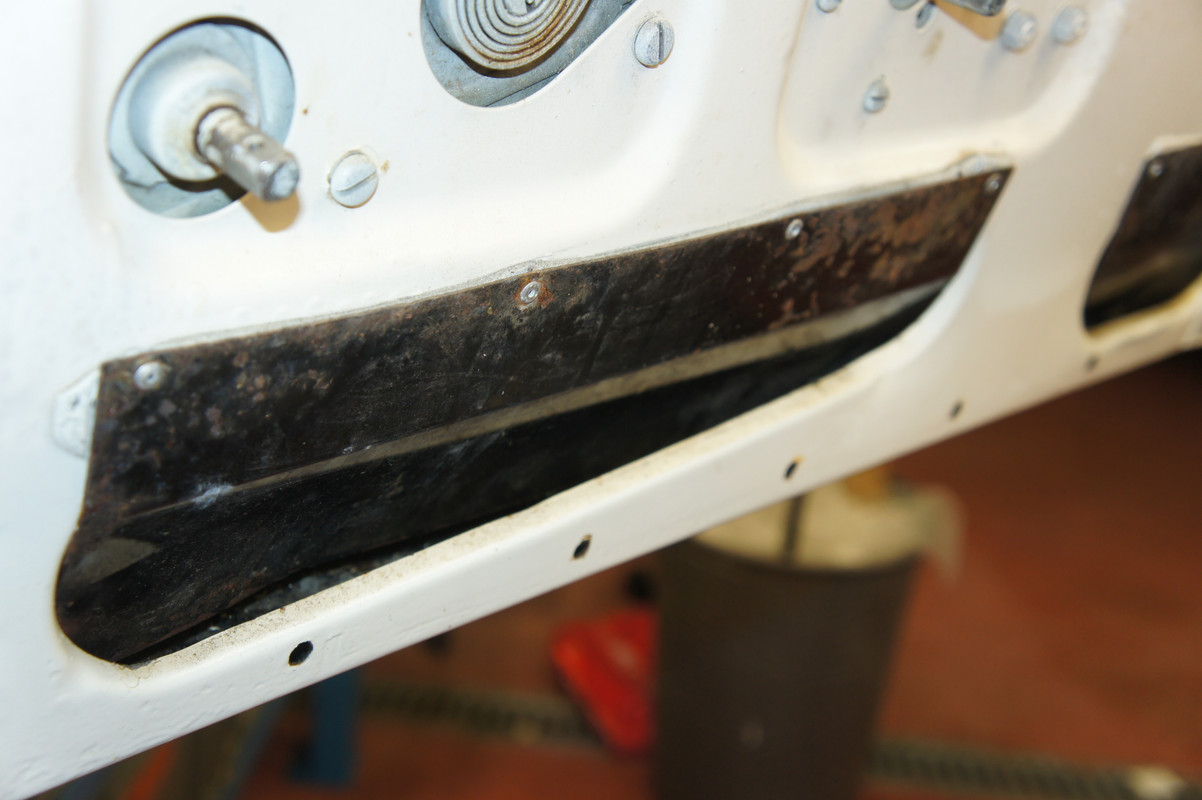
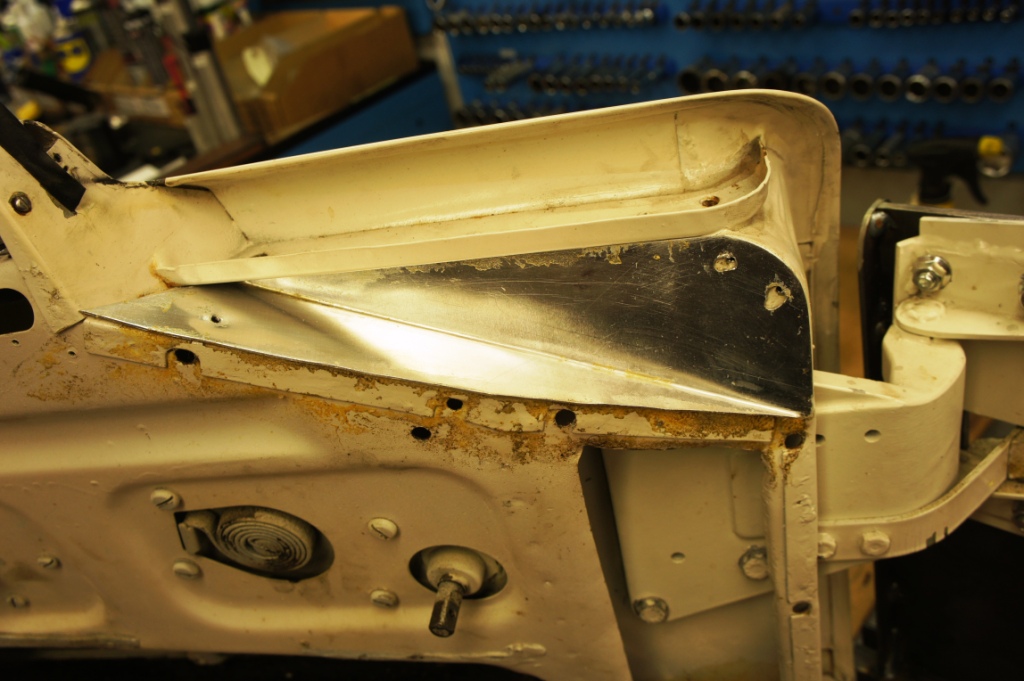
Q1 : Is that trim correct, and should the plate underneath look like this ?

Q2 : Do the rivets that hold this top-panel on have two distinct functions as on mine ? Some are just fitted through the panel and hold small buttons that locate the chrome trim, and others go through into the door skin and hold that panel in place. The chrome trim is therefore NOT currently held in on the rectangular-type retainers that I found on the main door trim panel.
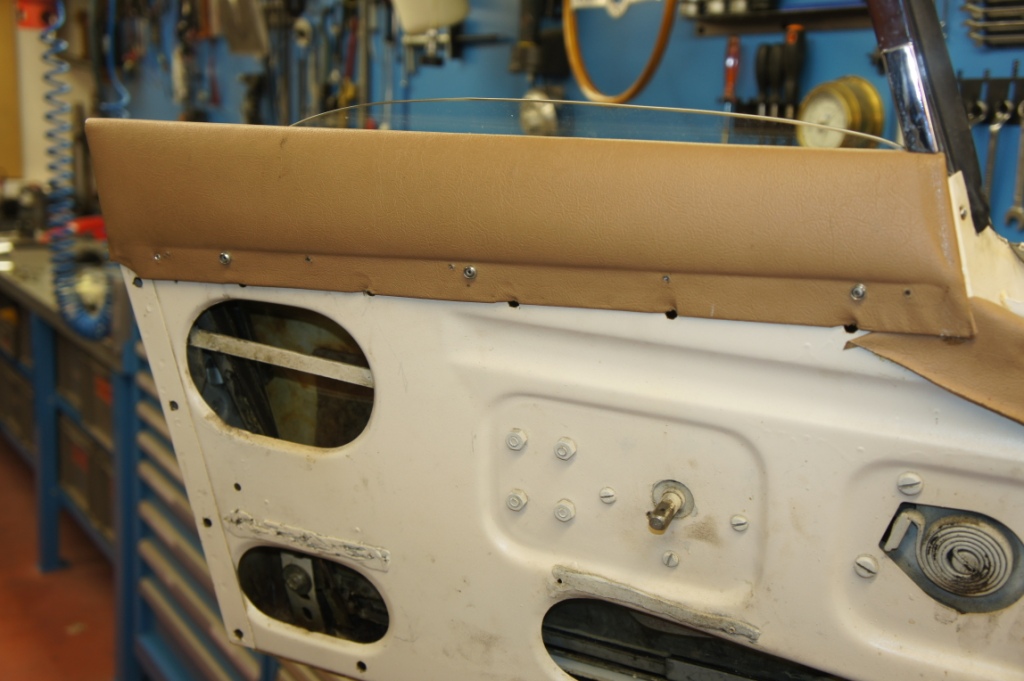
Q3 : is the inside wiper felt strip indeed meant to be screwed to the above-mentioned top-panel by these small CSK screws and nuts, or is there another way ?


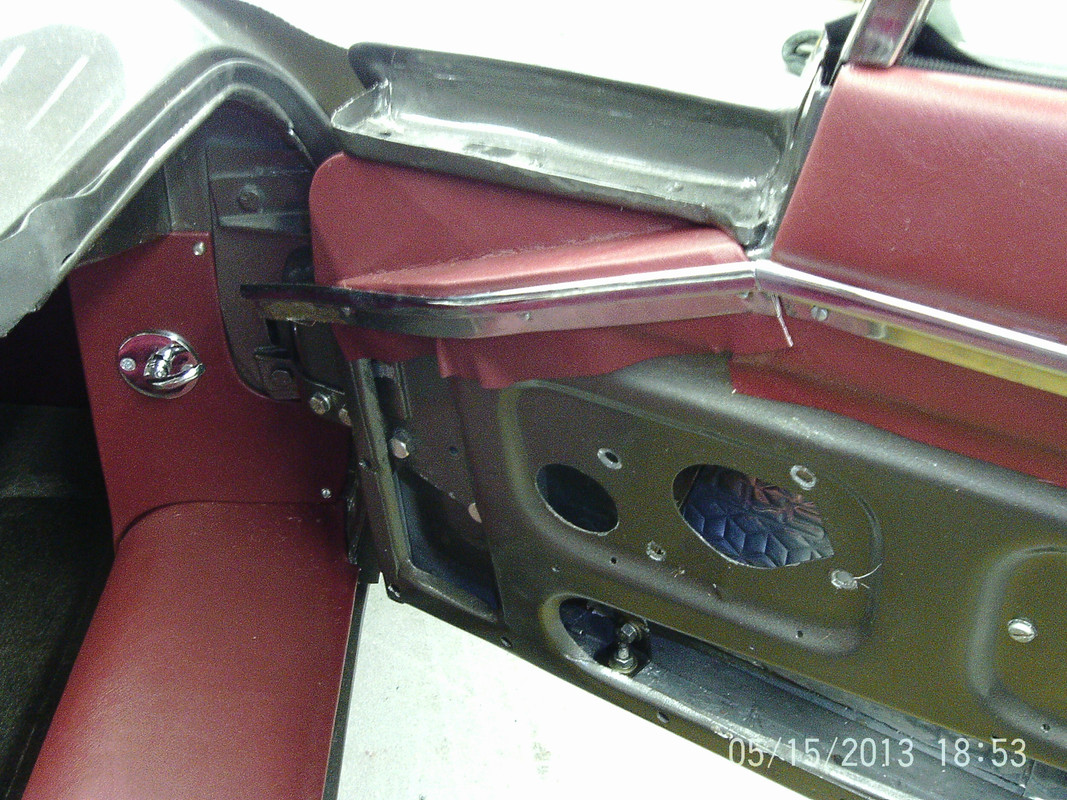
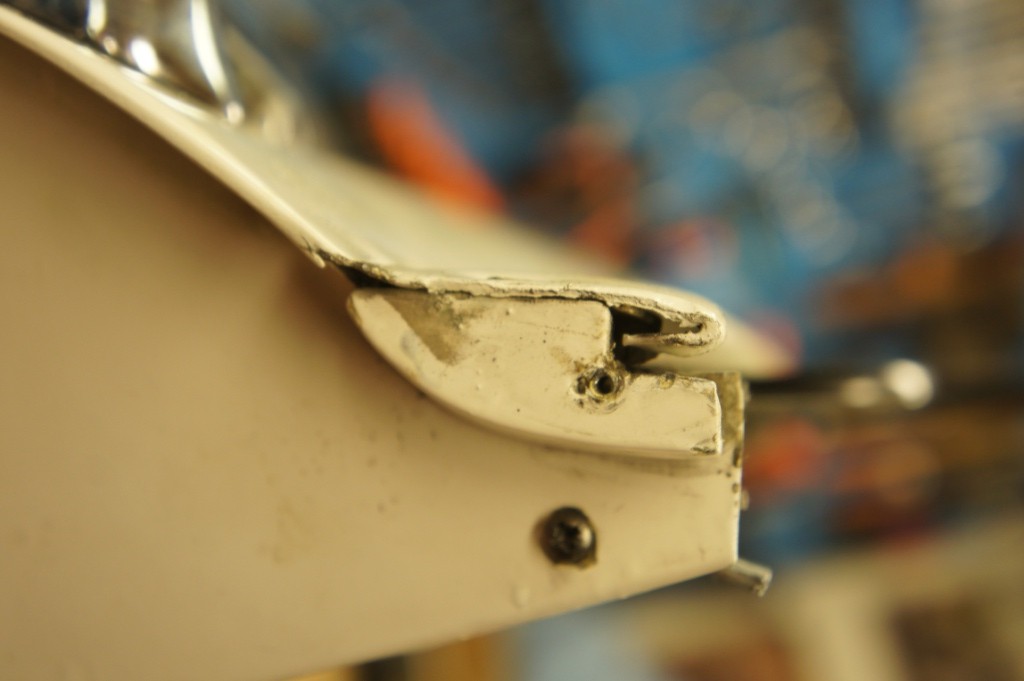
Q4 : Is this odd alloy block a Jaguar part or an oddity or a botch, and how many screws are meant to hold it in place ?

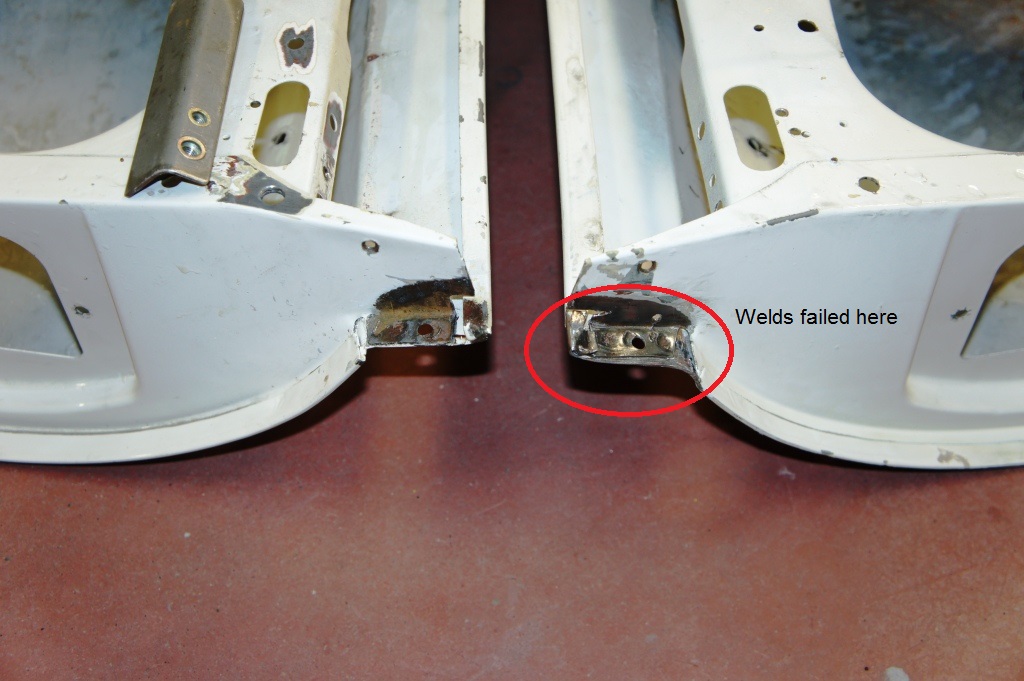
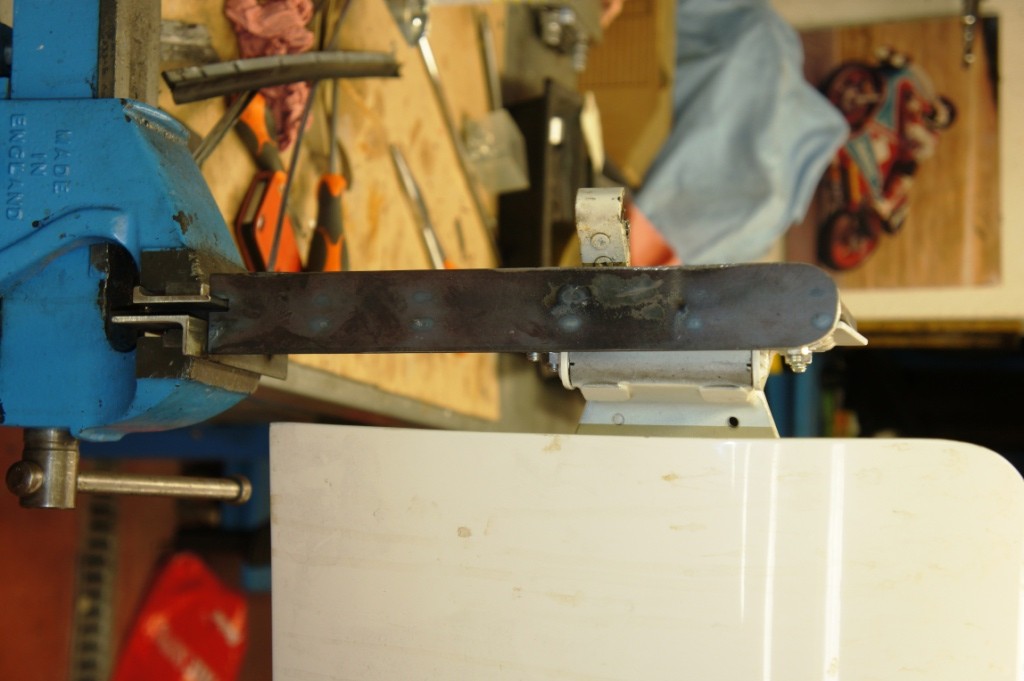
Q5 : These brackets were holding the "feet" of the chrome frames, the LH (rear) one is obviously made from perforated strip - has anyone got one handy to confirm the sizes and the approximate section ?

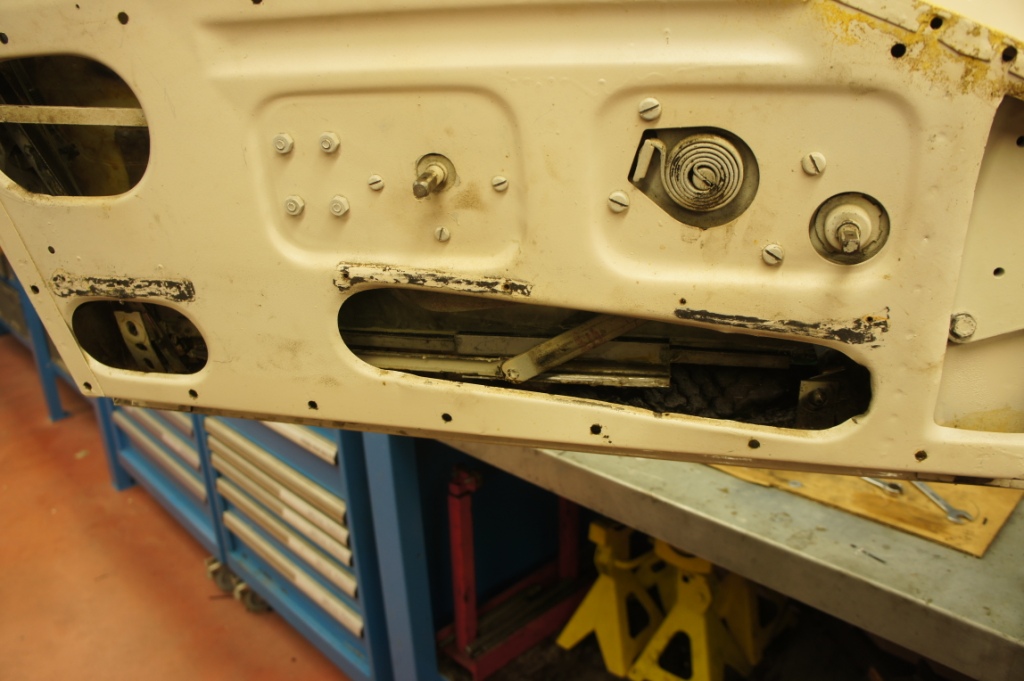
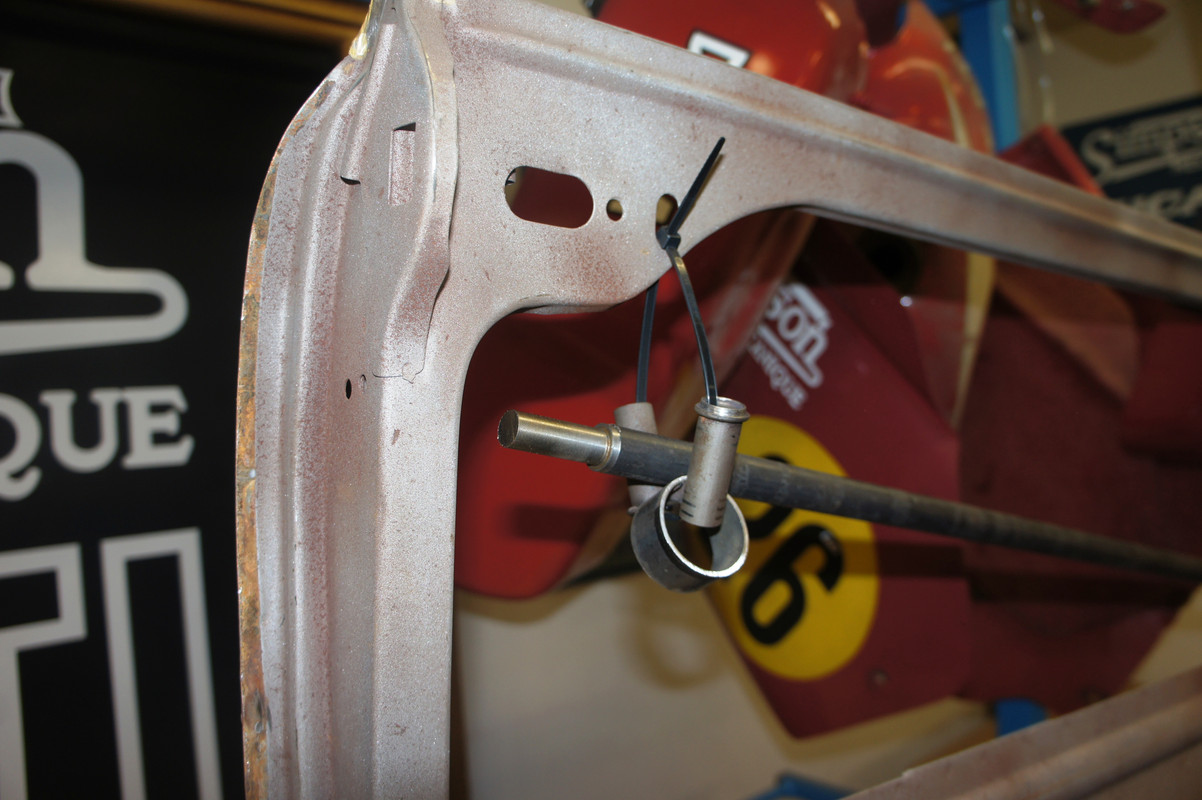
Q6 : Is it possible (or even necessary) to get the winder shaft and pinion overhauled ?

Mine has a lot of slop in the teeth, and above all there is a lot of slop between the little pinion and its square shaft that carries the winder-handle - as if there's some pin-drive that's about to let go ?Q9

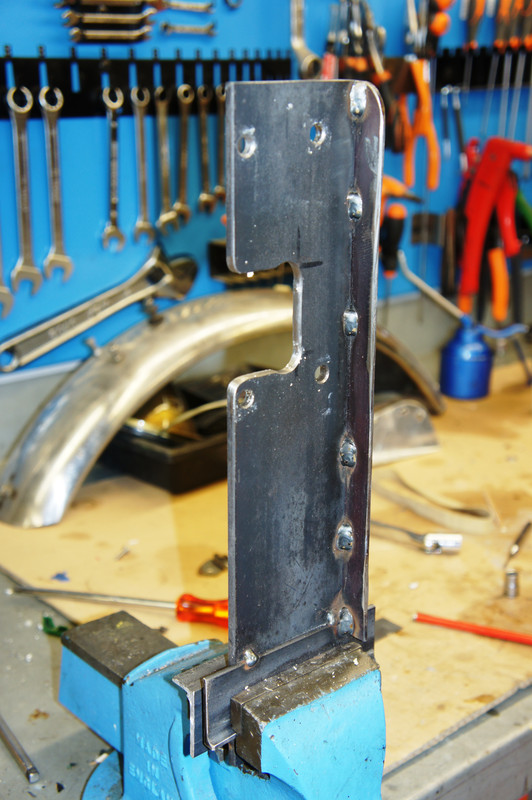
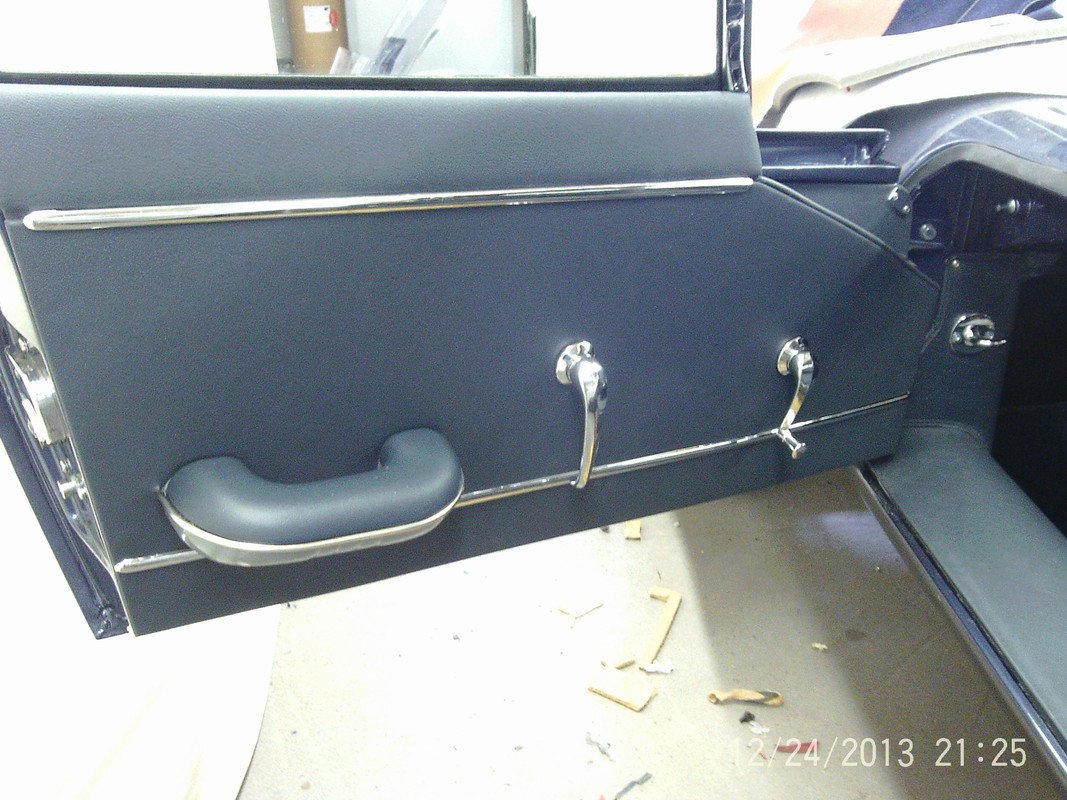
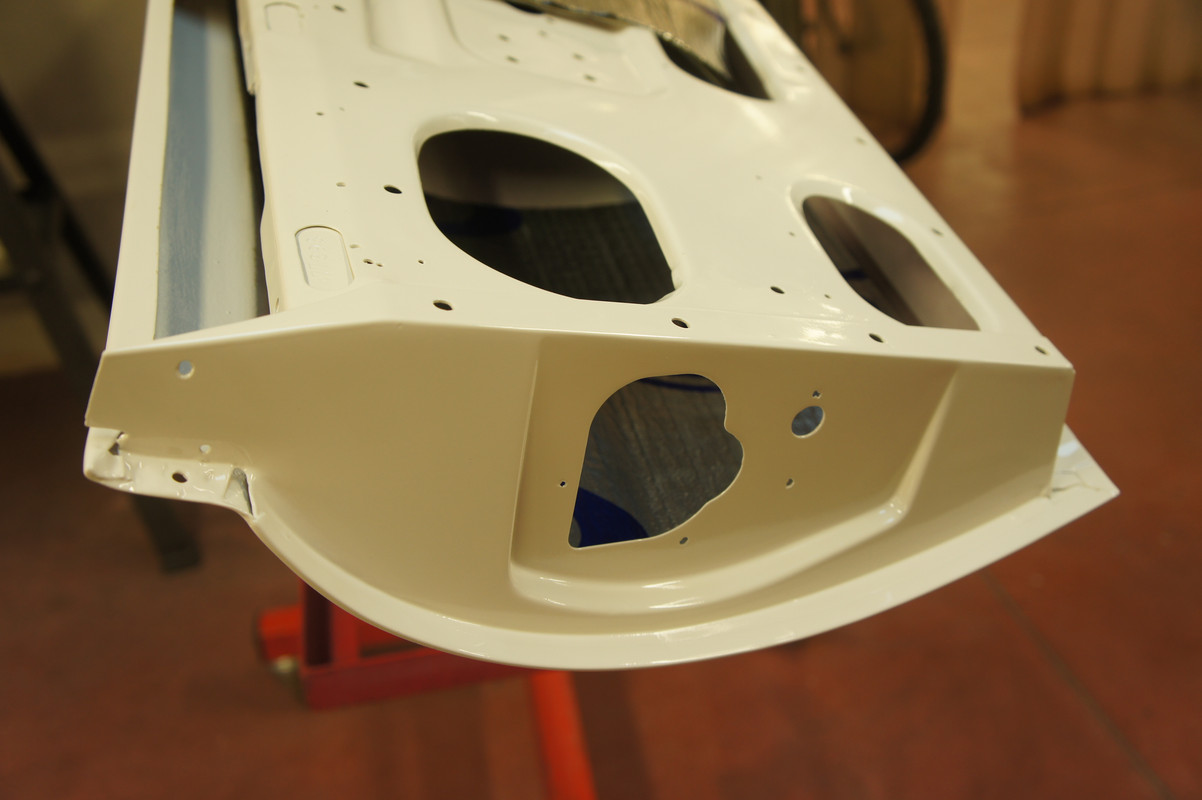
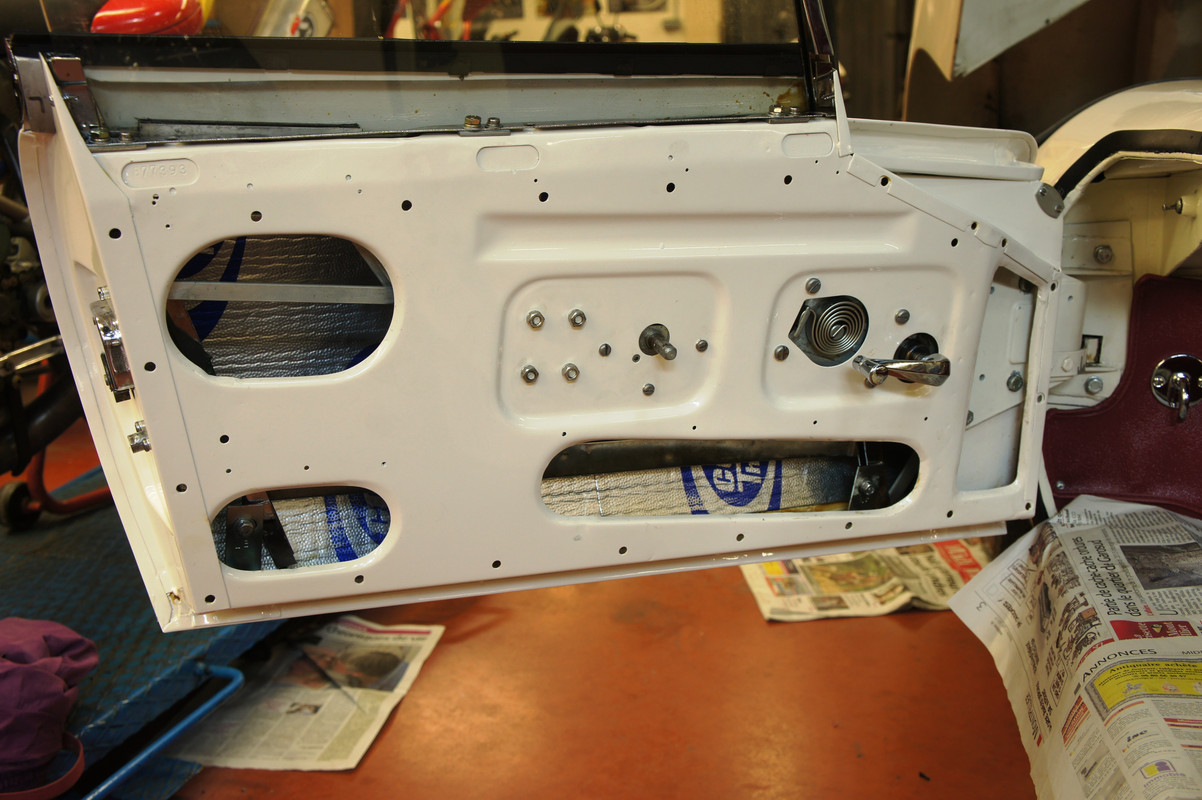
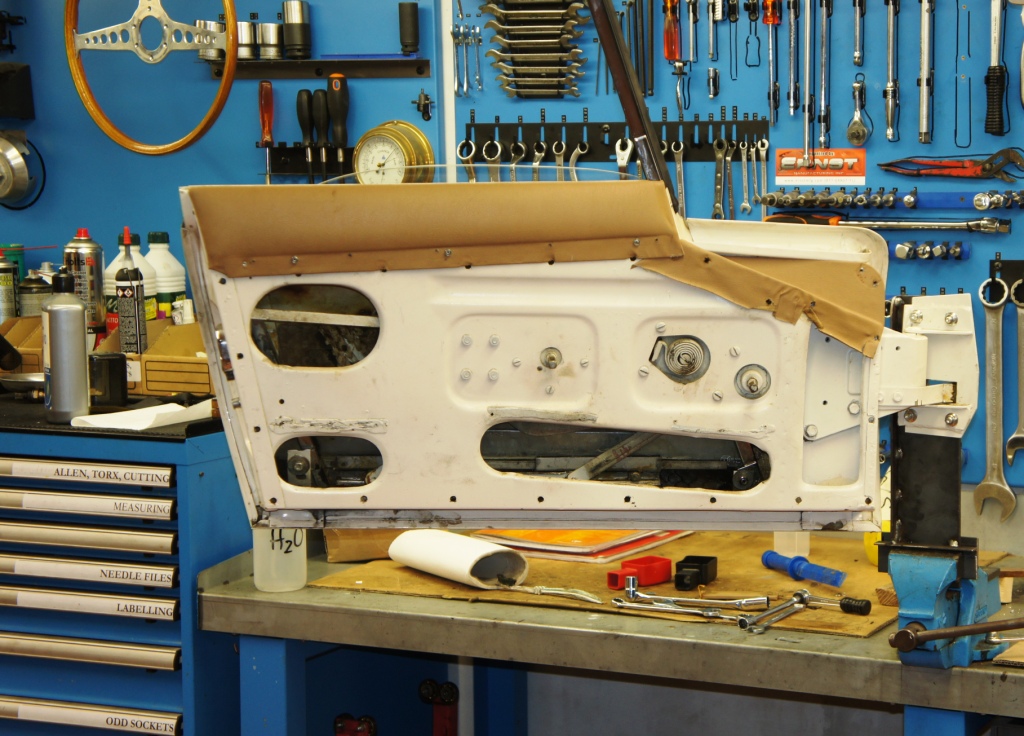
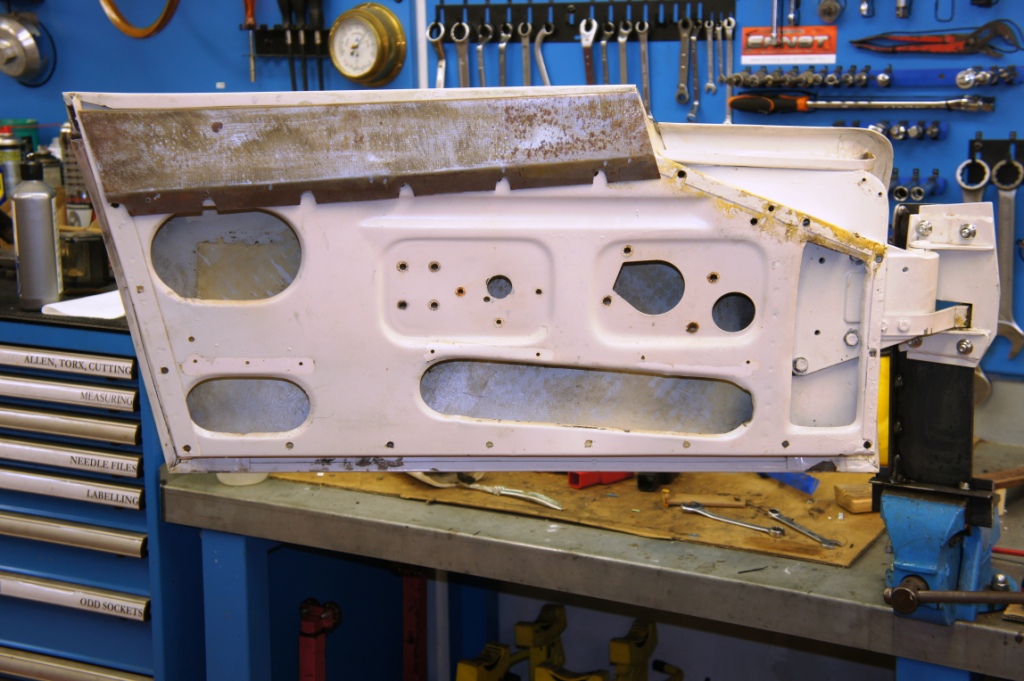
Q7 : What would the two series (3, then 4) of pop-rivet holes across the whole width of the door have been for, the ones that can be seen here about one quarter of the way up the door ? Perhaps the door-handle / arm-rest that my car has never had ? I could understand that for the rearmost holes but not for the ones to the front ?
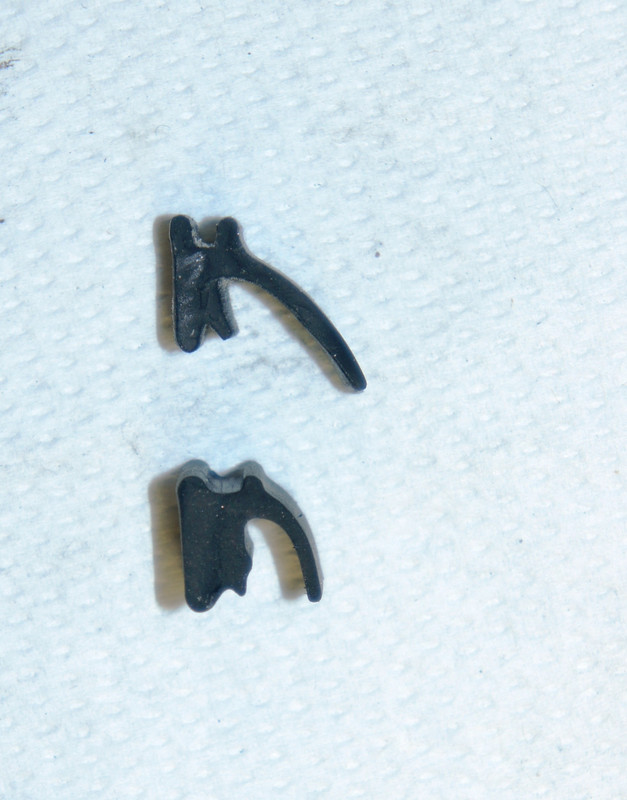
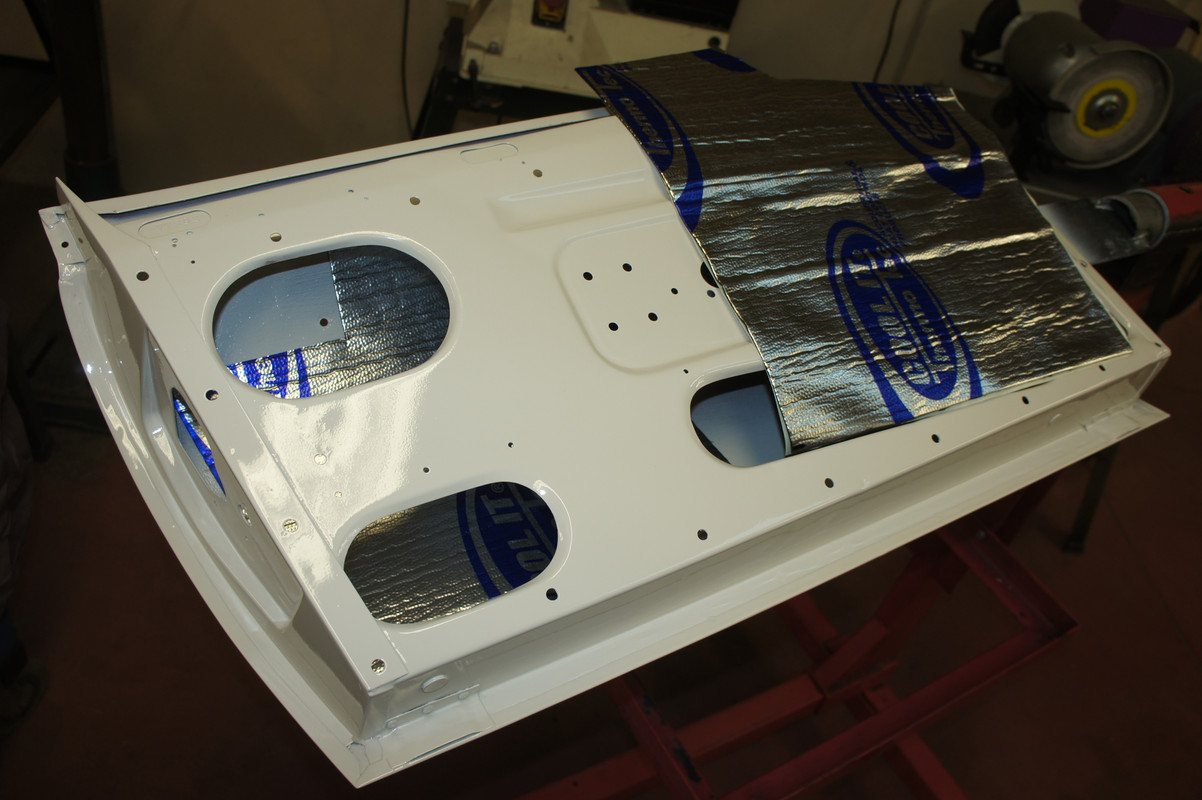
Q8 : There was only a pair (2) of these clever little combs and fancy spring-steel plates to receive the self-tappers - presumably there should be three shimming arrangements like these, with 3 big screws and 3 smaller ones, used in pairs, along the whole length of the door top to retain the door-glass running gear ?

And what am I aiming for as regards the height I'm shimming - is it to do with the proximity of the chrome window-glass rail to the hood mechanism ?
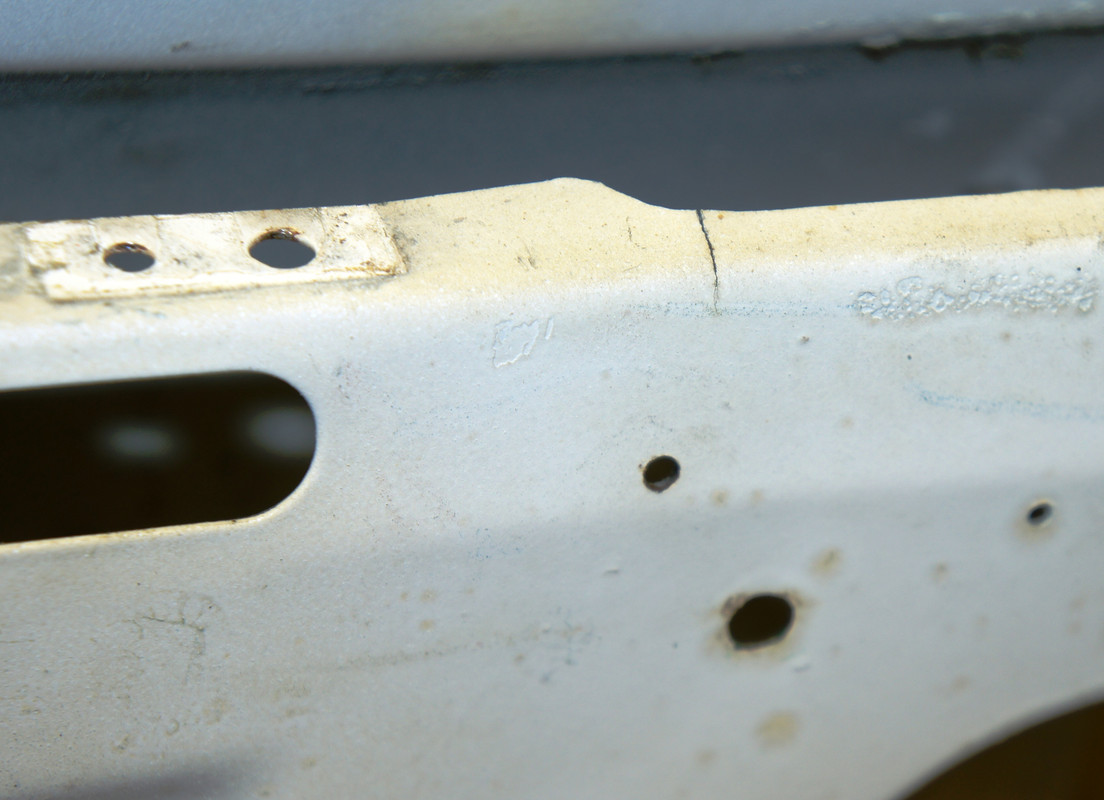
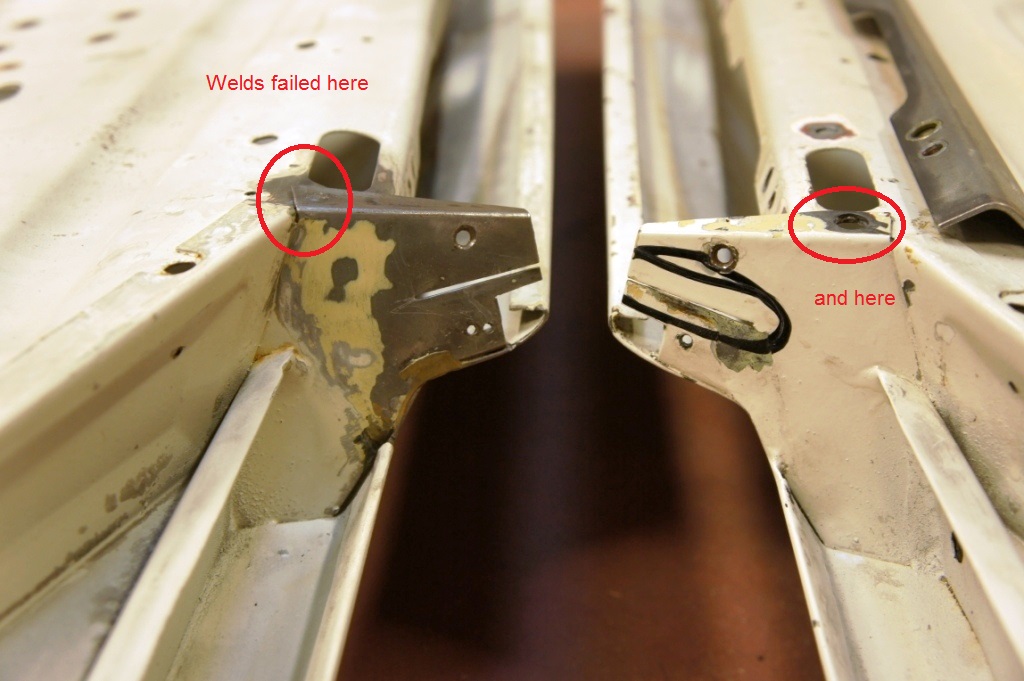
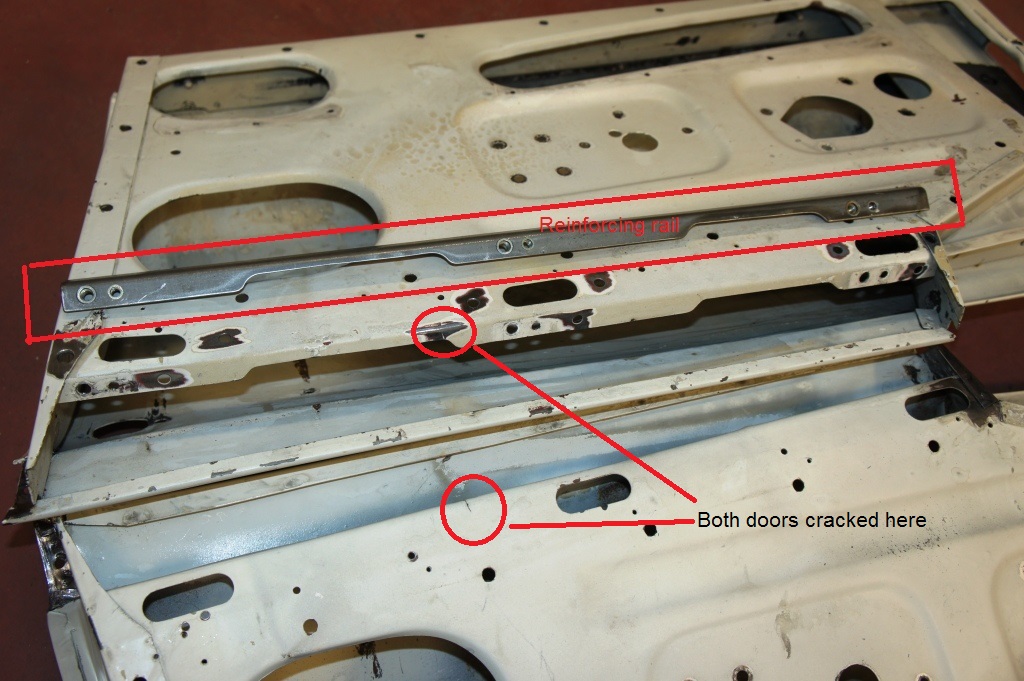
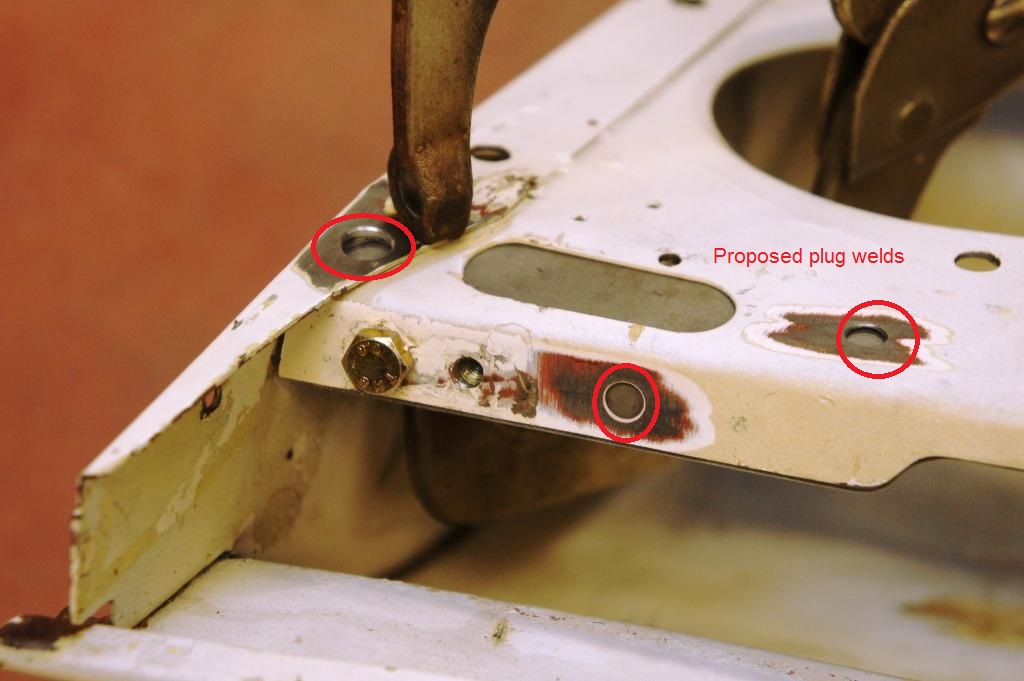
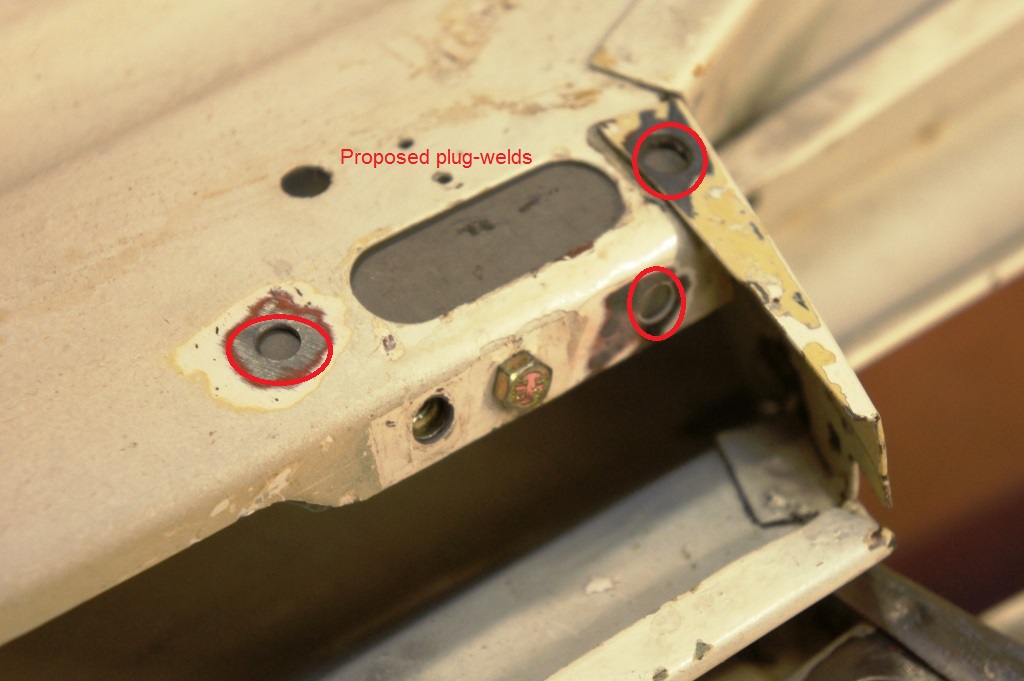
Q9 : - see above picture, there's a fatigue crack in the top bend which is making the whole inner door skin flap - anyone else had that ? I'm intending to make a 15mm x 30mm channel out of 10/10 sheet with a soft-ish bend (that's "mou" for you Michel) and plug-weld it behind the whole length of that top angle. Overkill ?
Many thanks in advance for any contributions, they may help my vertigo - brought on by wondering how I got in this deep when all I wanted to do was substitute Red for Beige !