


At the beginning of the summer I had a stuttering engine running on 2 or three cylinders. Rust in the injectors.
When I undid the fuel tank sump, I was presented with a fuel tank sump absolutely full of rust. Fancy that, it was only 50 years old.
I removed the tank, overall it didn't look so bad. I took it to the local fuel tank and radiator guys who patched it and cleaned it for £60.
Fast forward to yesterday afternoon, opened the garages to the smell of petrol.
Patch of petrol under the E type. Quick inspection revealed a petrol soaked damp boot floor and a leaking tank.

Once removed, inspection of the old tank revealed the area around the patch had failed. The sump was full of rust again, my cheapo plan to repair the old tank had failed.
Call to SNG for a new galvanized tank and seals. It all arrived this morning, I fitted it after work this afternoon.
When I filled up the new tank. I was again presented by a circle of petrol on the floor.
Investigation of the tank fittings revealed the lower filler tube clip was on 1cm (yes 1cm) too low, causing the short filler tube to flare out at the top of the tank union causing fuel to leak past only when being filled.
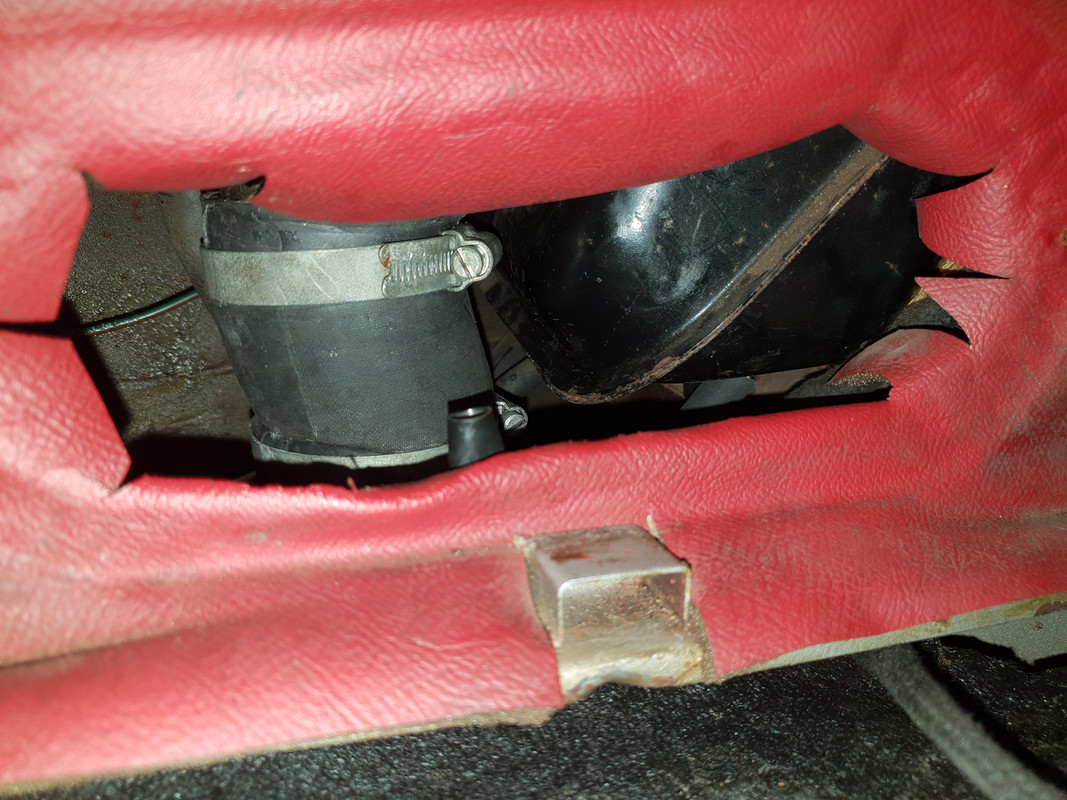
This leak only occurred as the tank was being filled. Once full, no leak. Once the jubilee clip was re-positioned precisely the leak went away when the tank was being filled.
The clip has to be exactly in alignment with the top of the tank filler tube otherwise fuel goes all over the floor and your car stinks.
So I learnt the if your tank is knackered, chuck it away and be careful how you position you hose clamps on your fuel tank filler.
BRAG ALERT! Close internal inspection of my boot floors, rear quarters, rear panel and rear wheel arches have revealed them to be in perfect, factory finish condition. I am so pleased! I rewarded them by spraying clear Waxoil over everything before refitting the new tank. Bragging finished.
