Smokey Wrote:
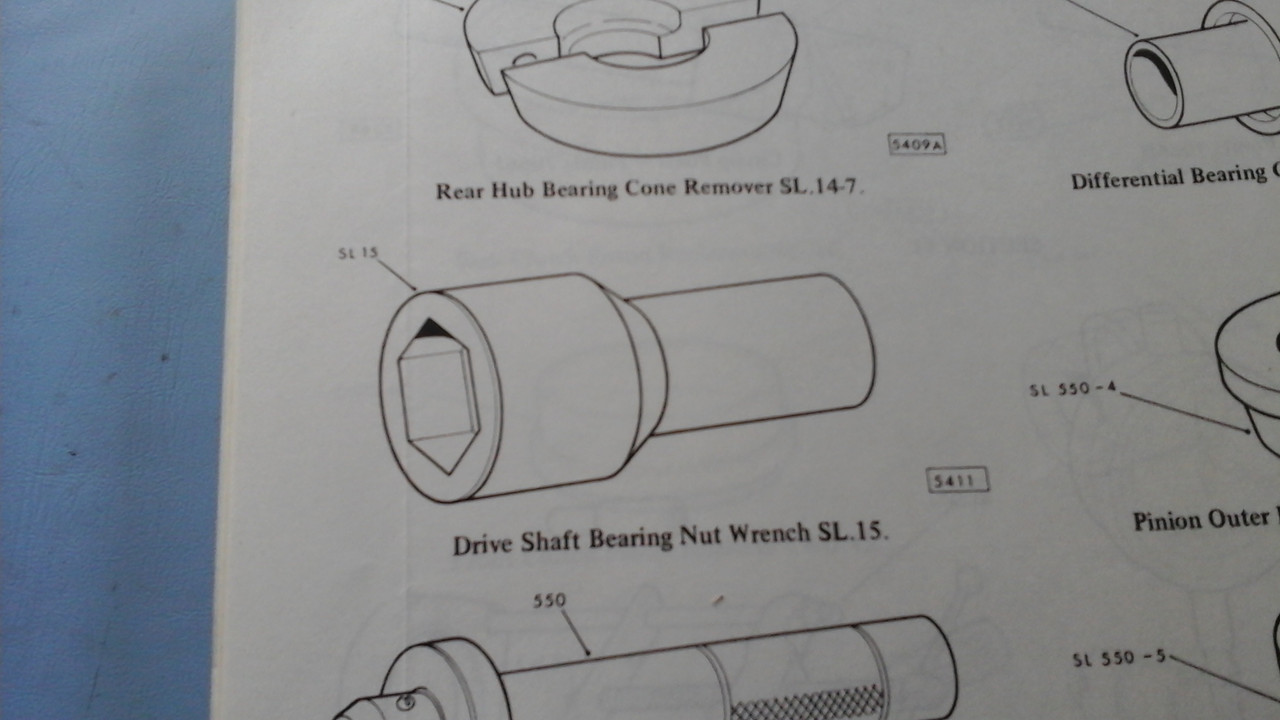
Another confusing point is the manual states end float should be between .001" and .003" but this guy talks about a spec for this assembly in terms of 5 inch lbs past the drag of the oil seal. Anyone have an insight on the correct sequence for adjusting this nut?
Hello Smokey,
Clearly, the fellow in the video is setting the bearings to be under Pre-load and is how I would set up Taper Roller Bearings.
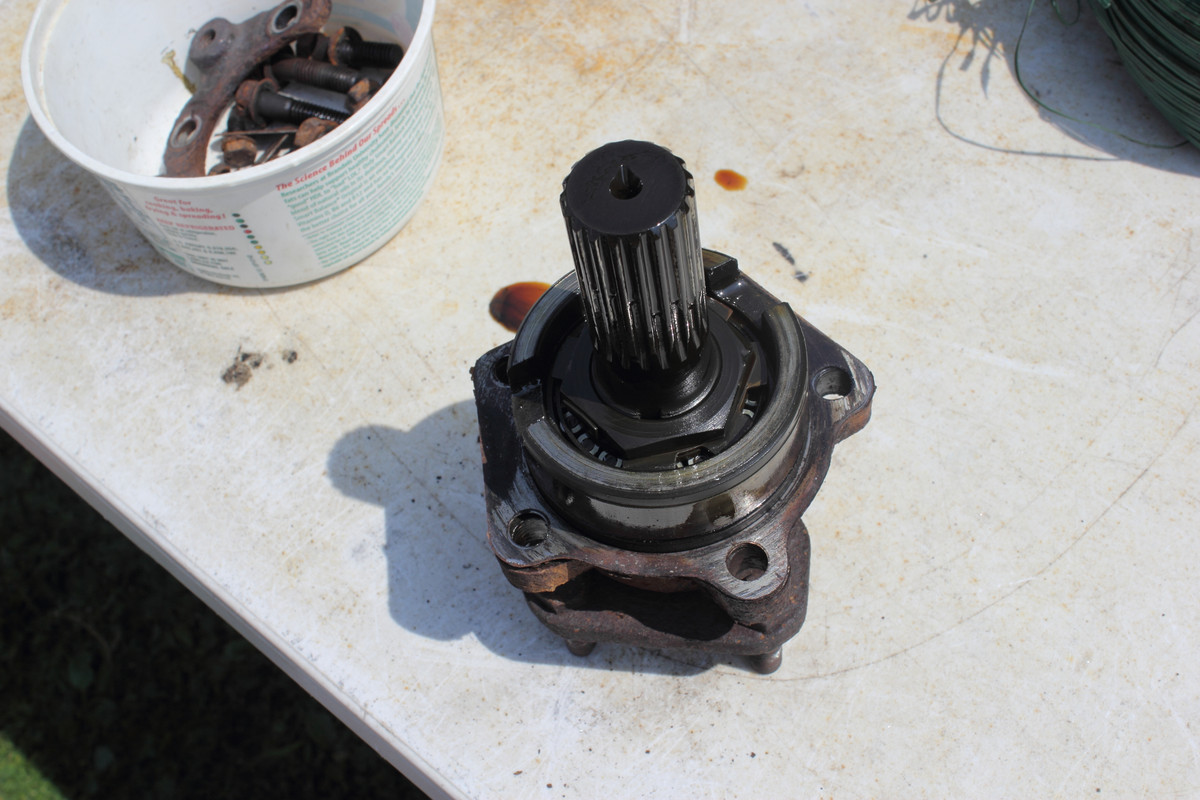
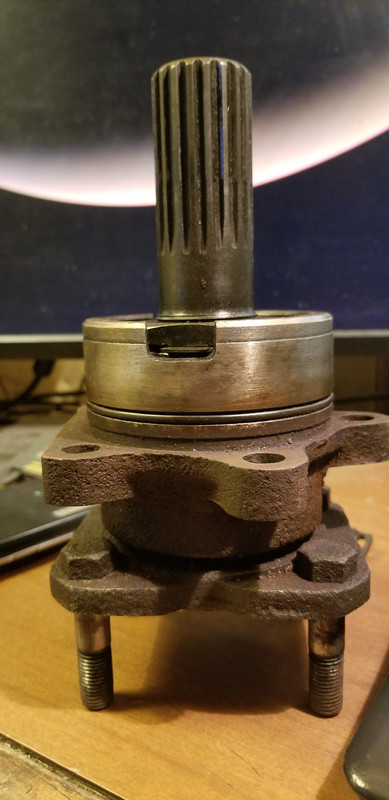
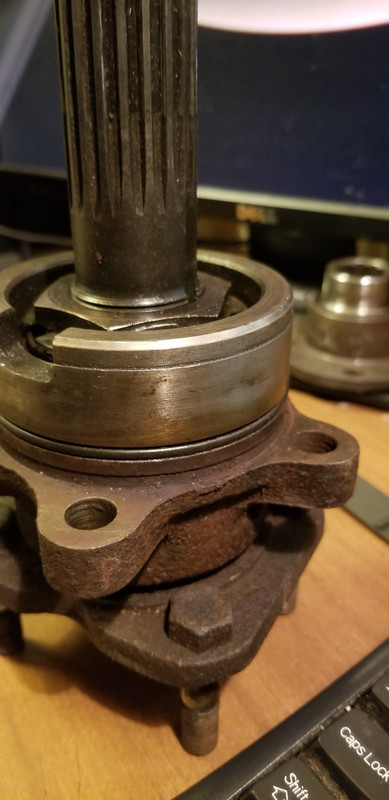
The book he is referring to would be a Series 3 XJ6, or XJS Manual. Notwithstanding that your book states 0.001" to 0.003" End Float, I would be setting these Taper Roller Bearings to be under Pre-Load, This is about the only reference to End Float I've read with regards to differentials used with Jaguars. Many S2 and all S3 cars had a Double Row, Angular Contact, Ball Bearing Race on the Output Shafts. The original equipment bearing had a split Inner Race, that when at rest had a slight gap between their inner ends. The size of this gap was predetermined so that when the two halves were drawn together by tightening the nut and their inner ends touched, the correct pre-load was applied to the bearing.
Sadly, these bearing have not been available for many years. The bearing being used as a replacement is also a Double Row, Angular Contact, Ball Bearing Race, but the Inner Race is one piece and the system has no pre-load. At 27mm, this bearing is 2mm narrower than the original, which necessitates the use of two, 2mm spacers (one for the Inner and one for the outer race).
Regards,
Bill