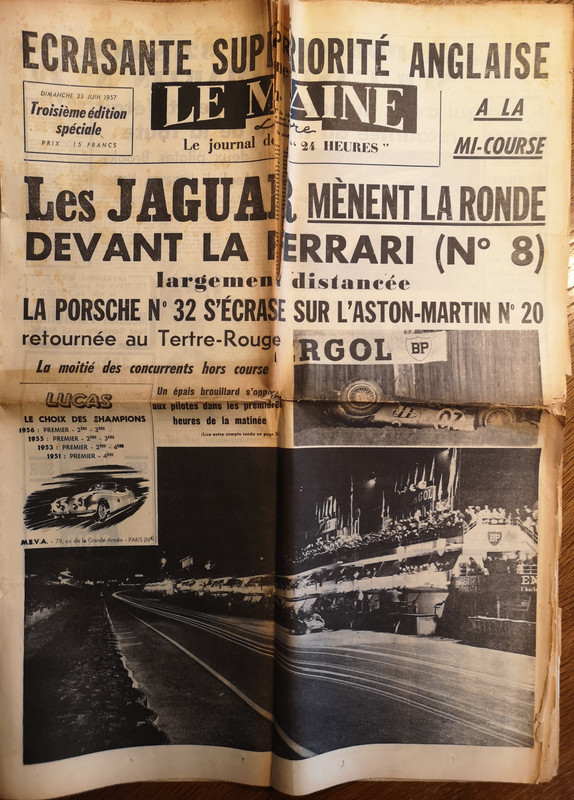
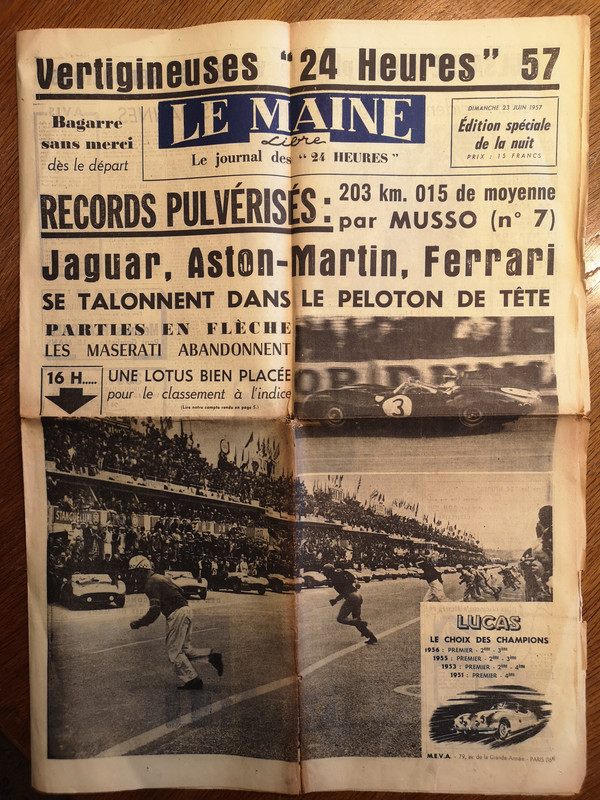
Two weeks before my birthday ............. 278 km/h on the Mulsanne straight.
It makes you want to go and get your D-Type finished ; looks like I'll have to make do with an E, sniff.
I've been unable to find anything very specific about how the harness should be actually run along and around the front frames, so am posting these pictures as a possible/probable routing, in the hope that others may either confirm or correct them.
They show an Autosparks "Part Number 101 3.8 Engine Bay Wiring Harness - with Fan Relay" dating from September 2023.
This is a preliminary lash-up just to check that the run is feasible and the wires are going to reach.
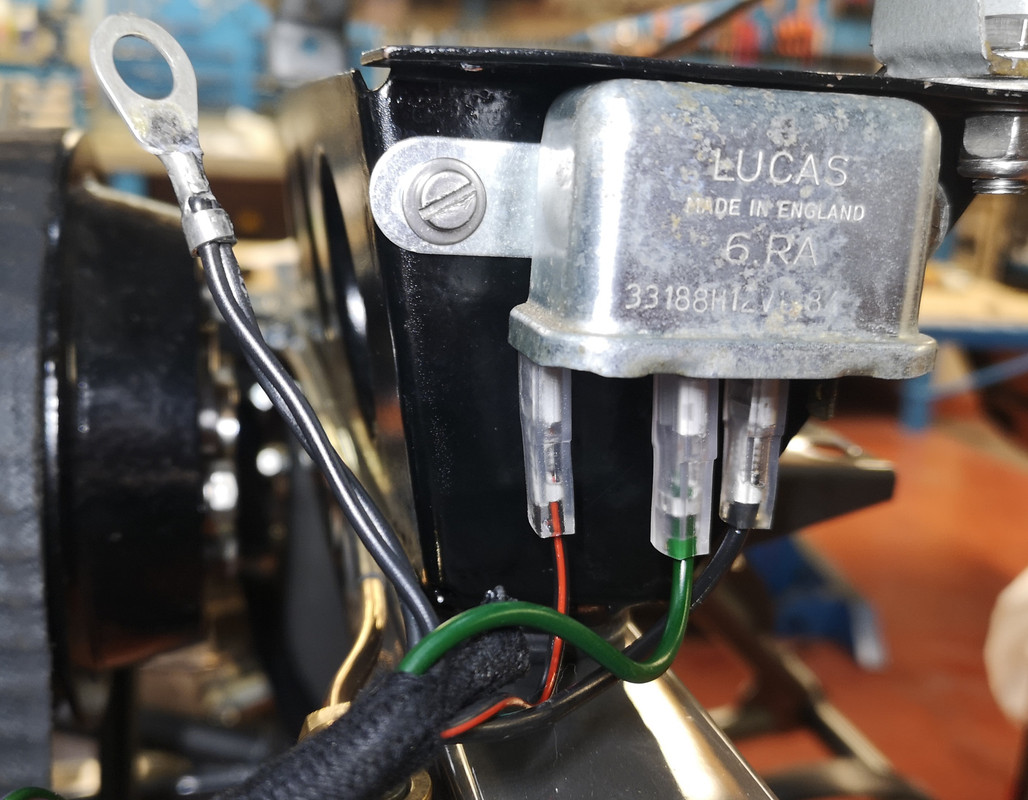
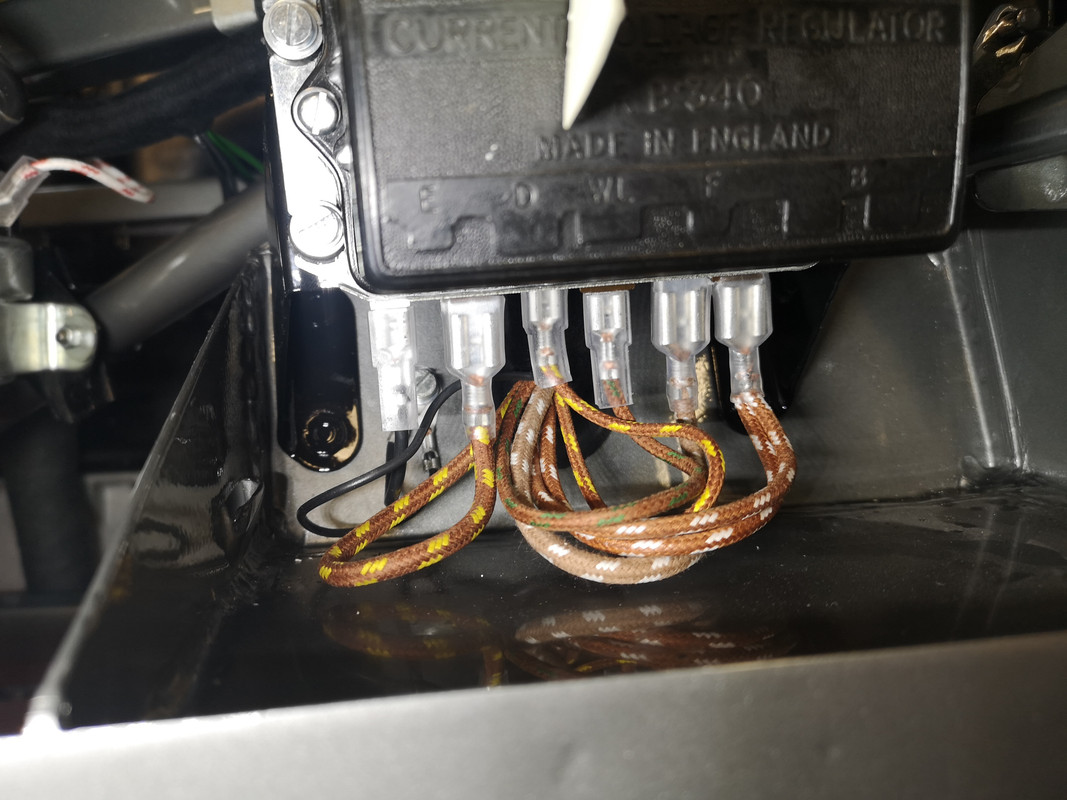
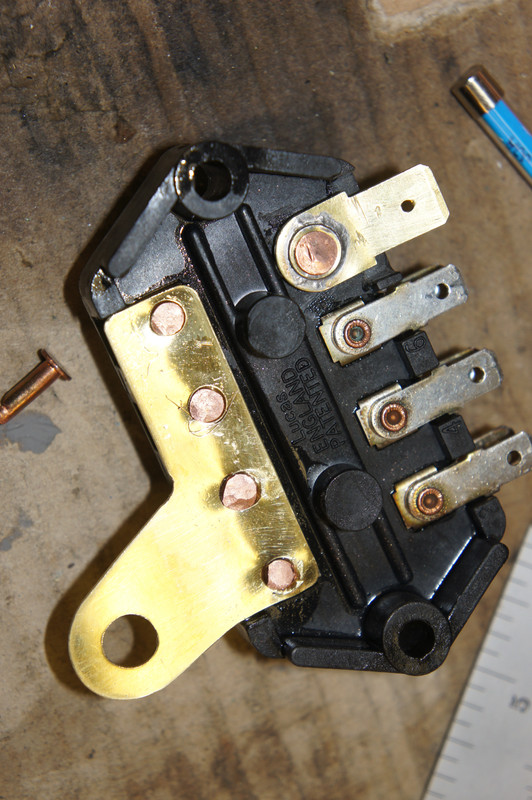
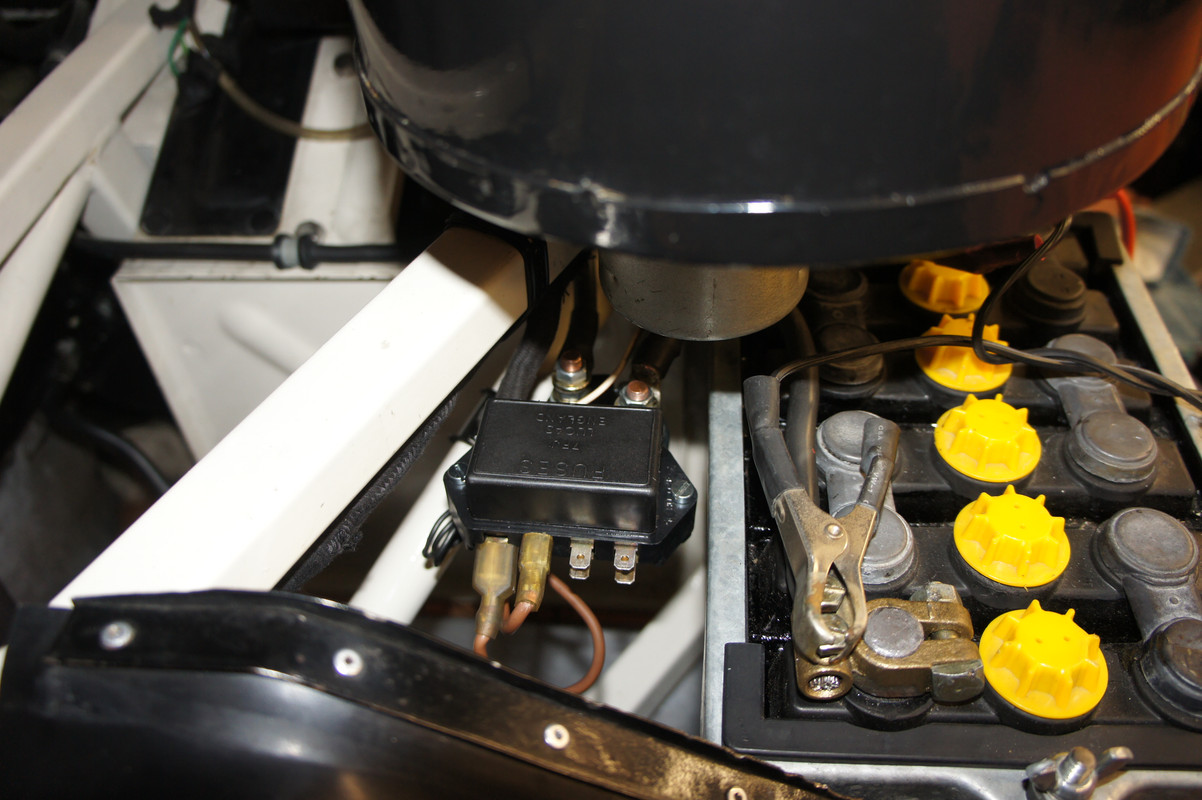
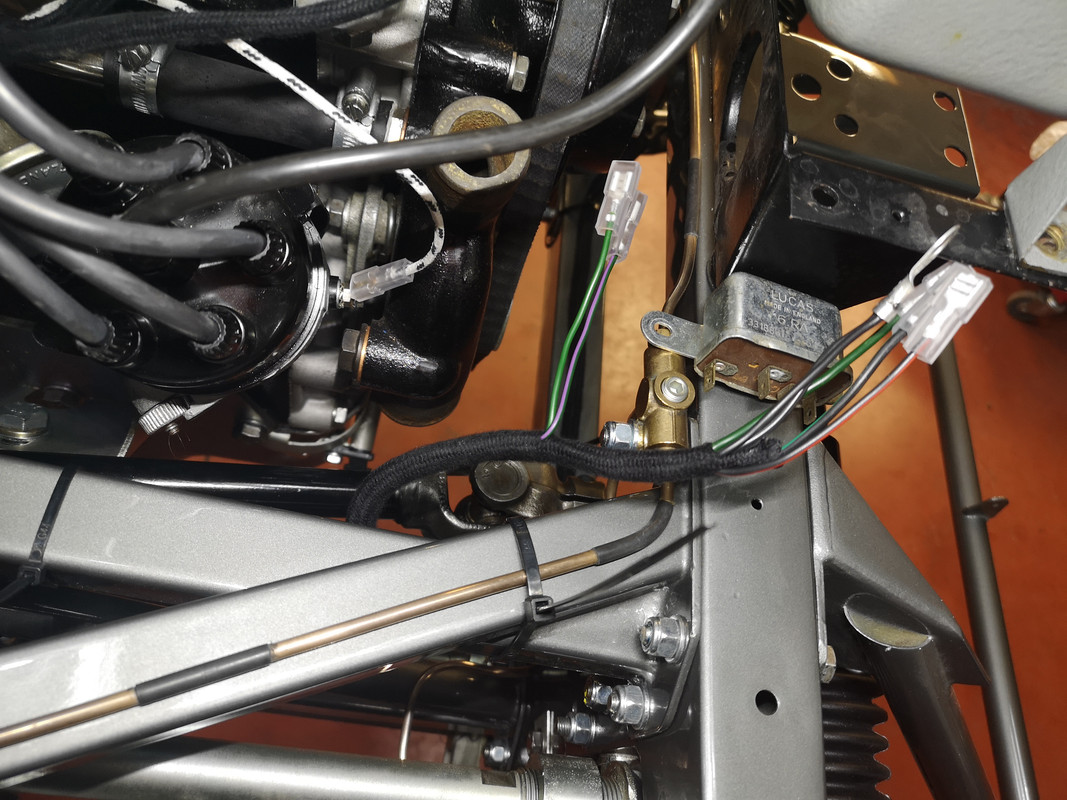
The starting point seems to be fixed, just behind the RB340 regulator,
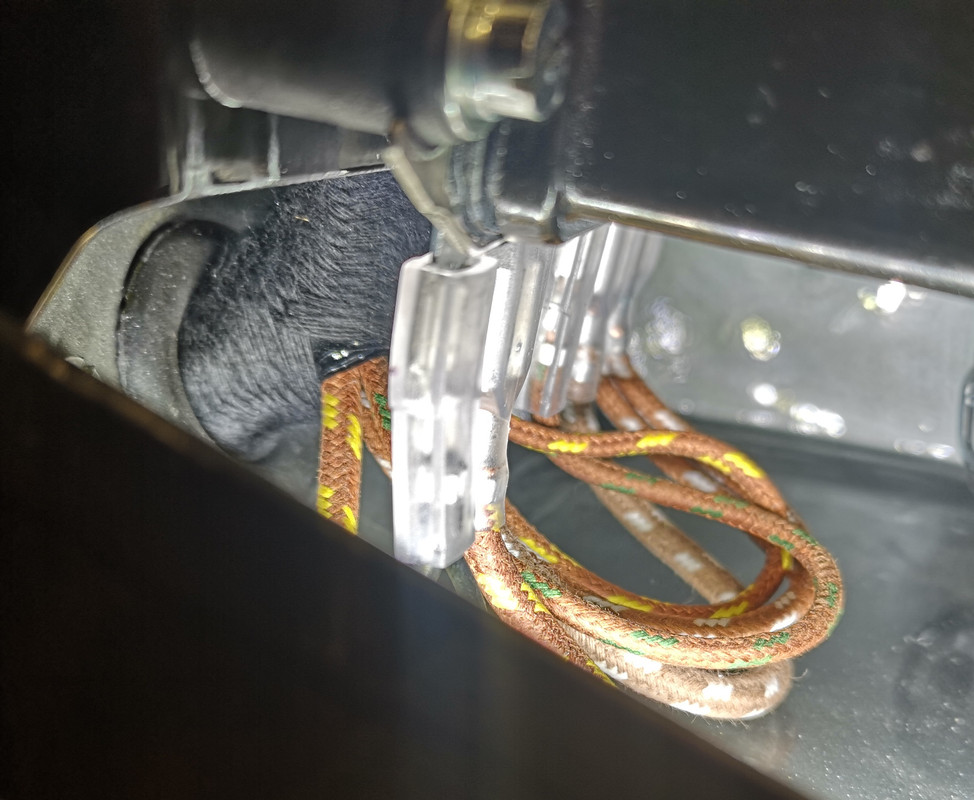
so there's not much choice about the initial run upwards, and from then on I've elected to run the harness underneath the upper square tube :
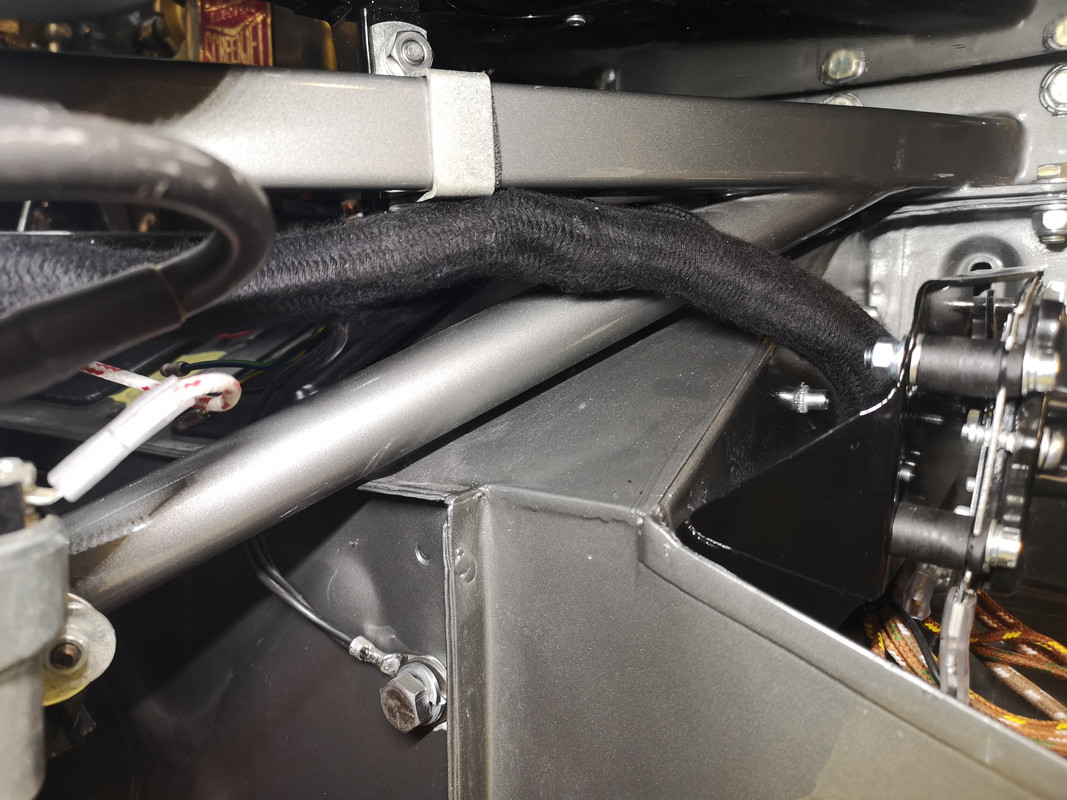
as this seems to optimise the exits for the main harness earth to the toe board, and the heater-fan wires :
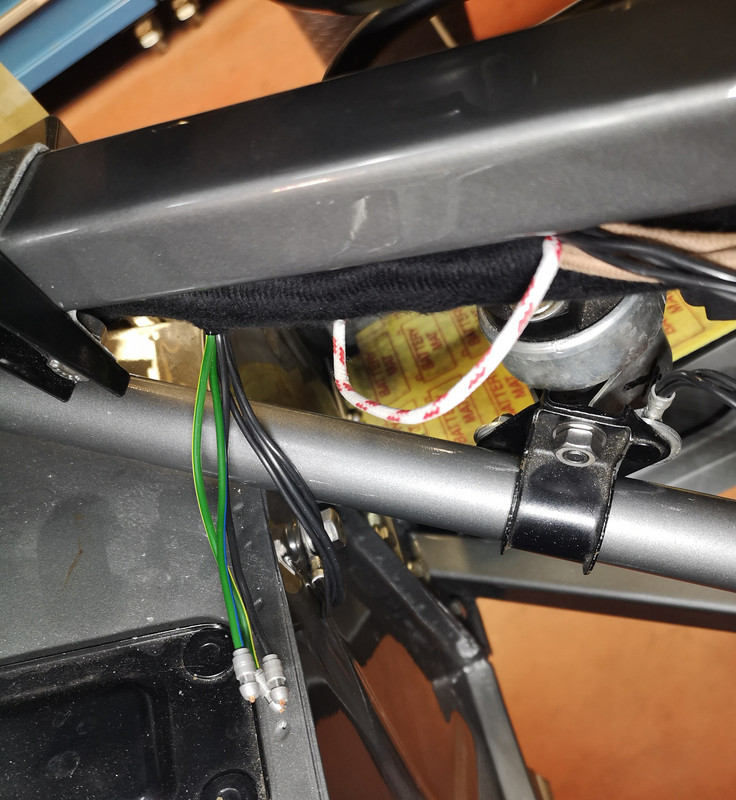
followed by the white/red of the starter motor relay (is mine in the correct location ?), the two browns, one feeding fuses F3 and F8 (that don't go through the ammeter), the other the ammeter :
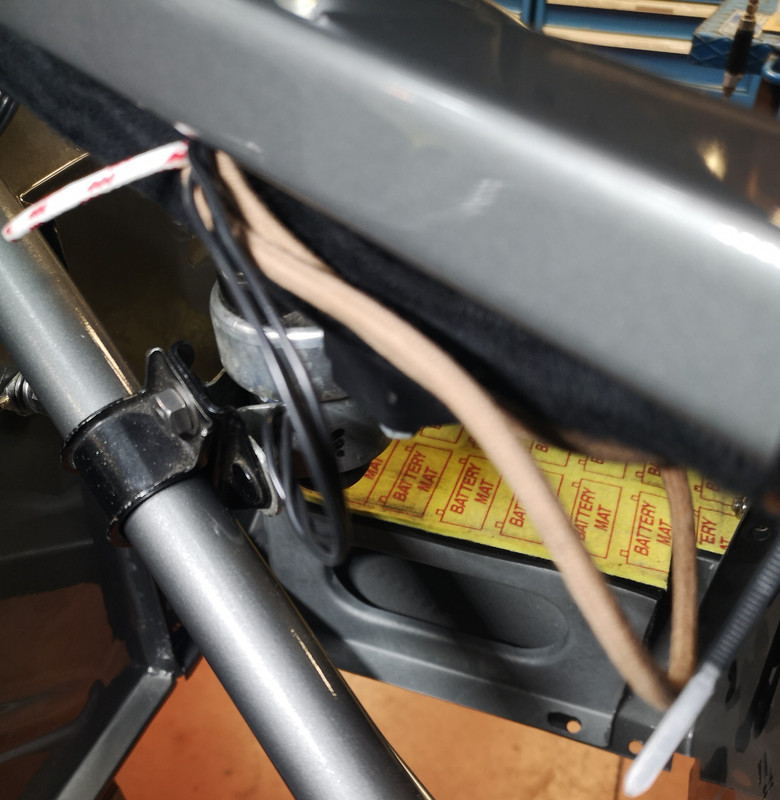
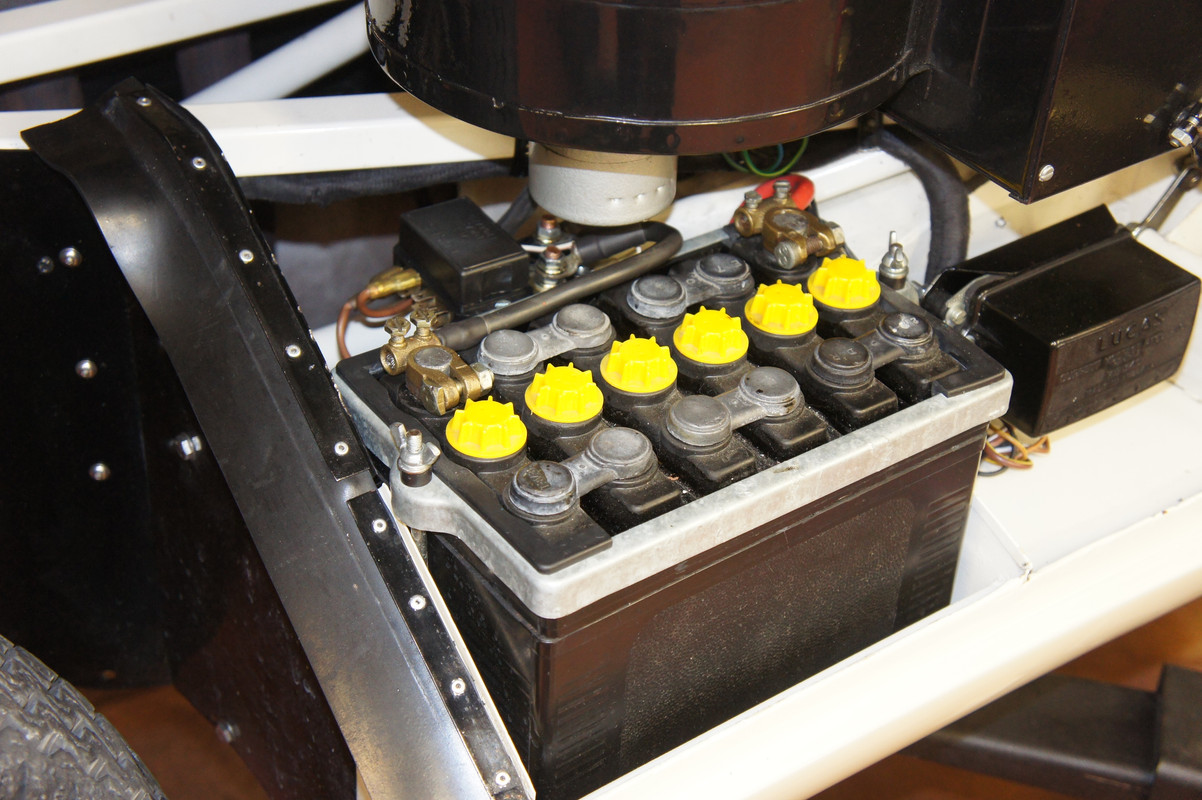
Next is the exit for the horn-relay wires :

- at this point, if anything I felt that the harness was getting a bit "ahead of itself" and had to consciously "use up" a few inches nearer to the heater/regulator so that the approach of the relay wires was more comfortable.
Next is the dynamo/fake-alternator spur, which looks logical and correct.
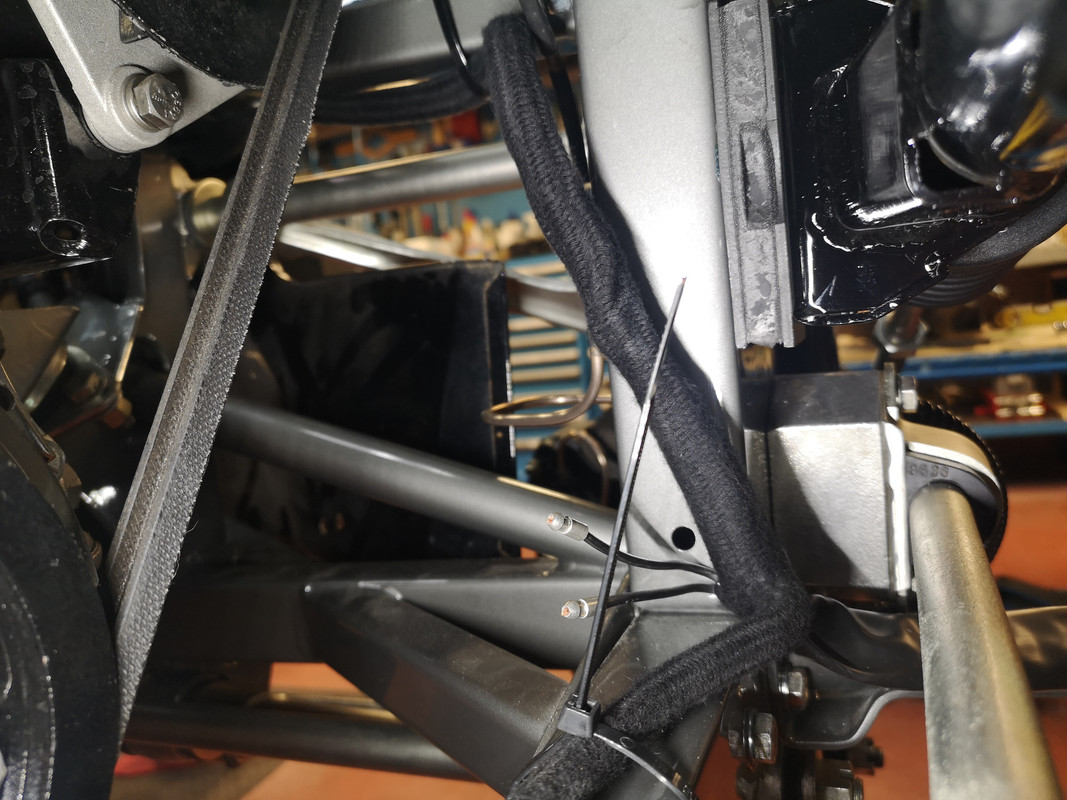
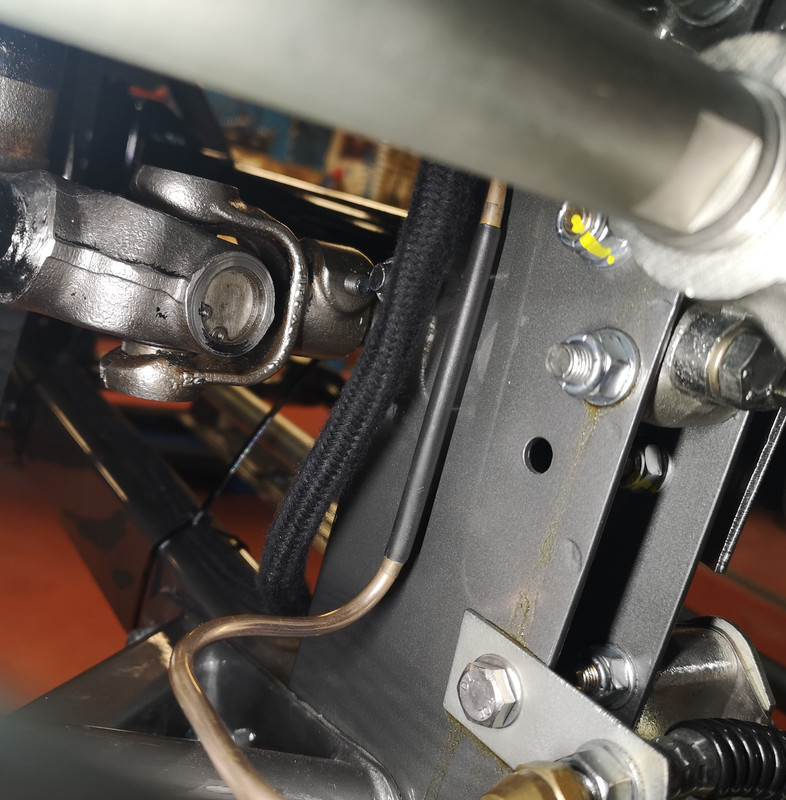
I'm guessing that at this point the harness remains below the square frame tube, and dives inside to drop vertically down the inside of the picture frame ?
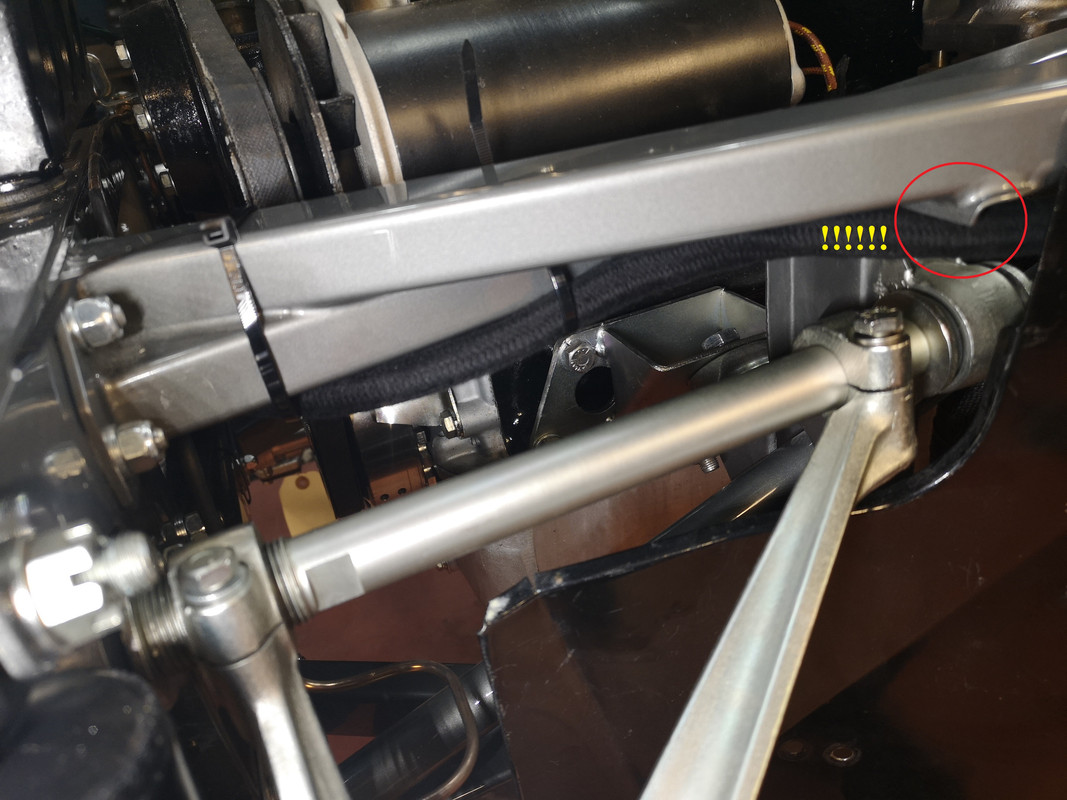
Warning - if this IS correct, beware of this rib on the frame bracket - in an earlier incarnation of my car this edge was quite sharp, and had contrived to cut through the harness sleeving, and through the fat red/yellow wire as far as the copper ......... on cars with a 4-position lighting switch, it was destined to feed fog-lamps through a further last click on the switch, (terminal 12 on the wiring diagram, page 354 of the Bentley Workshop Manual) where I had - very fortunately - never ventured, as it would have ignited the whole harness, the main brown feed to the lighting switch being completely unfused ............
There's a lot about this here :
viewtopic.php?f=3&t=5214&p=36869&hilit=fuse#p36869
and my attempt to make safer / more robust the fusing of the wiring harness, resulting in this modification - which is entirely compatible with the original harness.
But I digress ........
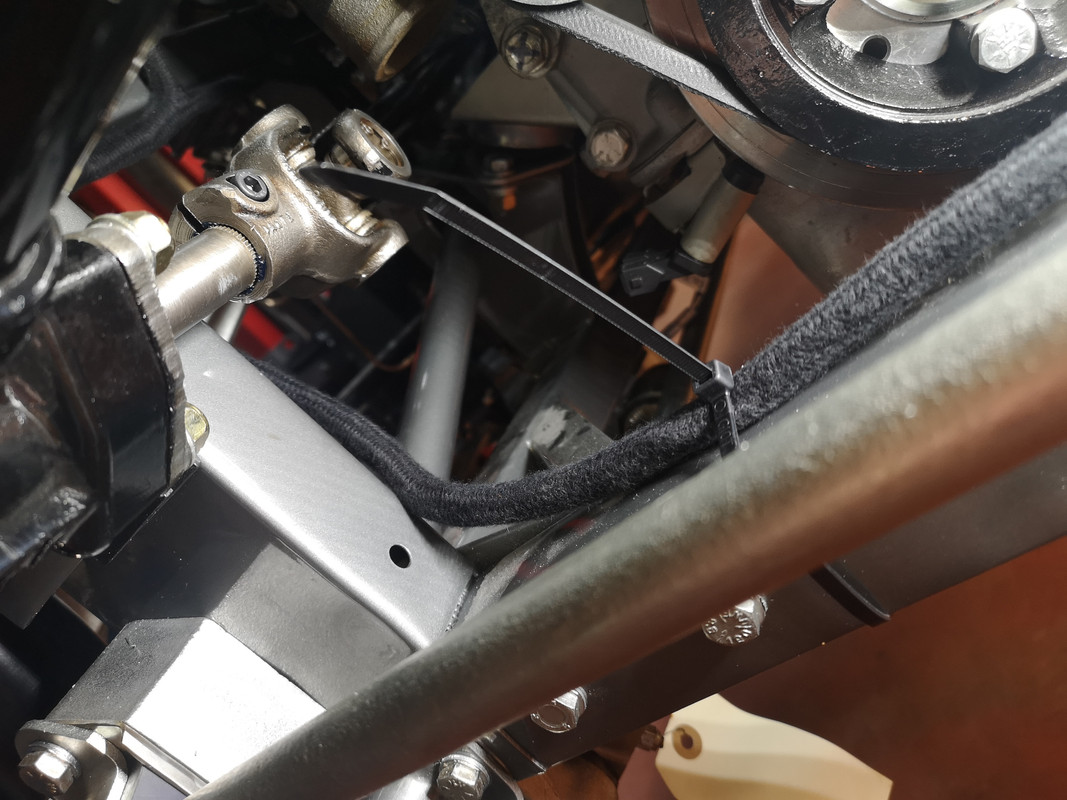
Having turned inside, running behind the picture frame, the harness seems to reach a logical split at the foot of the picture frame :
- with the plastic-sleeved bonnet harness running off towards the front, and the main harness continuing along the top - should that be across the front ? - of the lower picture frame traverse.
I found it rather puzzling that the fan-wires that exit at this same point should be so short, and am guessing that the fan itself must have had quite a long harness to get there ? My car doesn't use the original fan so I'm none the wiser ............
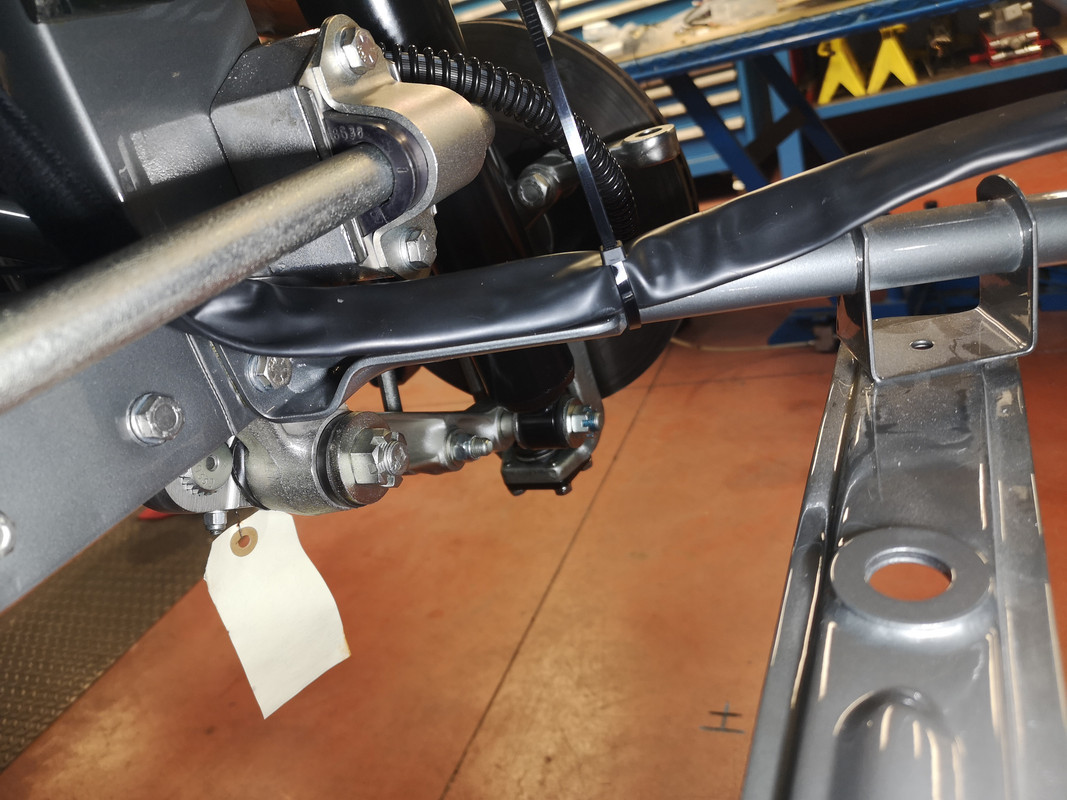
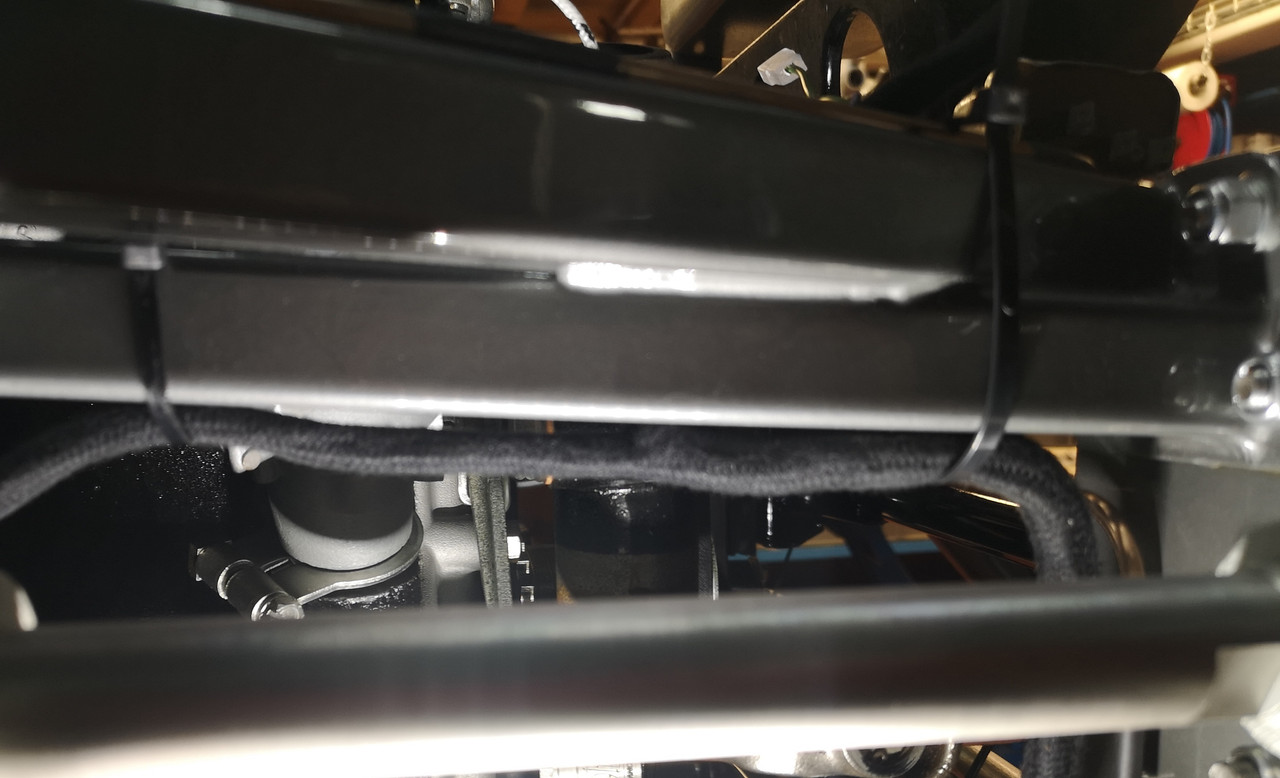
Having run along the lower picture-frame traverse, It then seems to want to run up behind its right hand vertical :
- seen here, pictured from the rear :
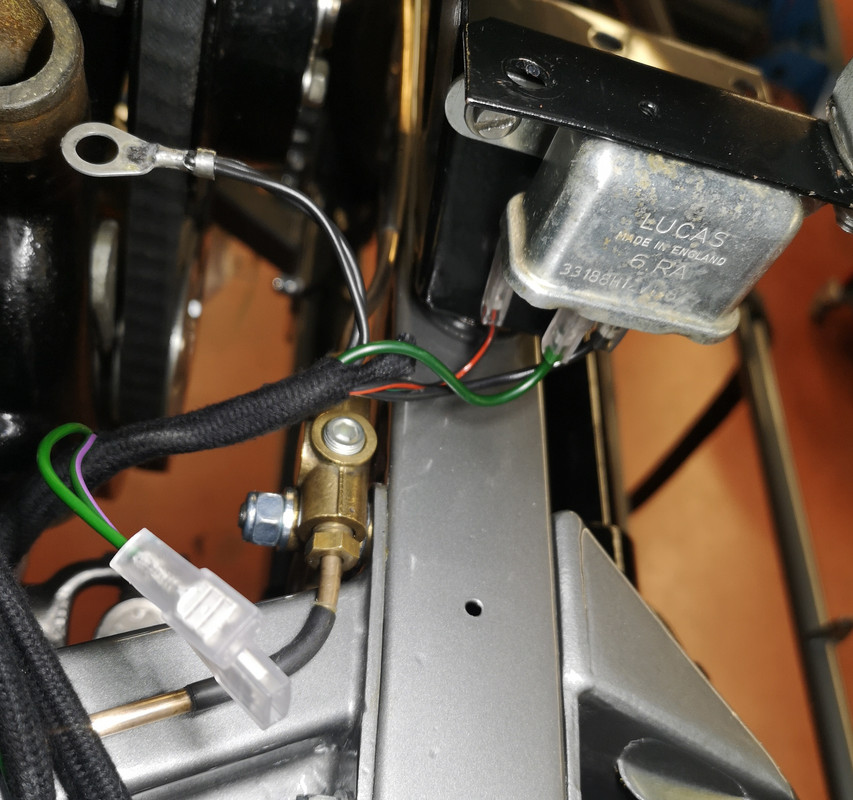
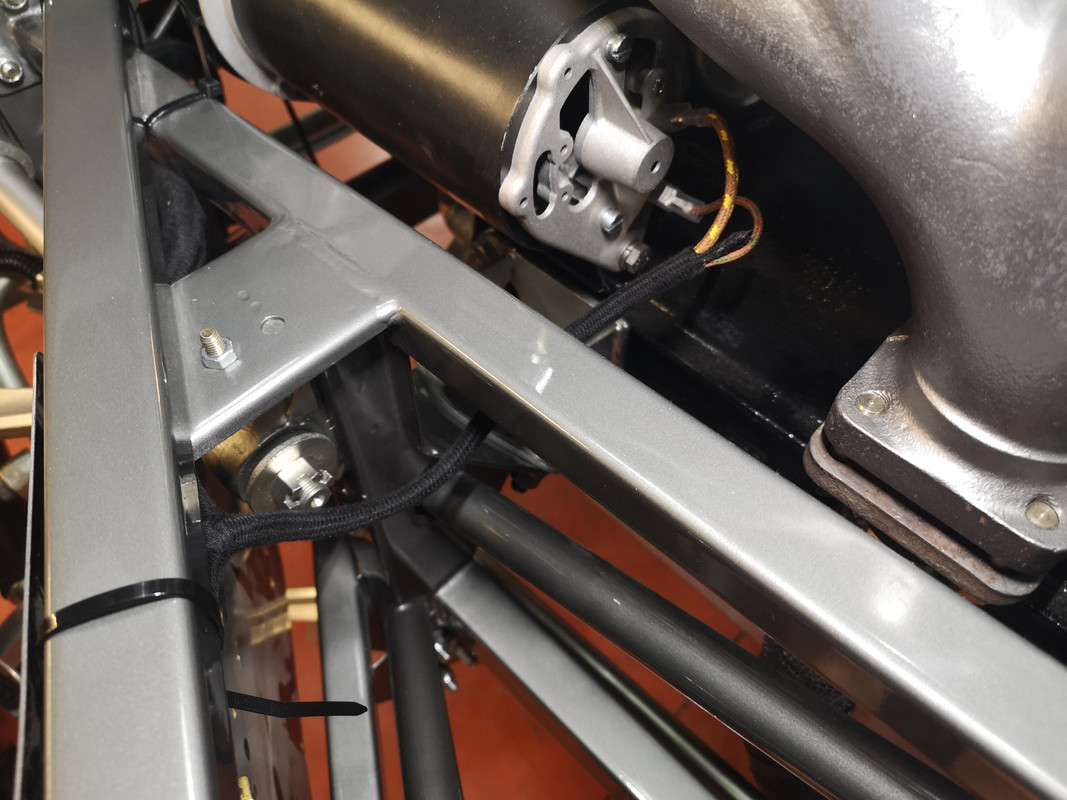
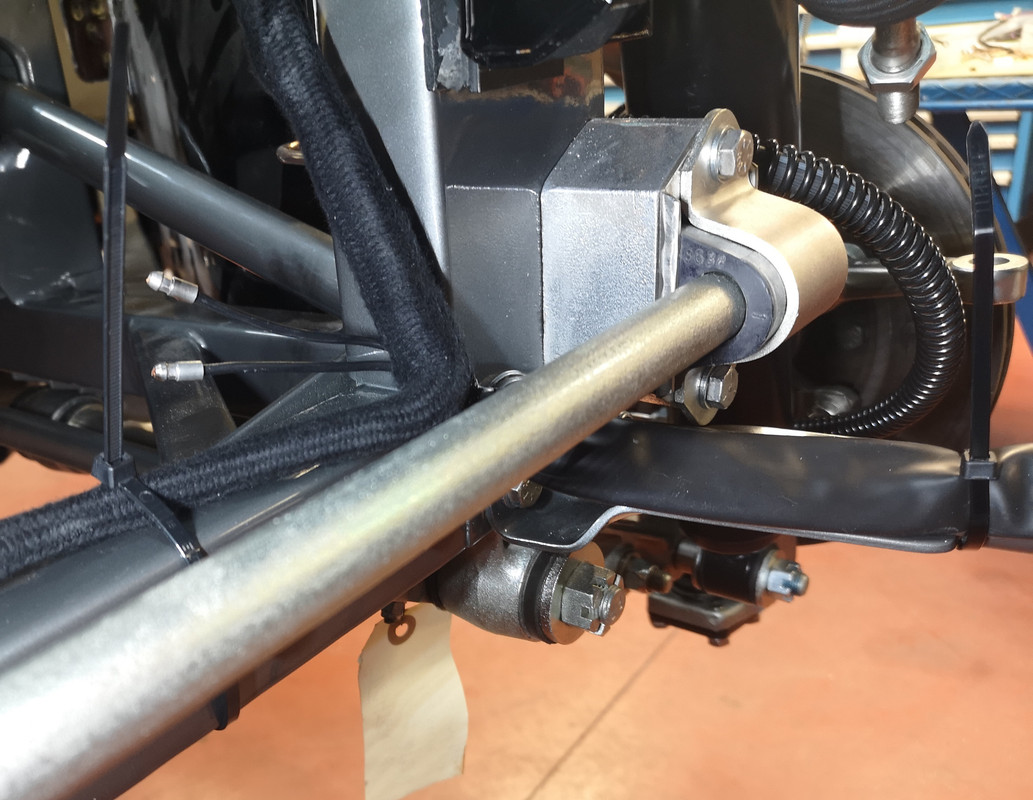
and then run, like on the LHS, underneath the square front-frame tube :
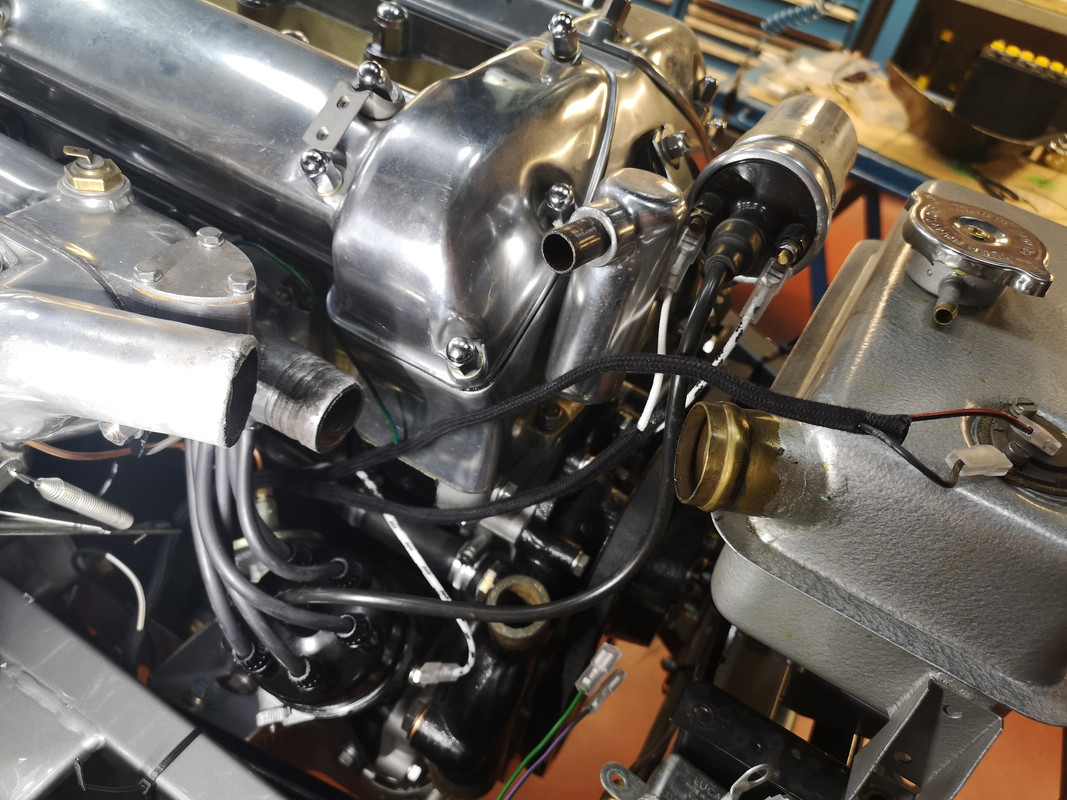
where spurs emerge to feed the hydraulic stop-light switch (not used on my car) and the original fan-relay :
The harness is rather generous at this point and I'm guessing it was intended to run around the back of the distributor as shown ? The white/brown on the left runs off to the oil-pressure sensor.
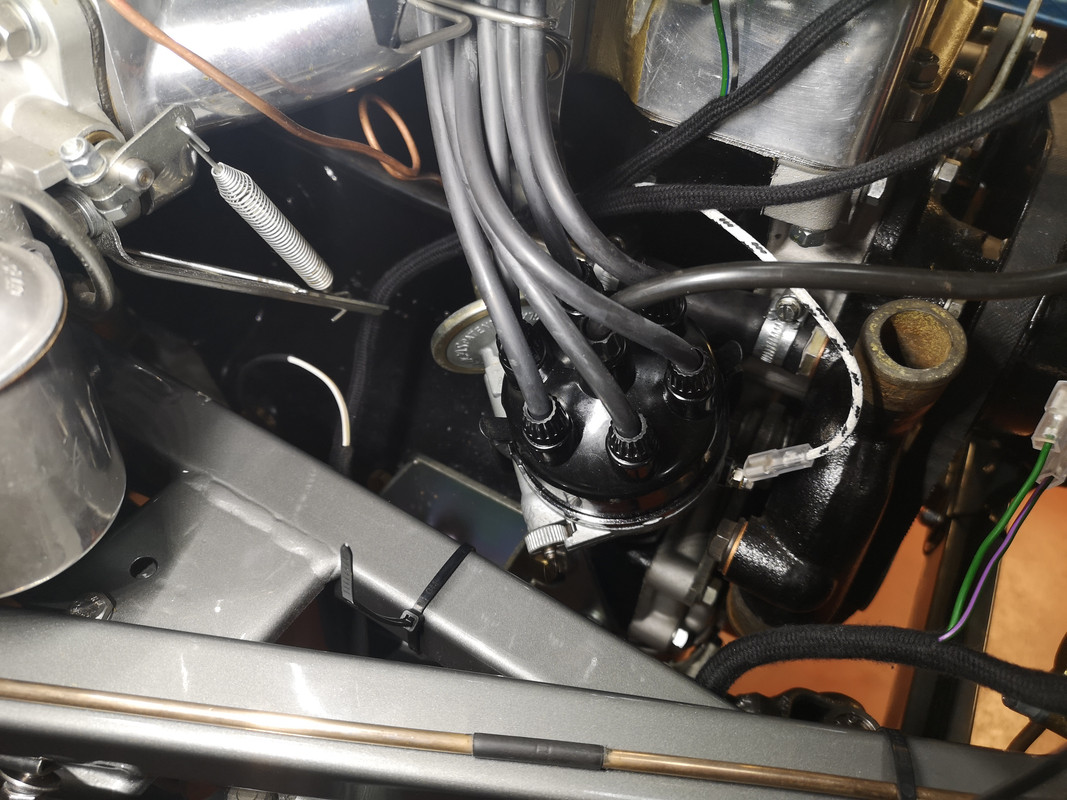
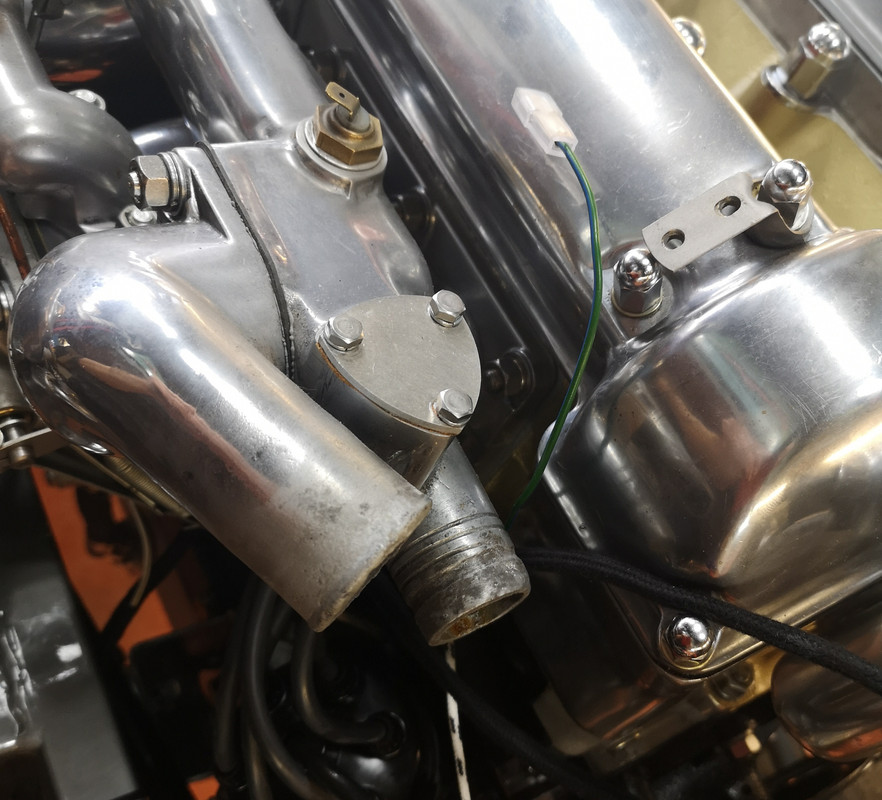
- and the remaining spurs go to the white/black of the distributor, that reappears along with the white ignition feed to the coil, plus the earth and black/red for the otter-switch :
There seems nevertheless to be a bit of an orphan here, in that the green/blue destined for the water-temperature sensor is too short to have a comfortable run to the spade connector, on mine at least - has anyone else had this issue ? Autosparks seem very responsive regarding suggestions about their harnesses and it might be worth passing them that feedback ..........
If anyone else has done this recently, and did things differently, I'd be grateful to hear from them.