


viewtopic.php?f=4&t=16547&hilit=3.8+sta ... le+routing
viewtopic.php?f=2&t=15567&hilit=3.8+sta ... le+routing
viewtopic.php?f=4&t=14036&hilit=3.8+sta ... le+routing
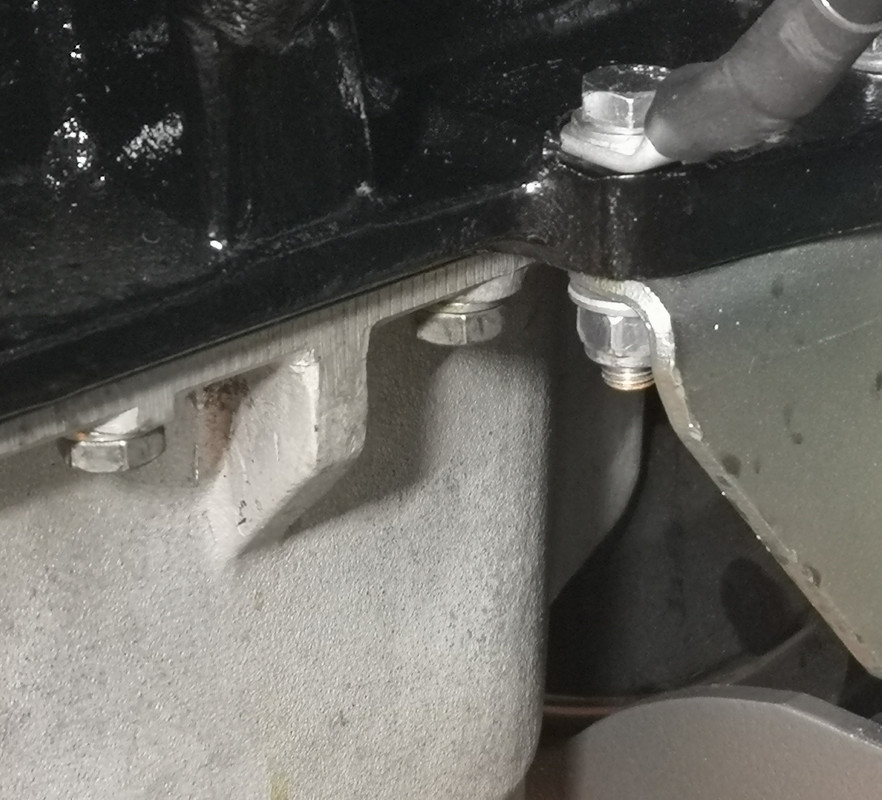
I add my three-penneth-worth simply as an approach that might be of interest to anyone tempted to cut short the round-the-houses cabling of the original car, where the starter cable is routed right around the front of the engine bay.
My car is not a 100-pointer, and the less cabling and wiring there is, around the front frames, the better.
I don't think it distracts - strikingly - from an original engine bay to run a cable directly behind the engine, and with the advances there have been in insulating materials in the last 60+ years I have absolute confidence that this approach will work perfectly.
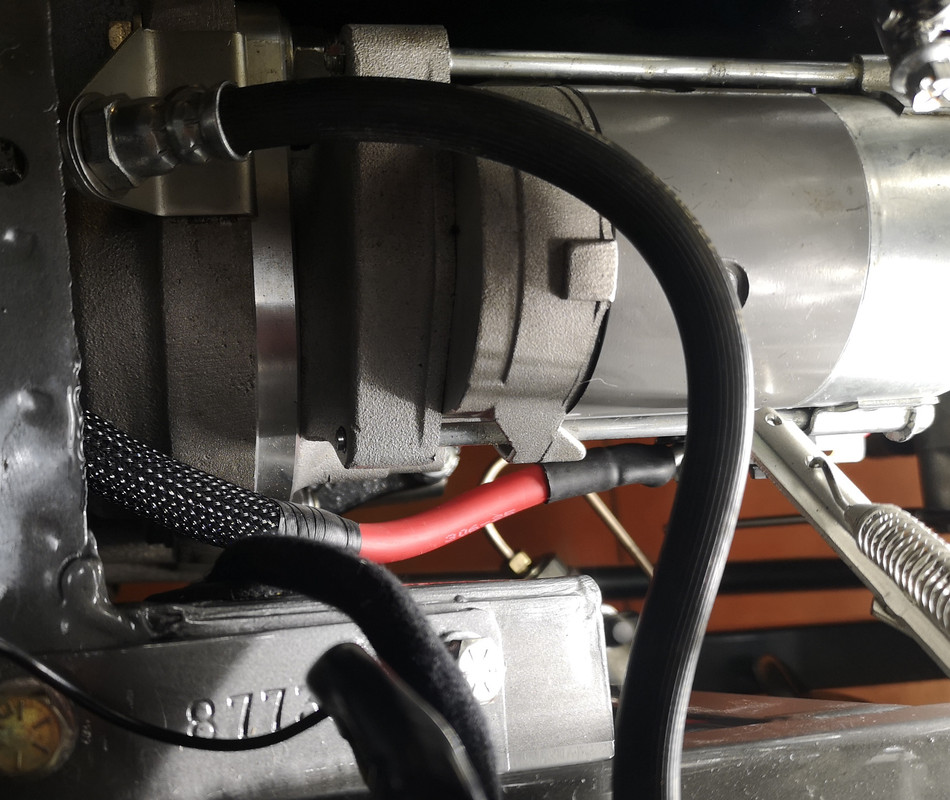
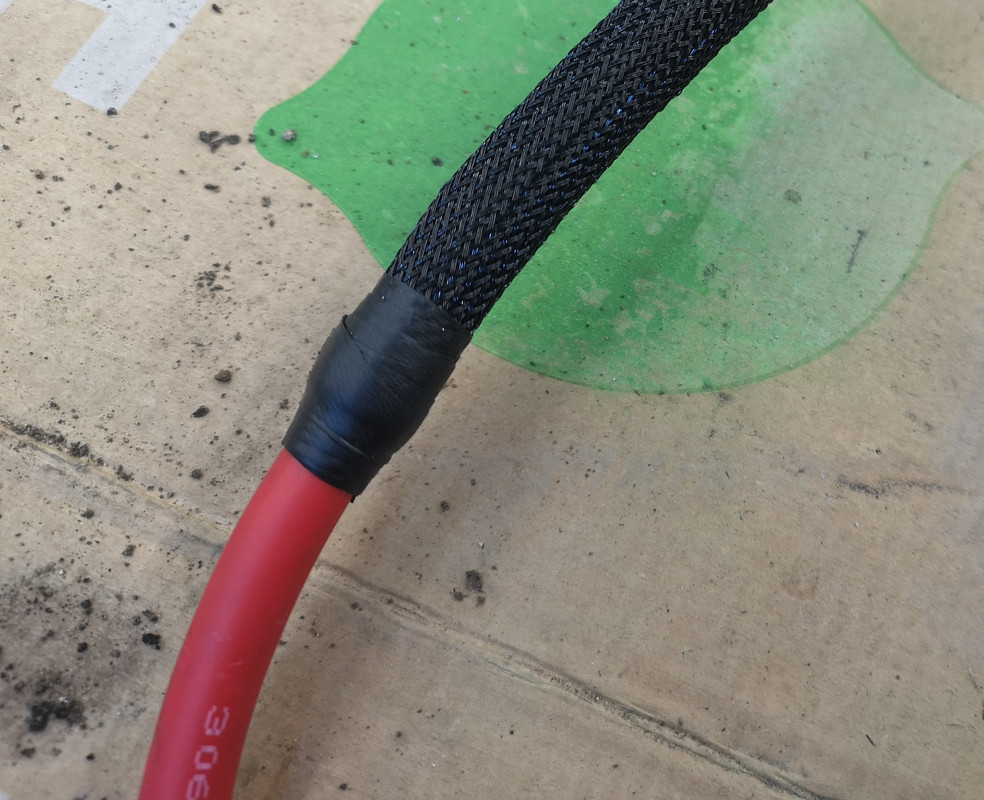
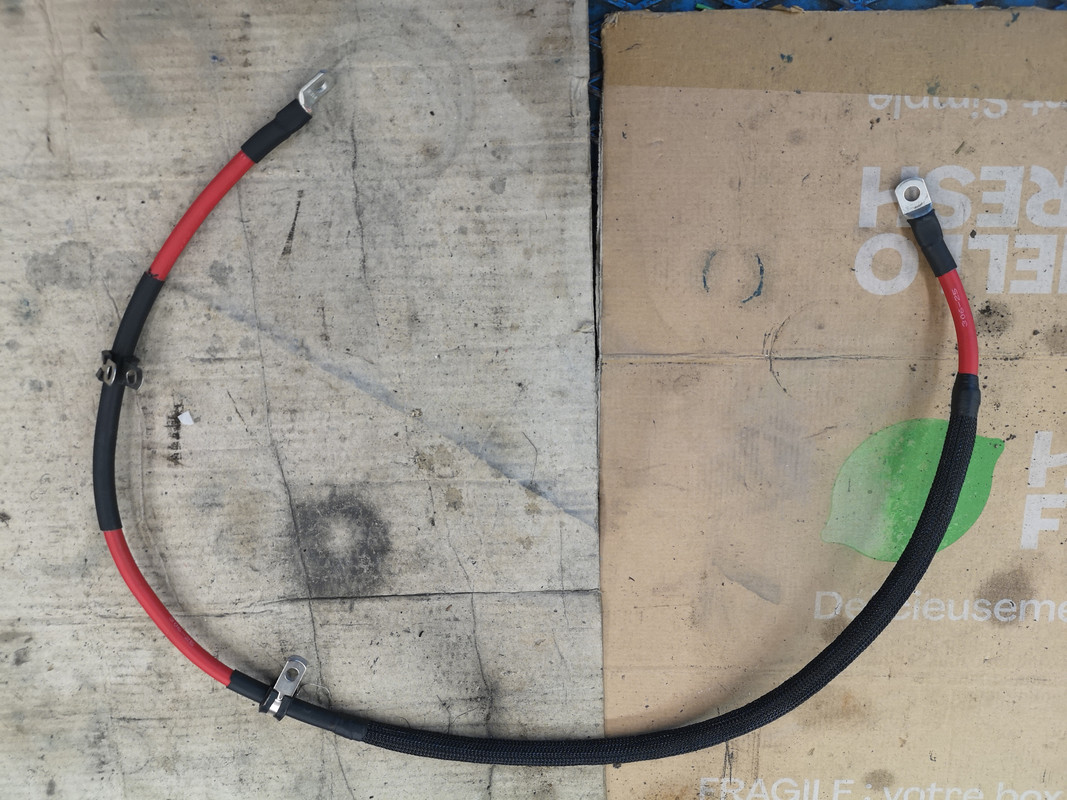
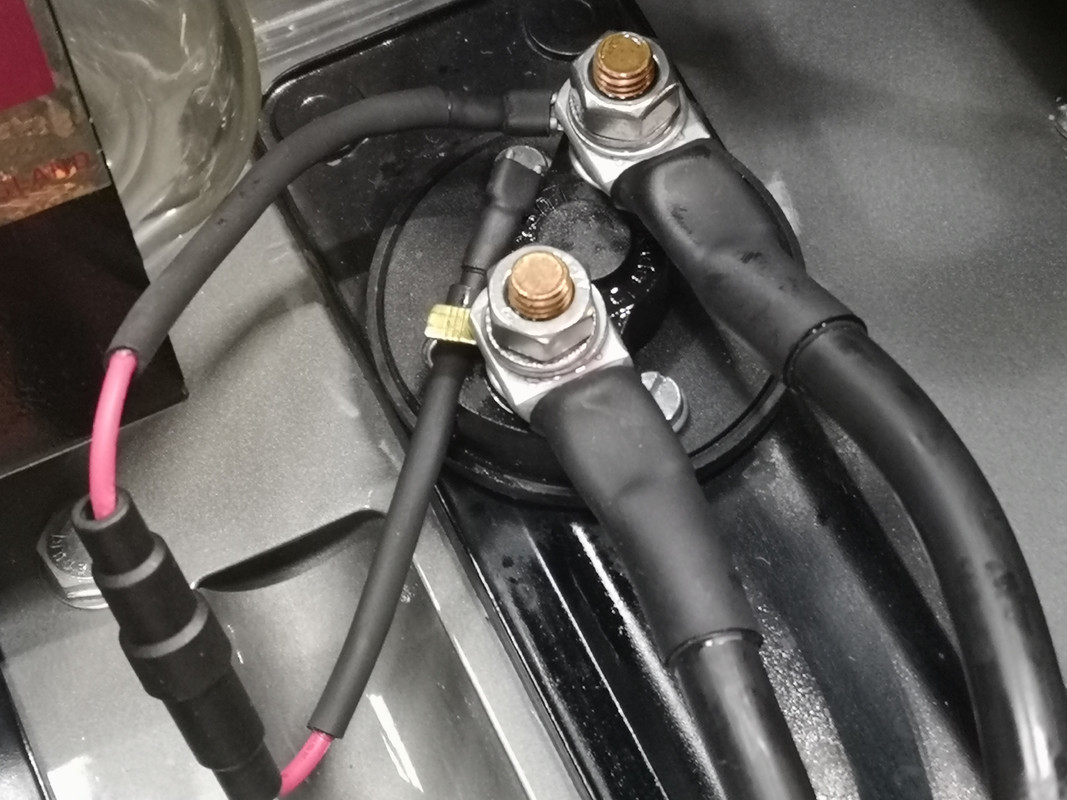
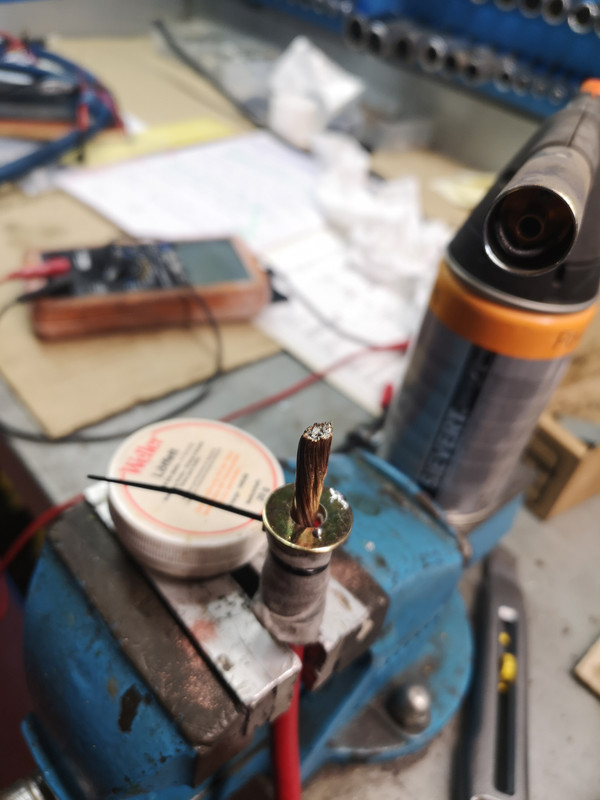
I have always used 25mm2 cable as seen here ; the adhesive 3:1 heat-shrink covers all the sensitive areas, and the braided polyester sleeving as sold by AES and others is more than man-enough for the temperatures encountered in these volumes.
https://www.autoelectricsupplies.co.uk/ ... d-sleeving
Sealing the ends of the braid is, I've always found, best done with self-amalgamating tape, as it's easy to over-cook the braid when you try to do adjacent heat-shrink with a normal (non-thermostatically controlled) heat-gun like mine.
Mine now runs, then, over the top of the bell-housing - it's stiff enough to remain "up in the air" as seen, at least for now - but any chafing will be derisory, and the braid + heat-shrink + original insulation is more than enough to keep it safe.

If I were to do it again, I'd fit this cable to the engine prior to installation and make some kind of intermediate attachment to the bell-housing, simply in pursuit of a more elegant solution.
But as you can't see it anyway ..........
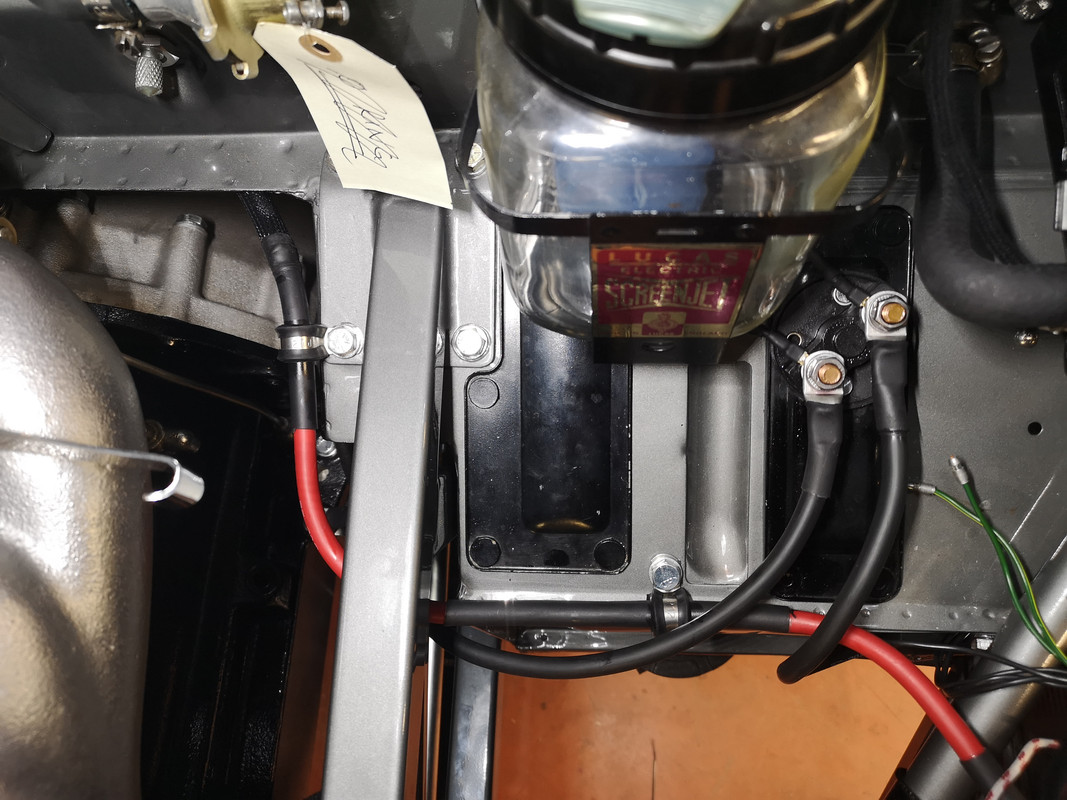
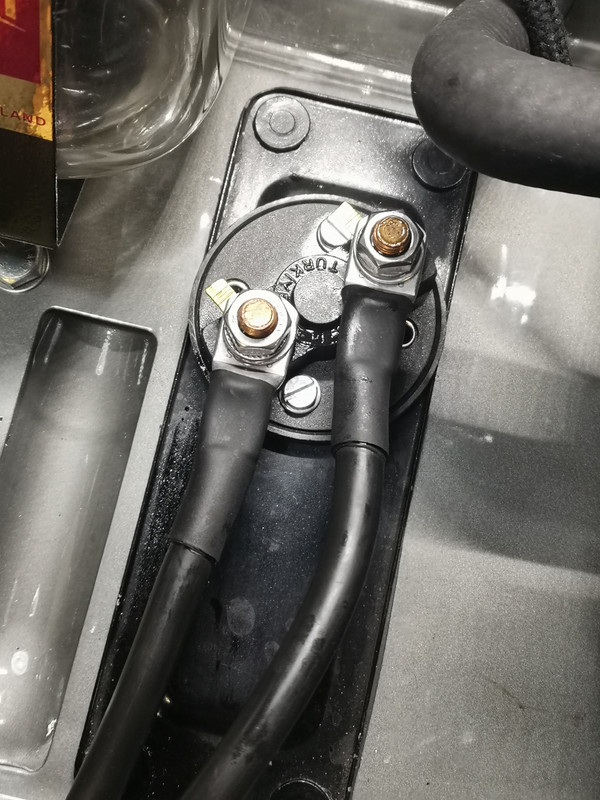
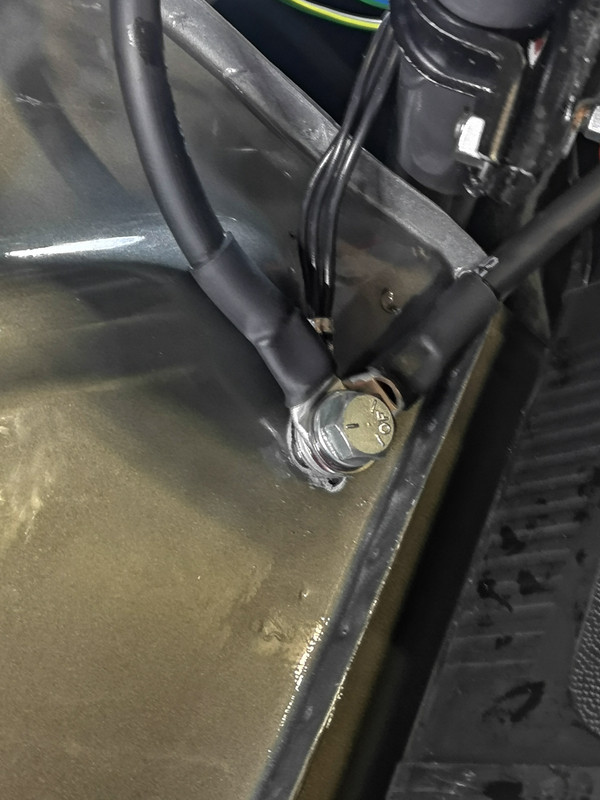
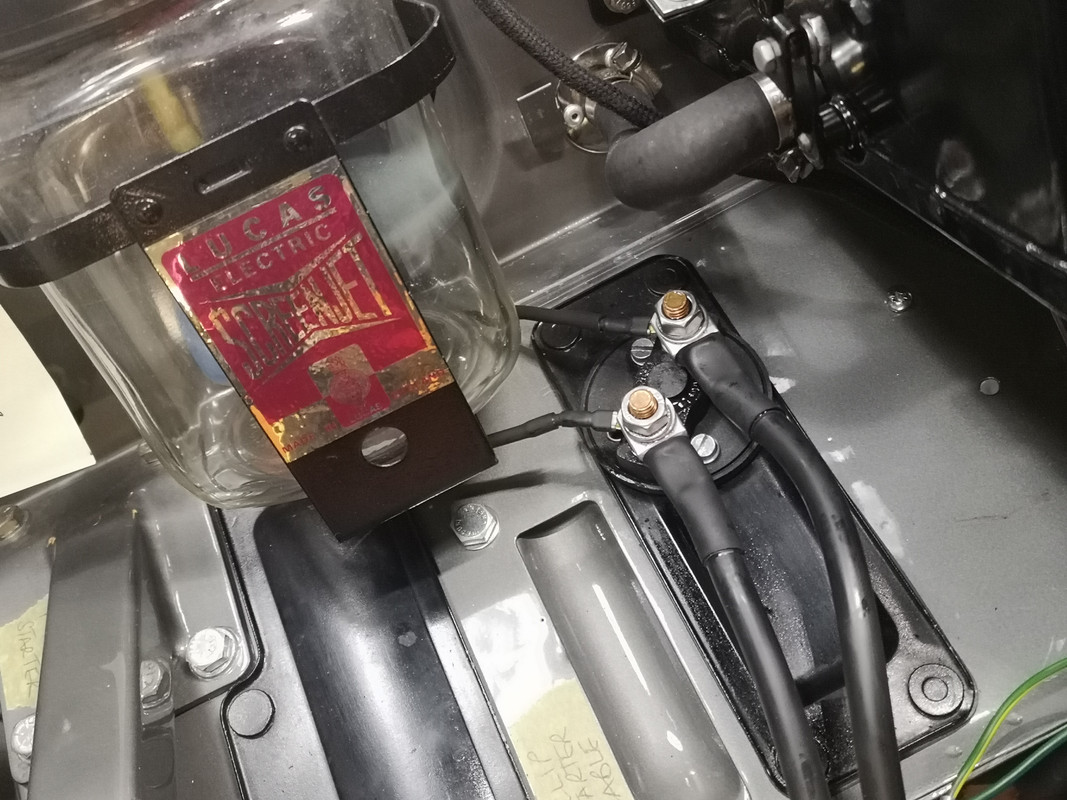
I've added some other shots of how I ran the earth wires and cables, as someone searching for the starter-cable topic is likely to be in these stages too.
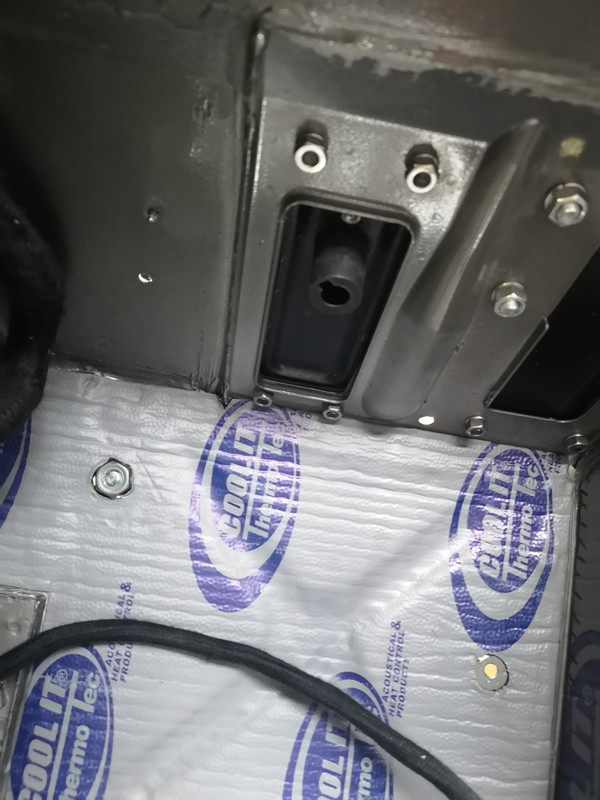
These show a suggestion for an earth isolator-switch location, accessed in the passenger footwell (RHD), with a fused jumper across the terminals - to power the clock.
I use a wrapped wet bit of cloth to keep the sleeving cool, a washer sitting on top of it to act as a heat-shield-sink, and a gentle blow-torch flame to get the (fluxed) copper to a point where it will drink soft-solder.
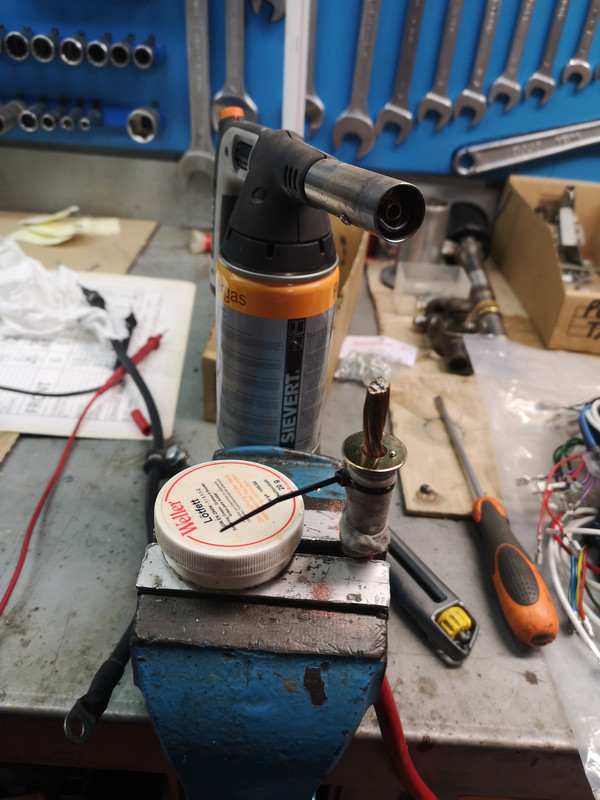
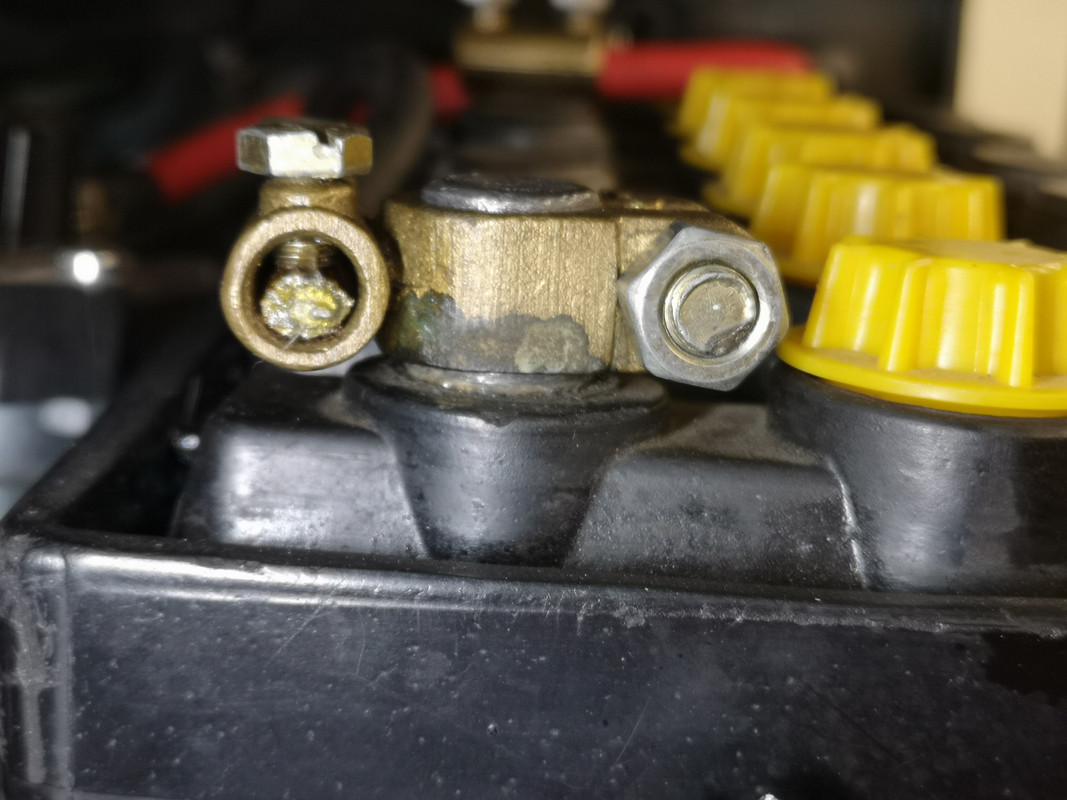
In that way, on battery terminals that use the clamping screws like this (incorrect) type, you get a much more satisfactory grip, as the copper behaves like a bar rather than as a rather tangled rope.
I always try to make the cable ends drink WD40 before heat-shrinking the sleeves, as you'd be surprised how these wires get oxidised, over the years, even on a car that never gets wet.
