I know Mich did it, and this guy makes nice noises, but didn't bother with the cooling system.
viewtopic.php?f=2&t=5467&p=38597&hilit=test+bed#p38597
Here's where I'm up to, and maybe others (Michel ?) can chip in with pitfalls and advice.
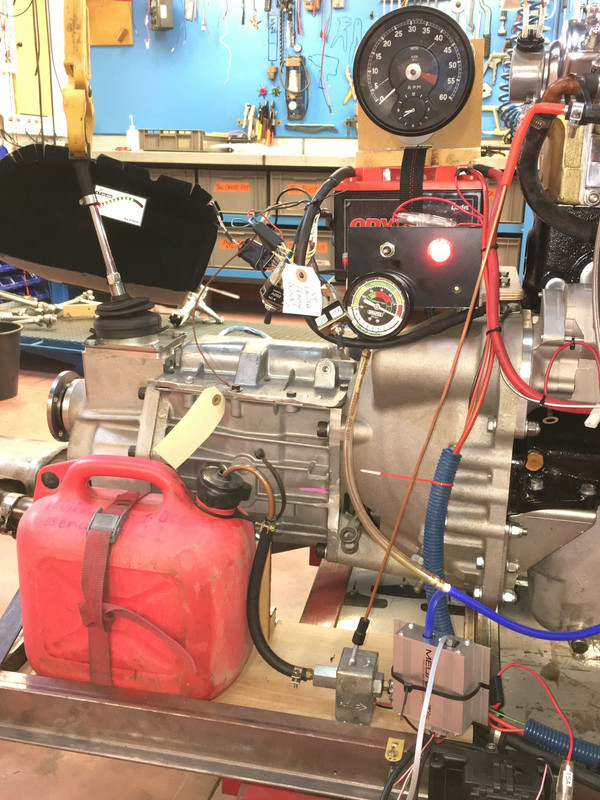
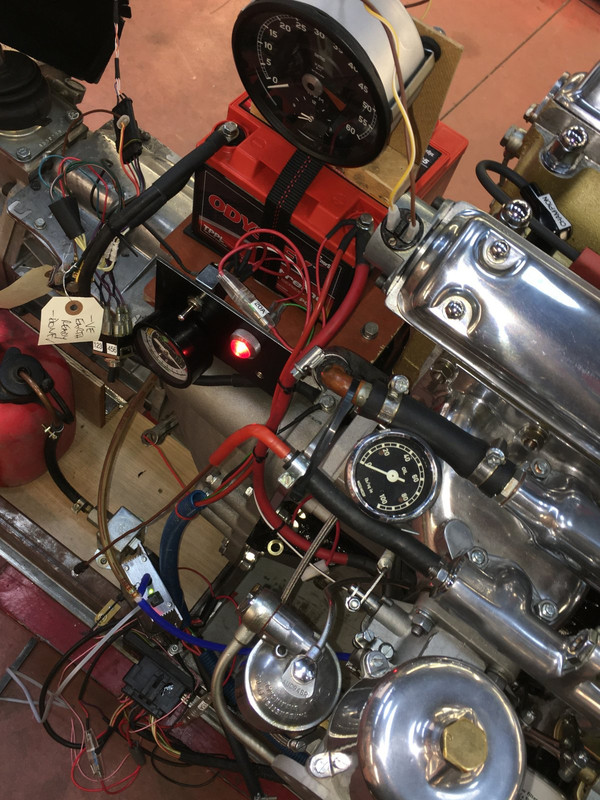
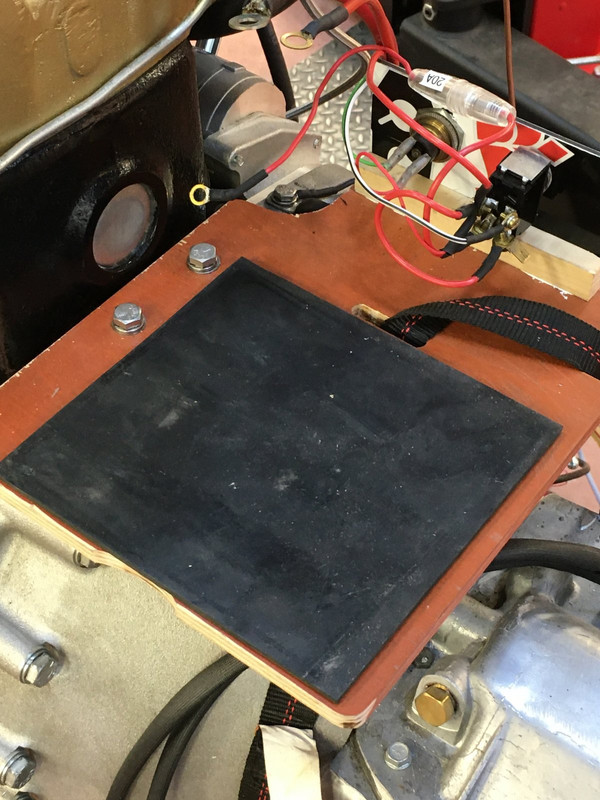
My goal is to be able to run the engine for about an hour in all, be able to set up the carbs, the timing, check for leaks, fit and test the Megajolt system, and generally make the most of having everything so accessible.
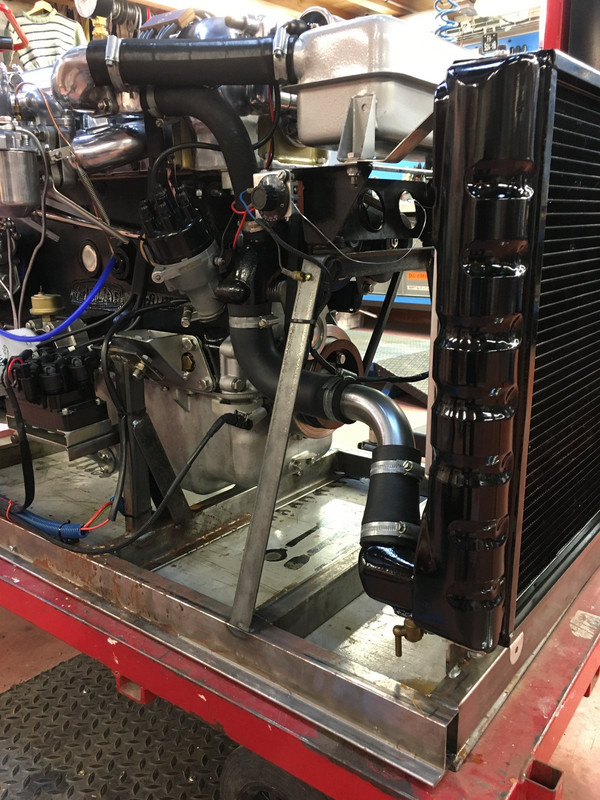
So a proper and almost complete (no heater circuit) cooling system, with the electric fan, is included.
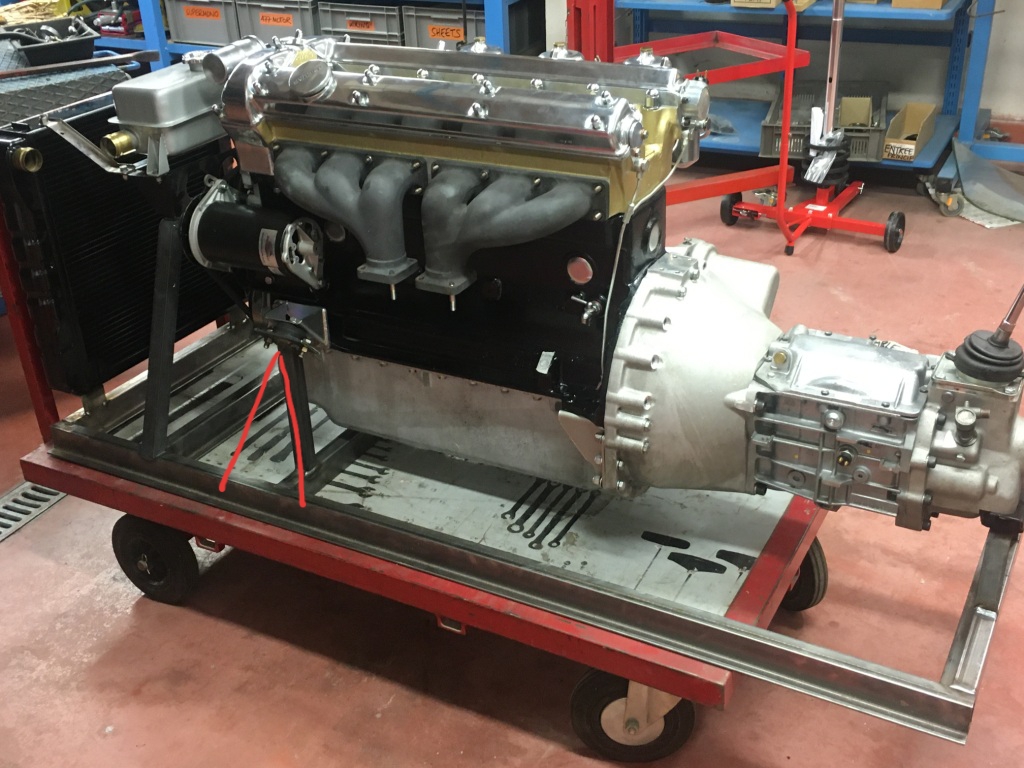
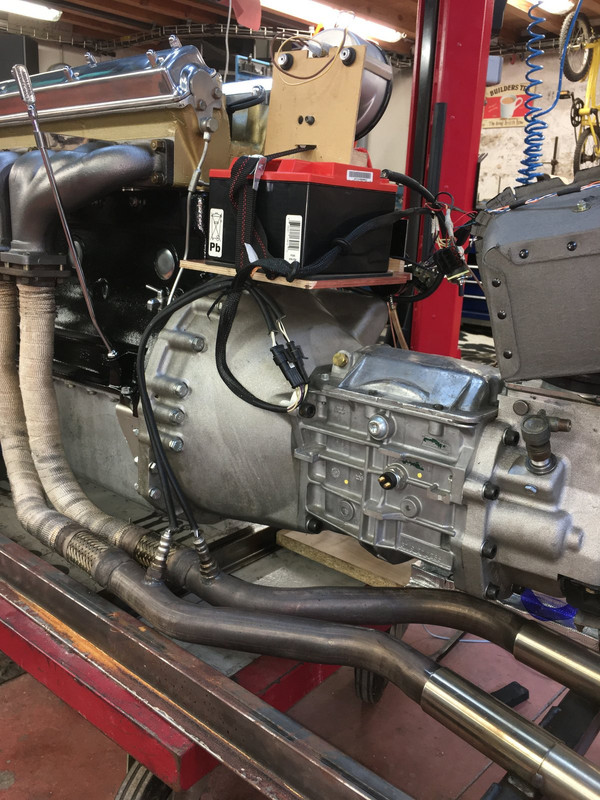
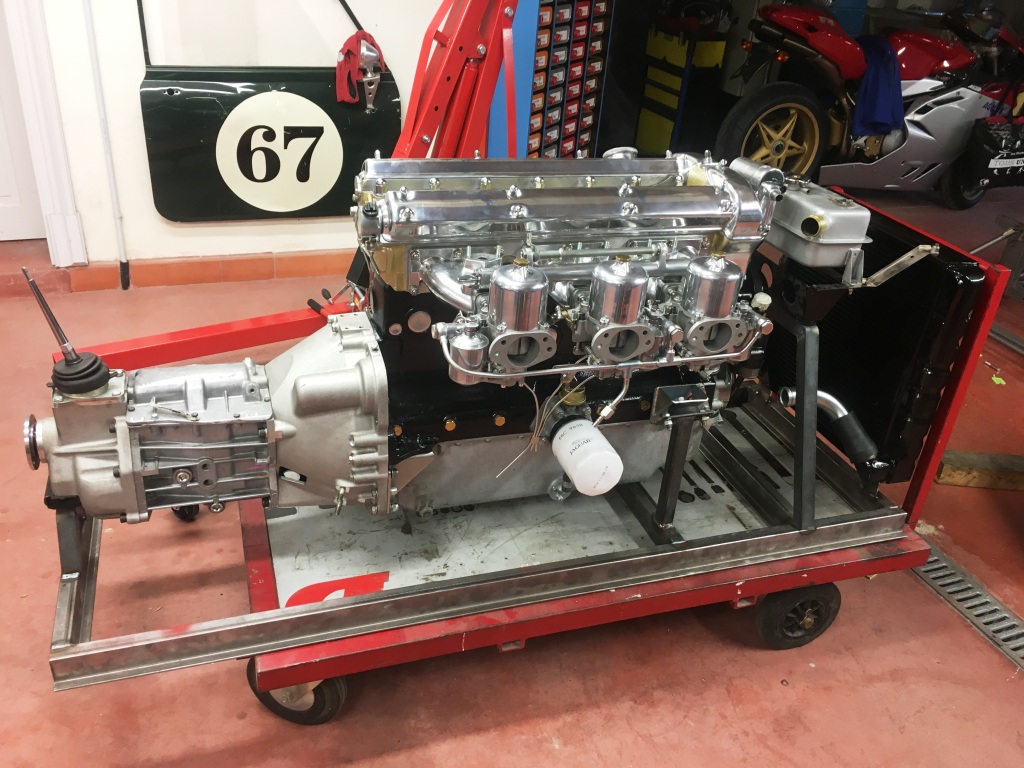
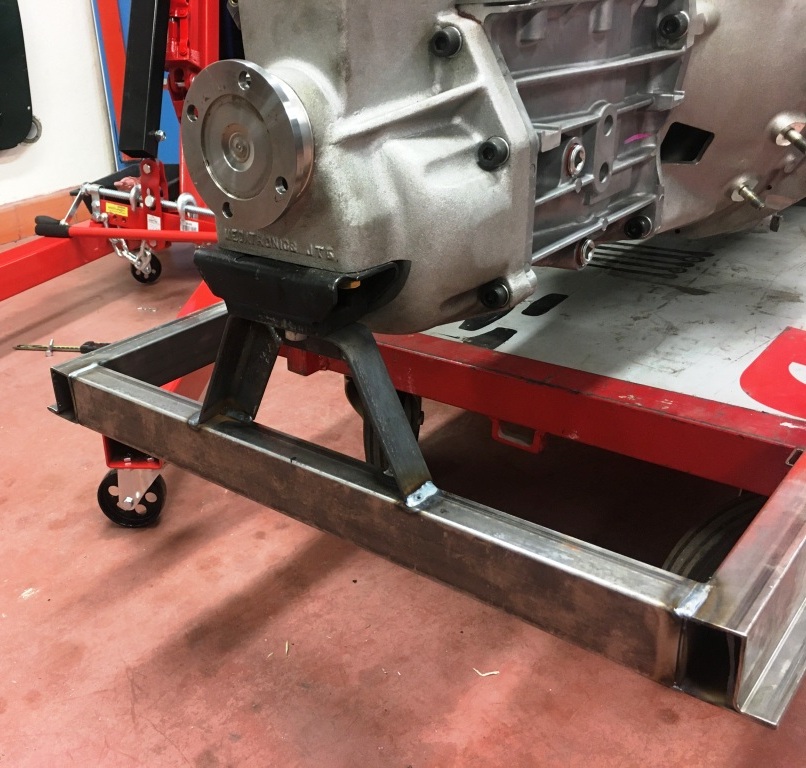
I'm using the general-purpose workshop donkey-trolley as a base, which conditions slightly some of the decisions.
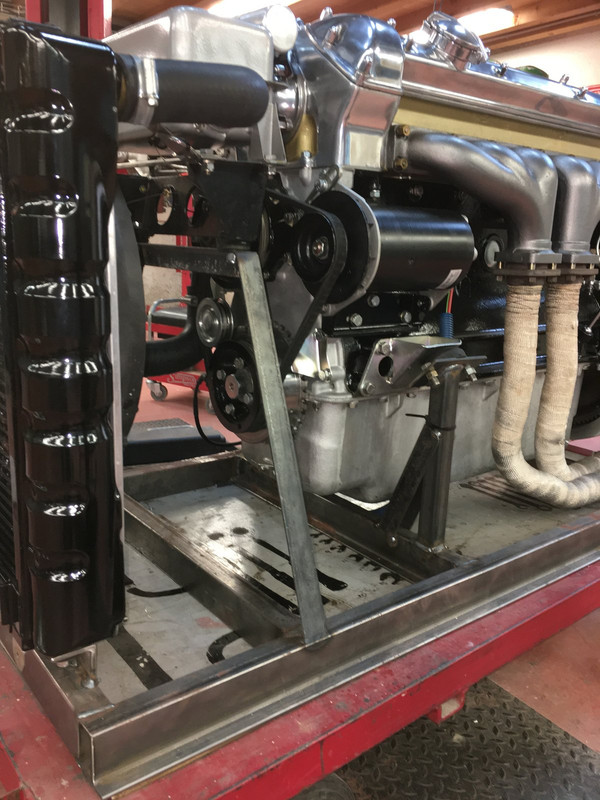
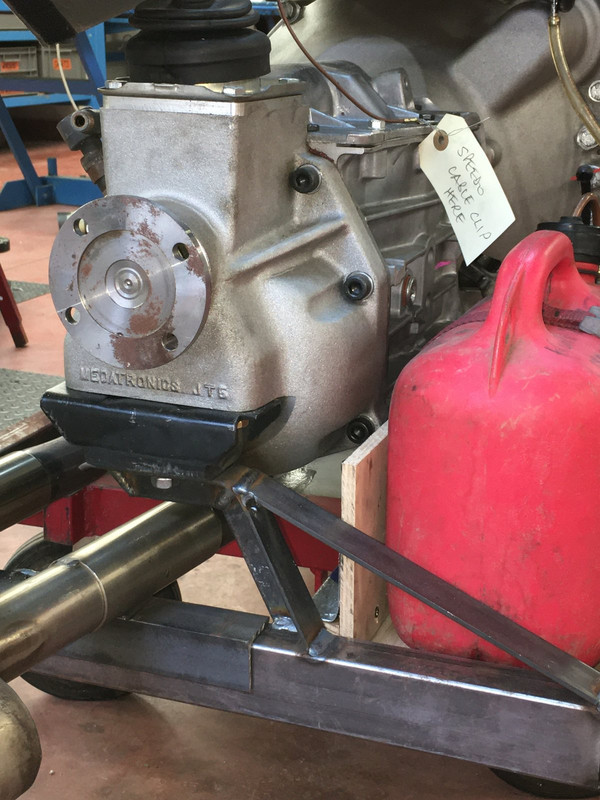
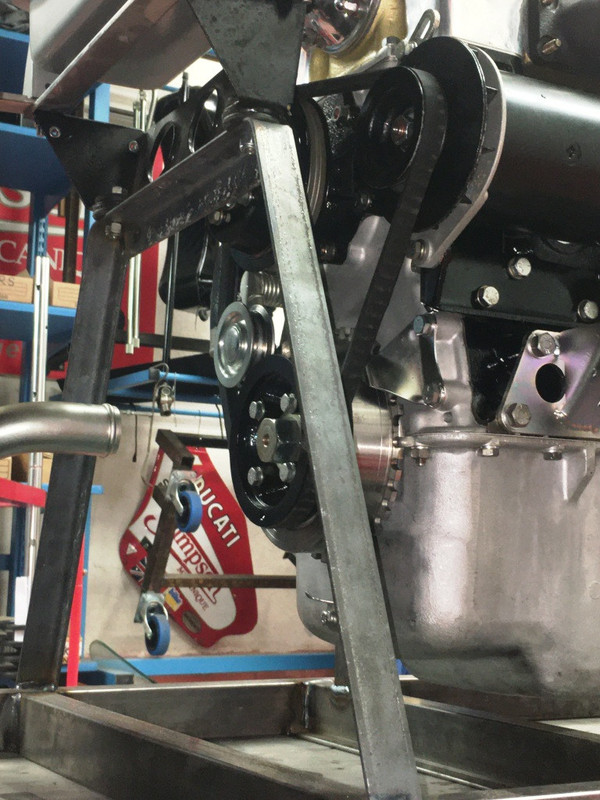
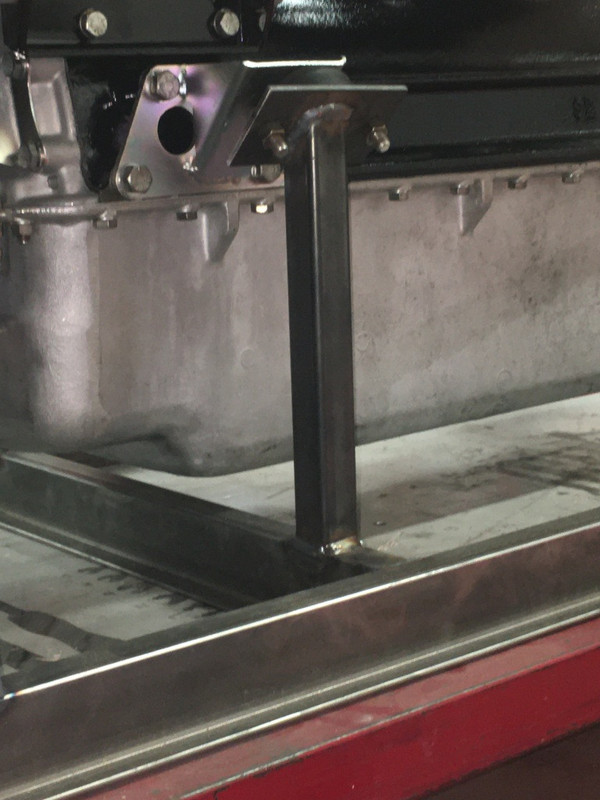
The engine suports are 30 x 30mm tube, I'll be adding a triangulation somewhere as they're a bit weedy at the root, to the eye anyway.
I determined the overall length from radiator mountings back to gearbox tail-support, and dropped heights down from the front chassis tube assemblies including the picture-frame and the bonnet/radiator support frame to give me the requisite mounting heights for the radiator, header tank, engine-mountings, and gearbox tail support.
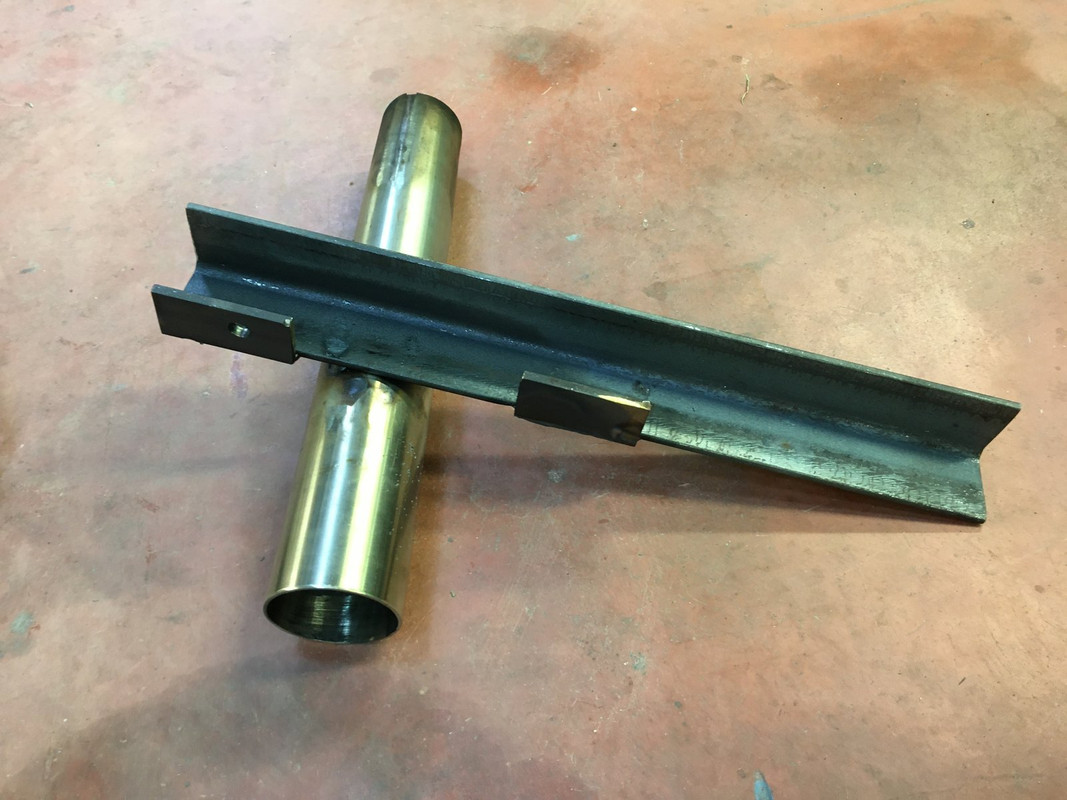
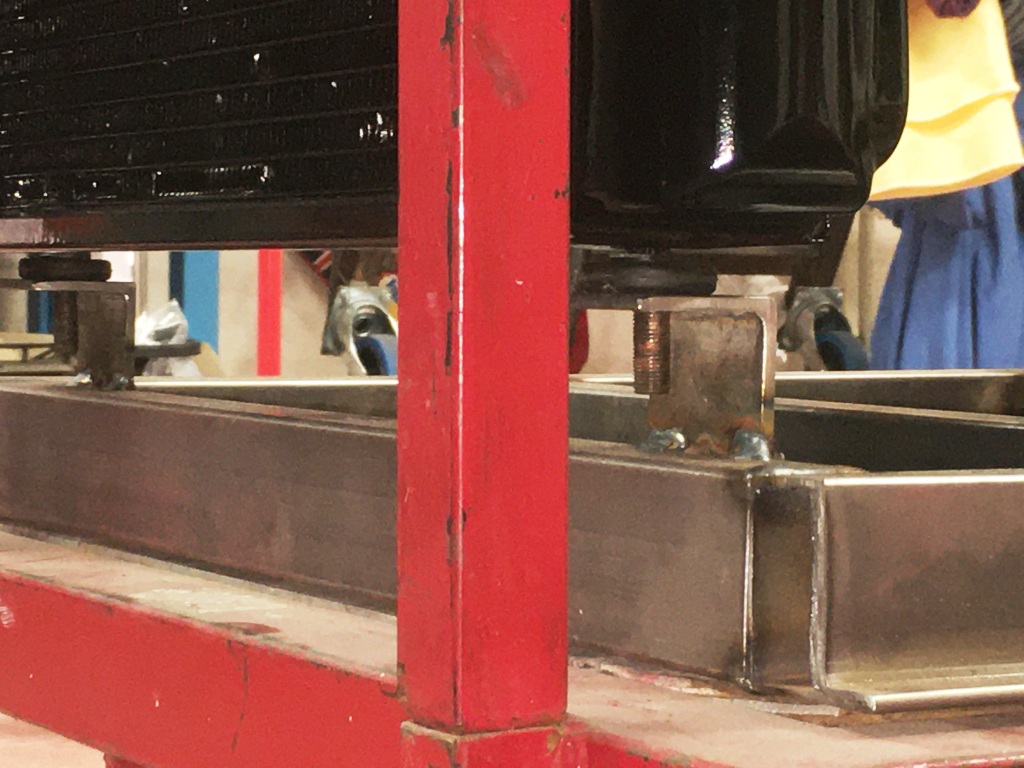
The tubing is 50 x 30 door-frame stuff, simply because I had fair bits left over from other projects, so it was essentially free.

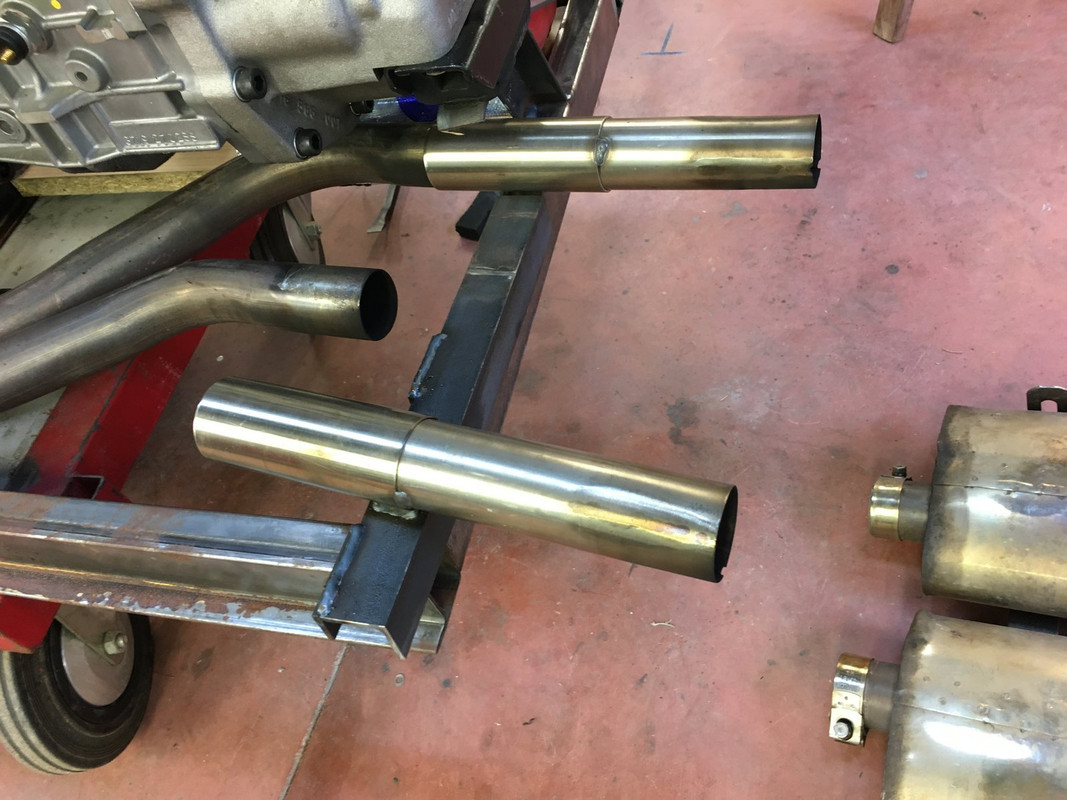
I think my first cock-up is that I hadn't focussed on how low the exhaust headers went as they make their first bend (I intend to run this with a complete exhaust system), but first measurements suggest that at worst I'll just have to raise the base rails about 50mm to get the pipes to clear the trolley - the major length of the exhaust system will be carried independantly, suspended from trestles.

I'll keep updating this as it goes along, and might put the dimensions and heights into a drawing as these were tricky to calculate and I'd have enjoyed having someone else's work to compare with my own conclusions regarding position/separation etc.