paulj wrote:Hi David
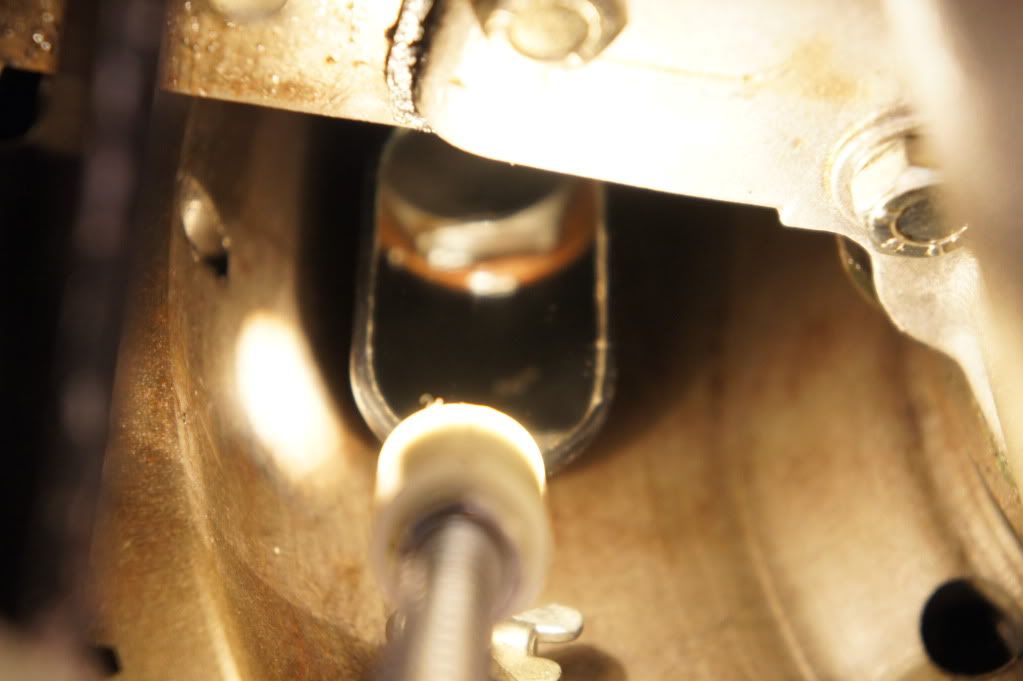
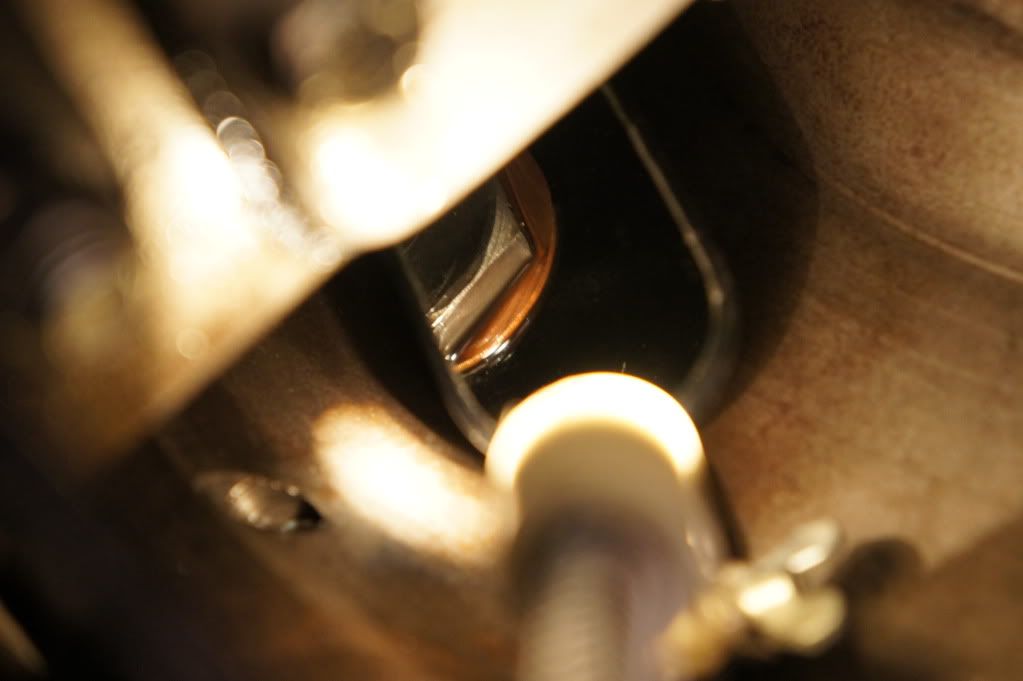
I rebuilt this engine I have a small leak from the oil banjo's rear of head.
You don't say what car/engine you have, or its age. The former has a bearing on the issue and for the latter - it's at least a forty year-old car.
It is quite possible - likely even - someone has nicked the seating for the copper washers or the banjos themselves or has used un-annealed washers etc. etc. Maybe even the wrong length bolts or split banjo solder joint. You simply have to be methodical and restore all sealing faces / parts to good condition and use annealed washers and assemble carefully. If the parts are good and put together with care, there will be no leak. Ergo, if there is a leak one or other of the above does not apply - possibly both. There is no other possible explanation and it is not mysterious. Unlike one or two other areas, this joint is easy to get bone-dry with a modicum of care. I assume it's the banjos and not cam cover half-moons or rear fittings.
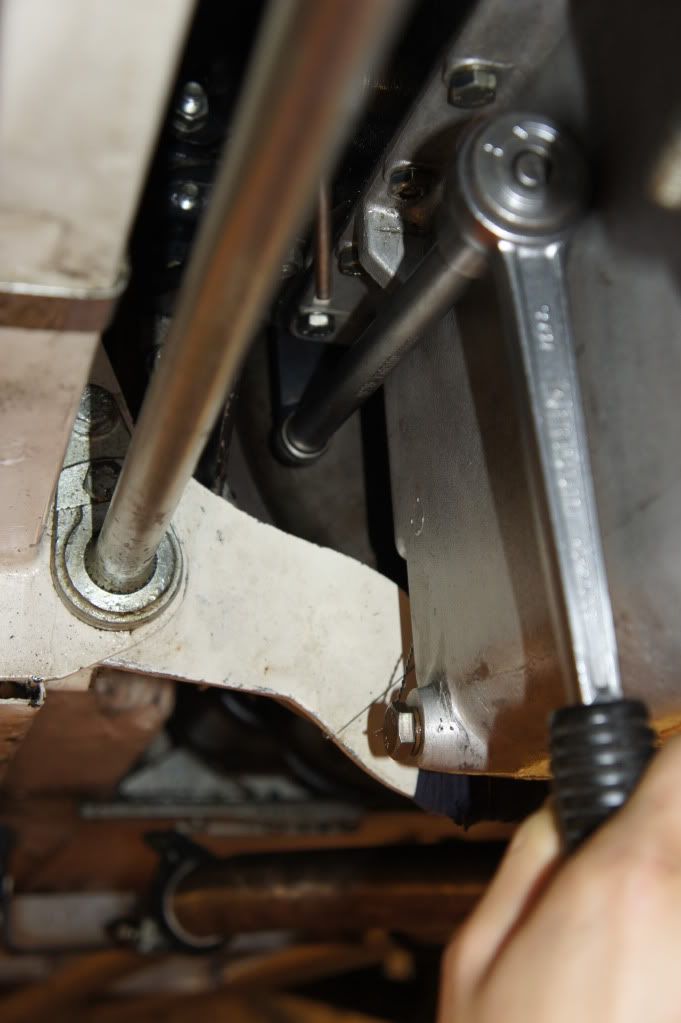
paulj wrote:another from the front timing section bolt that goes to cylinder head from underneath,.
There are no bolts into the cylinder head from underneath. There should be studs with nuts. The head block and timing cover faces obviously need to be checked true and flat at the time of head replacement, but now that you're past that stage you will need to clean the leaking area thoroughly and almost treat this like the banjo joints. If you have a 3.8 with a steel gasket you might want to investigate composite gasket options next time.
Ensure smooth flat faces on head/timing cover and fastener, annealed washers and sealant. I'd also put a drop of Loctite on the fastener and use a flat sealing washer rather than a locking washer that can seep oil. The oil ought not to be getting as far as the stud, but that can only be remedied next time the head is off. If you truly are using bolts a) take care not to strip the alloy thread and b) use sealant on the bolt as well as the washer. Use brake or carb cleaner or something squirted up inside the threads a few times to totally clean/dry the oil away first.
paulj wrote:another that appears from head gasket exhaust side,.
Oil should not leak from the head gasket. Assuming you don't mean the timing chest there is only one oil passage each side and that is the drain at the back. If you have an oil leak here it is a) very unusual and b) indicative of a bad gasket or poor technique. Unlikely to be the former although if you have a 3.8 it is easier to run into trouble than with a composite gasket 4.2 engine. My bet is the oil is leaking from somewhere else and running down or along the head, to the point that makes you think it is a head gasket. I assume you re-torqued after a few hundred miles?
paulj wrote:one or two from the top covers again exhaust side.
Check covers for flatness and reassemble correctly. A quick and easy check for bowing is to hold the covers face to face. Check the cover fits to the head with no gasket, i.e. the stud/cam cap areas are not interfering with the inside of the cover and holding it clear or only just touching the head. This can happen if people use too many washers or the wrong nuts or the covers have been built up with weld inside around cracked bosses. Tighten progressively from the centre outwards and don't overdo it. Again, all basic careful logical technique of checking everything during engine assembly. If the parts are all good (including the washers under the acorn nuts and the area of cover onto which they bear) and put together carefully, they will not leak. The reverse is also true.
paulj wrote:and one from the gearbox plug.
These parts are essentially bullet-proof. With a good washer I have trouble envisaging this being assembled such that it leaks, it is so simple. If yours does leak you need to revisit your work. PTFE tape is your friend, wrap it in the opposite direction to tightening, so that fitting tends to keep the tape on the thread rather than peeling it off.
paulj wrote: all very annoying as new gaskets used and sealant where appropriate

Paul
Turn your annoyance into determination to succeed and you will come out ahead. Being annoyed at Jaguar or your car is a waste of energy and misguided. As they say, the trouble with experience is you get the exam first and the lessons afterwards. Hopefully you have learned some lessons from your rebuild and if those are your only leak points you can look forward to a dry engine. Front and rear crank seals (at least original pattern) are a little trickier and you might have had to resign yourself to modest dripping, as I have. At least your stuff is very likely to be fixable for not much effort.
Pete