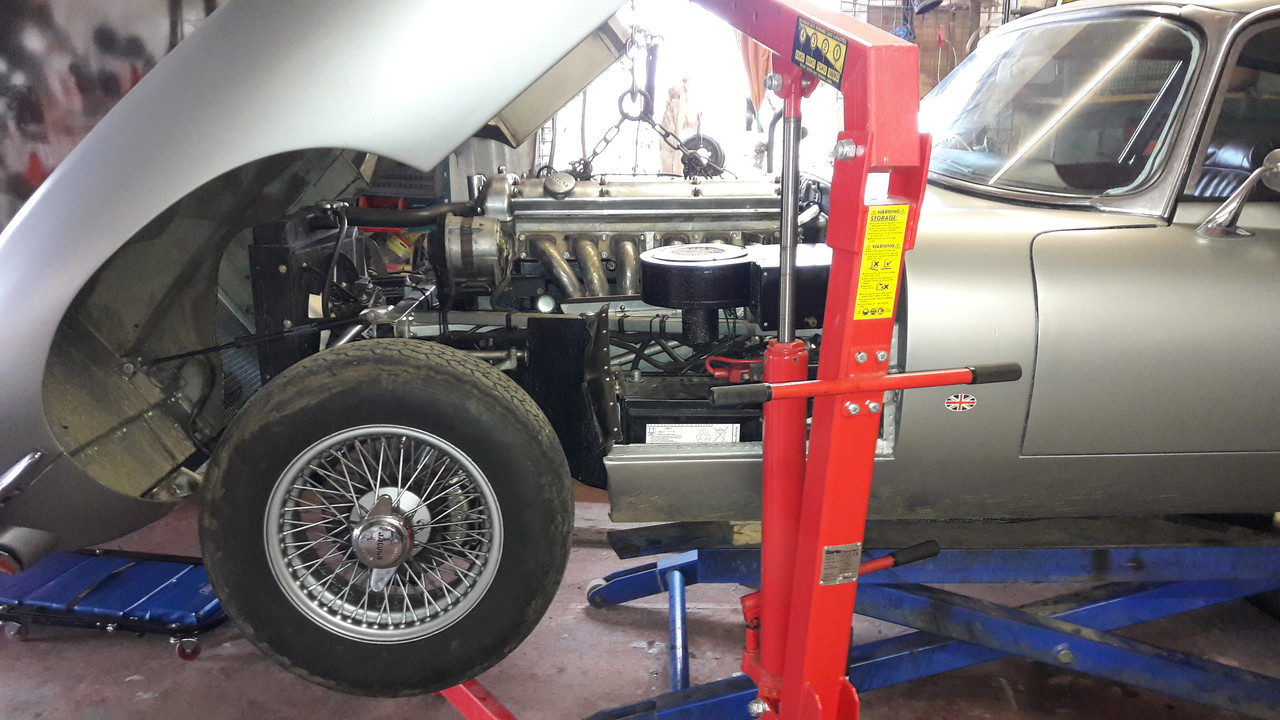
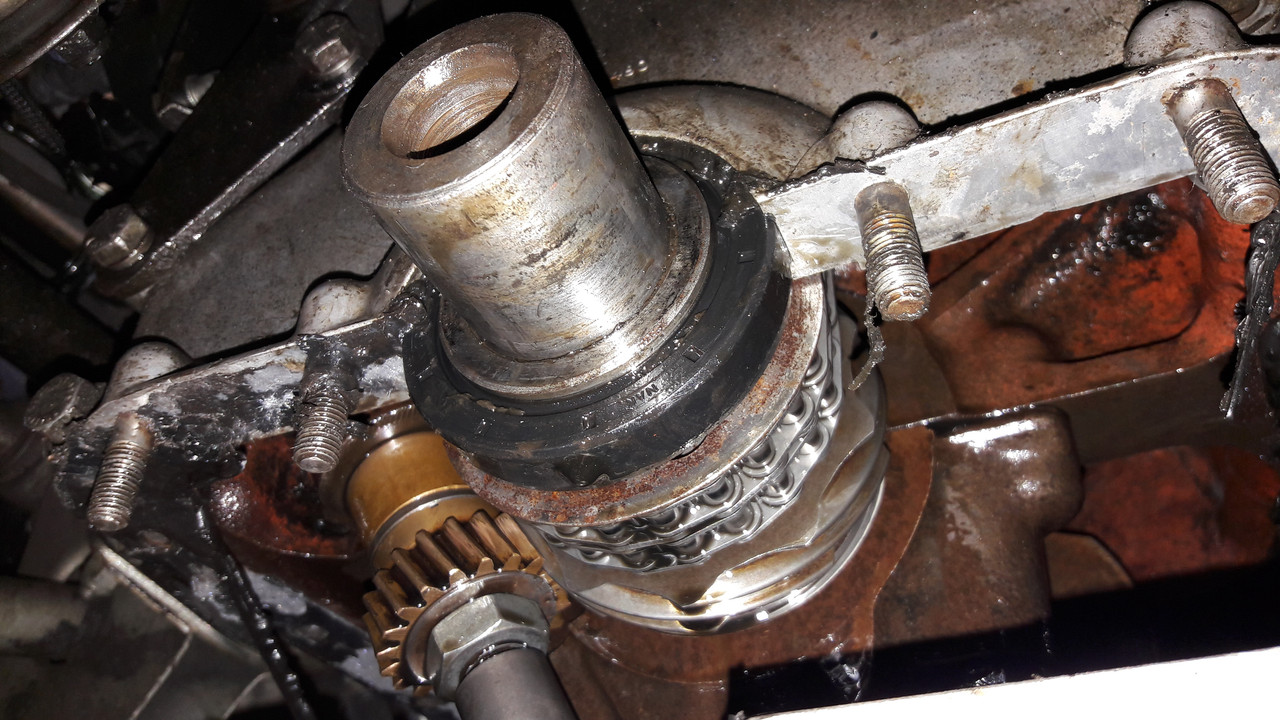
Further inspection revealed that it appeared to becoming from the front pulley crank oil seal.
The bits arrived today so 2 hours after I get home from work I get to the seal.
Pulley off, cone off, sump down. Need to raise the motor a bit to get it off, I will do that tomorrow.
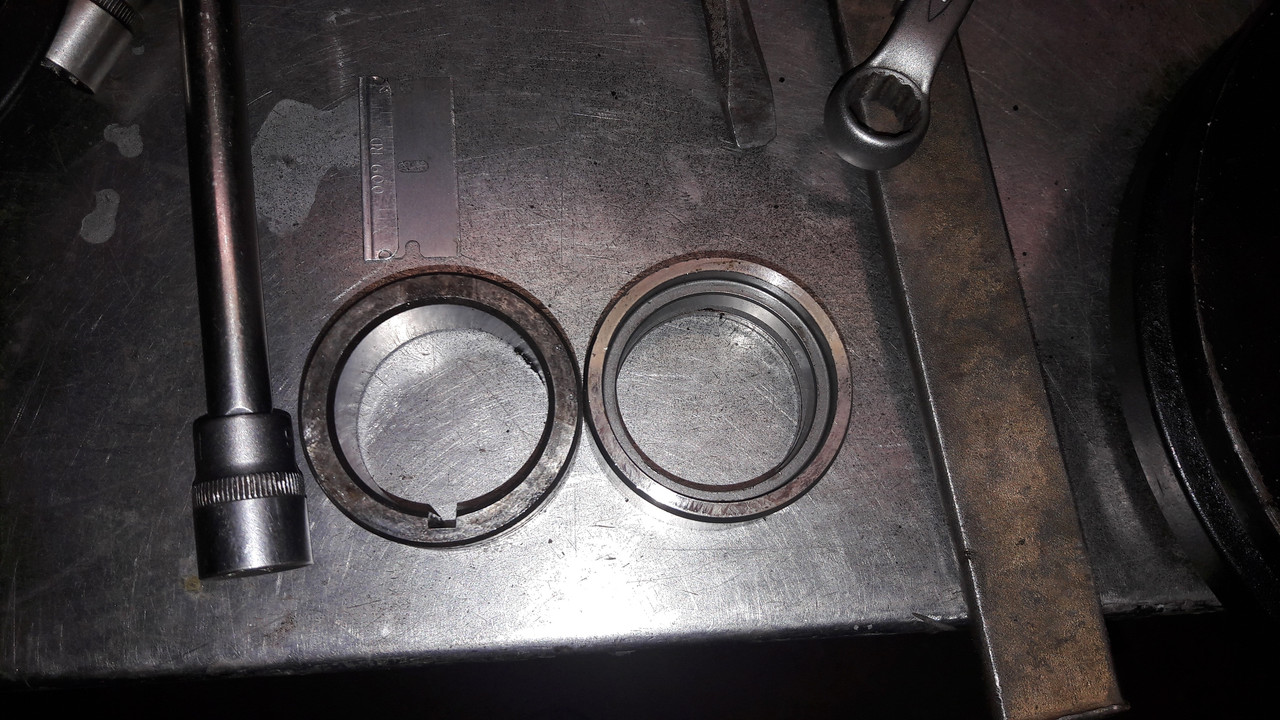
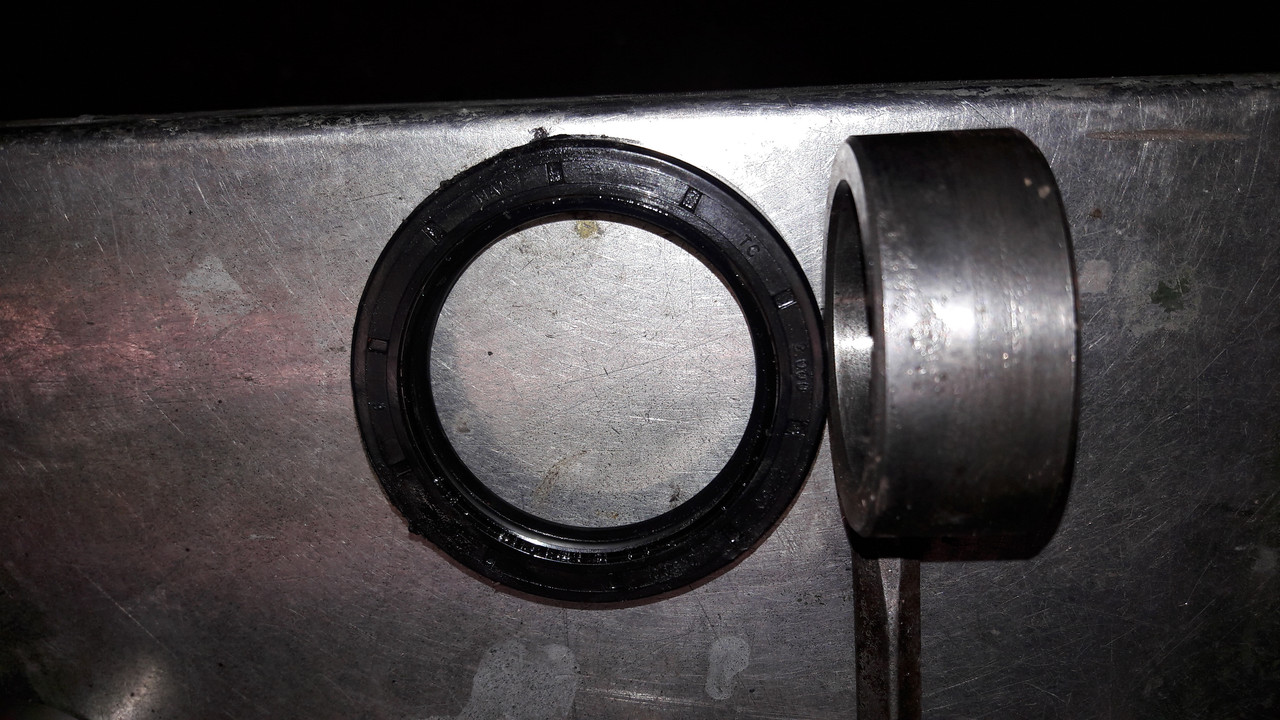
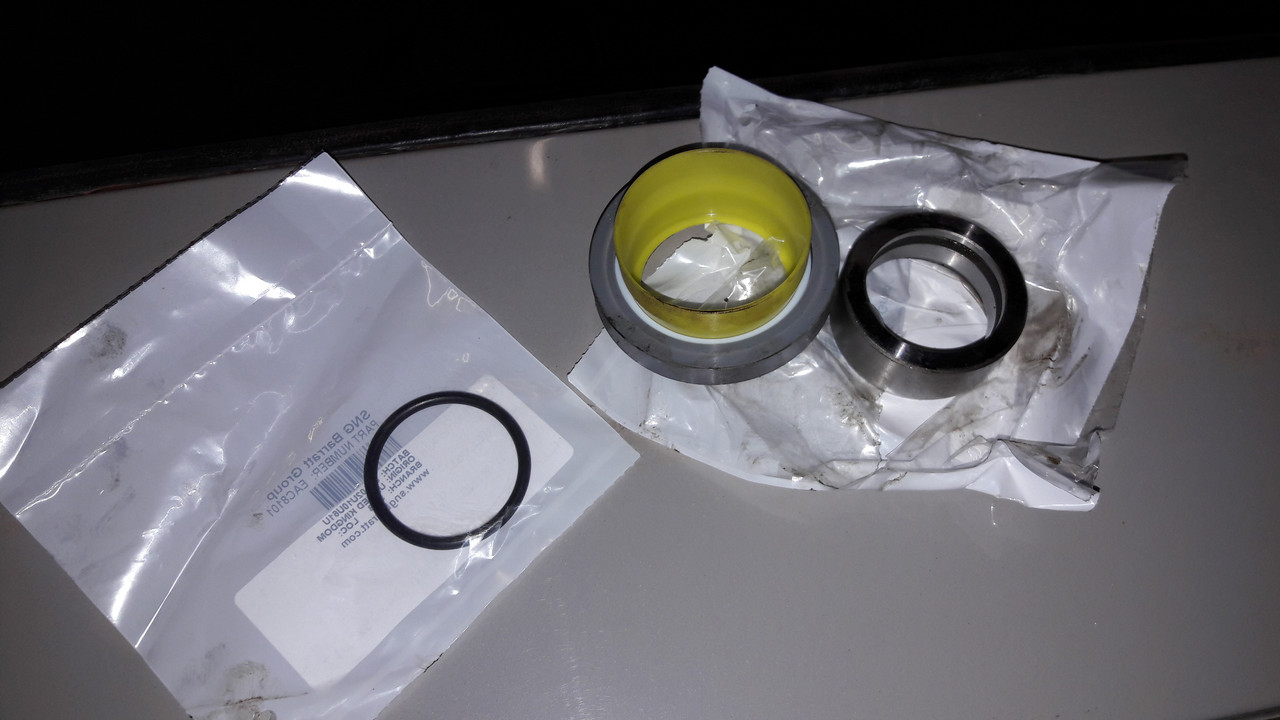
These are the seal bits I have been supplied with. I also have the sump gasket and rear sump gashet seal and some lovely black Wynns black gasket compound.
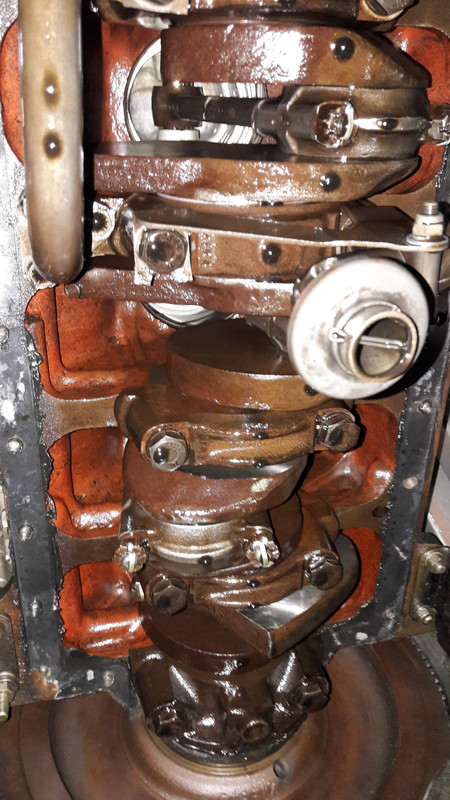
Not quite sure how to get the old distance piece out to allow the black seal to be removed.
Not sure which way the distance piece goes. It has a distinct champher on one end. I assume the yellow collar is to protect the seal sliding over the distance piece. ?
Not sure about the rubber O ring either.
Any assistance from those that know greatly appreciated.
James