I would second JagWaugh's comment regarding the 90° approach.
This has always seemed to be the key, the absolute key, to getting them to work for me - because it's those critical
first threads that determine how the insert winds into place.
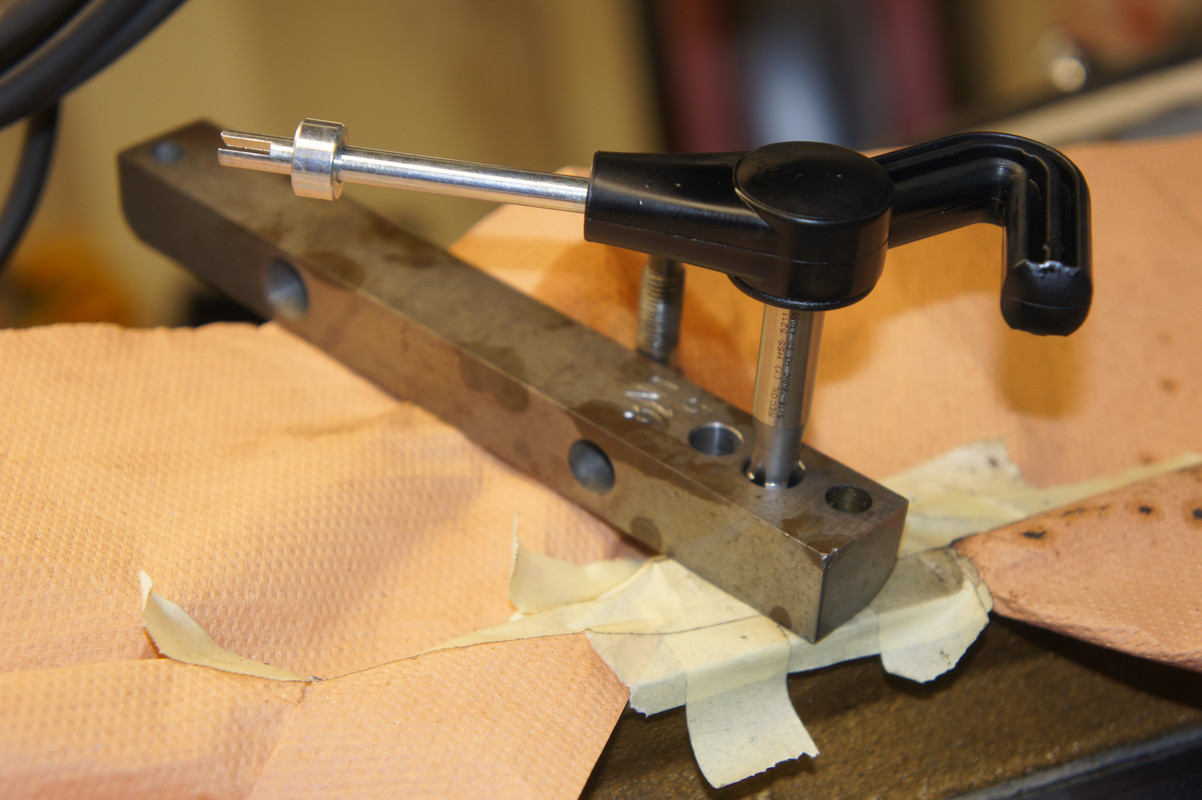
These are pictures I took a few years ago, but never posted, when reclaiming some cam-cap threads.
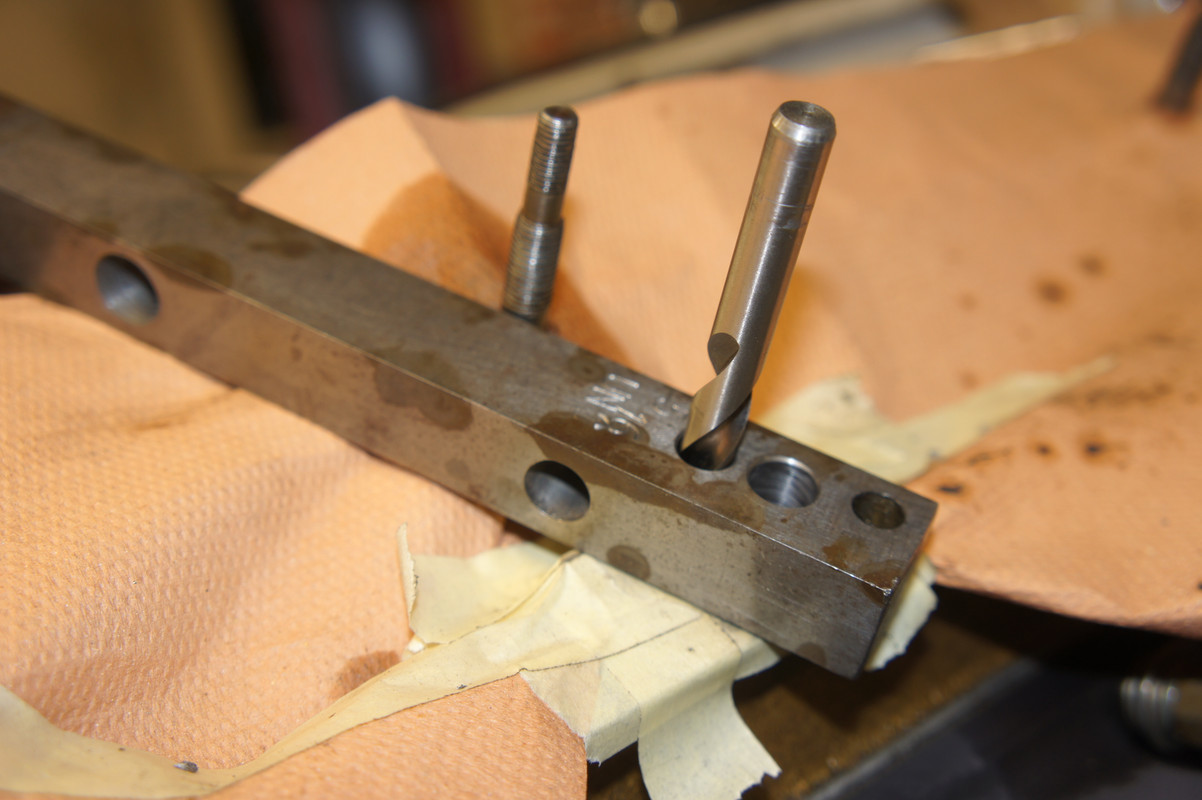
I can't remember what the "approach" to the area is like, for you, for the calipers, but when I can I use an offcut of 3/4" x 1" ground steel bar that I bore "tight" for both the tapping drill size, and the clearance size for the Helicoil tap.
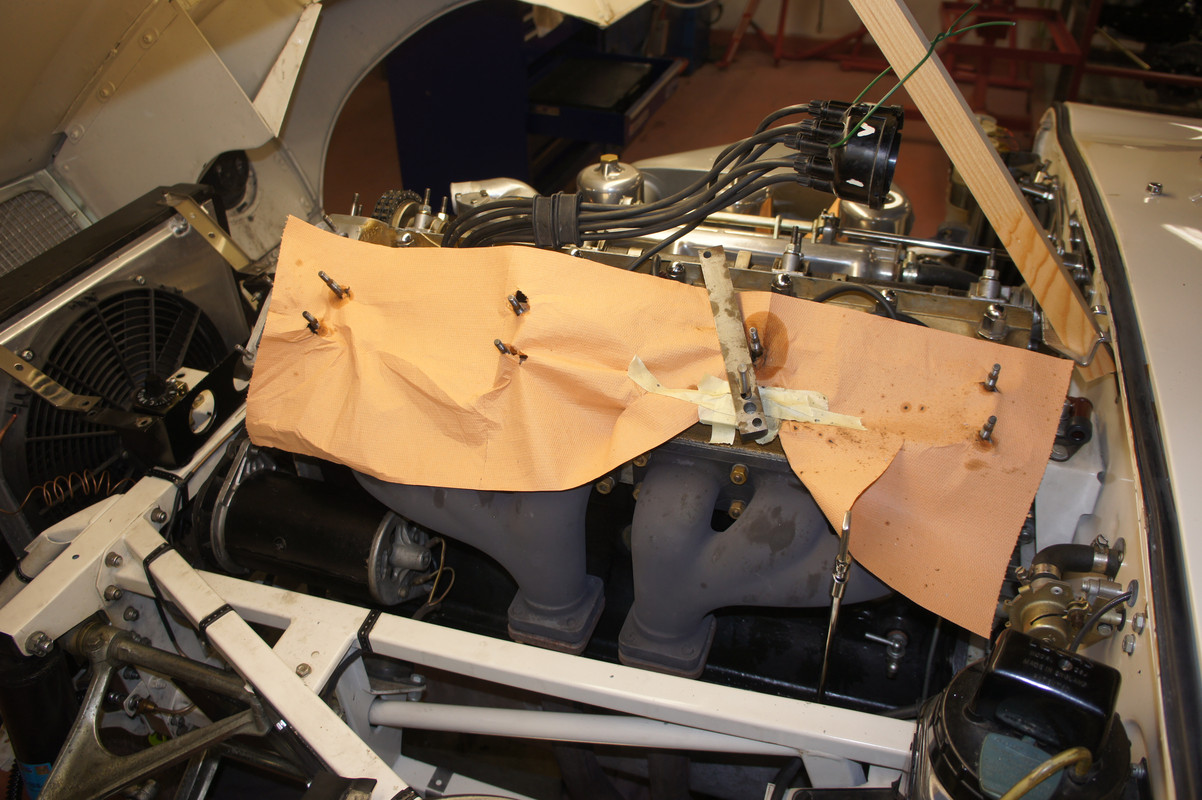
In this way, in situations in situ where you can't do both drilling and tapping operations on a mill, by clamping (not seen here) the slab to the workpièce you have a much better chance - freehand - of getting the drill through square, and then, by swapping holes on your guide, getting the tap to follow the axis of the hole you've just enlarged.
I've certainly done 3/8" holes this way, and would think 7/16 possible with more care, especially in an application where, as Peter C says, we're looking at shear where alignment is not super-critical.
With 1/4 and 5/16" it's a breeze, of course.
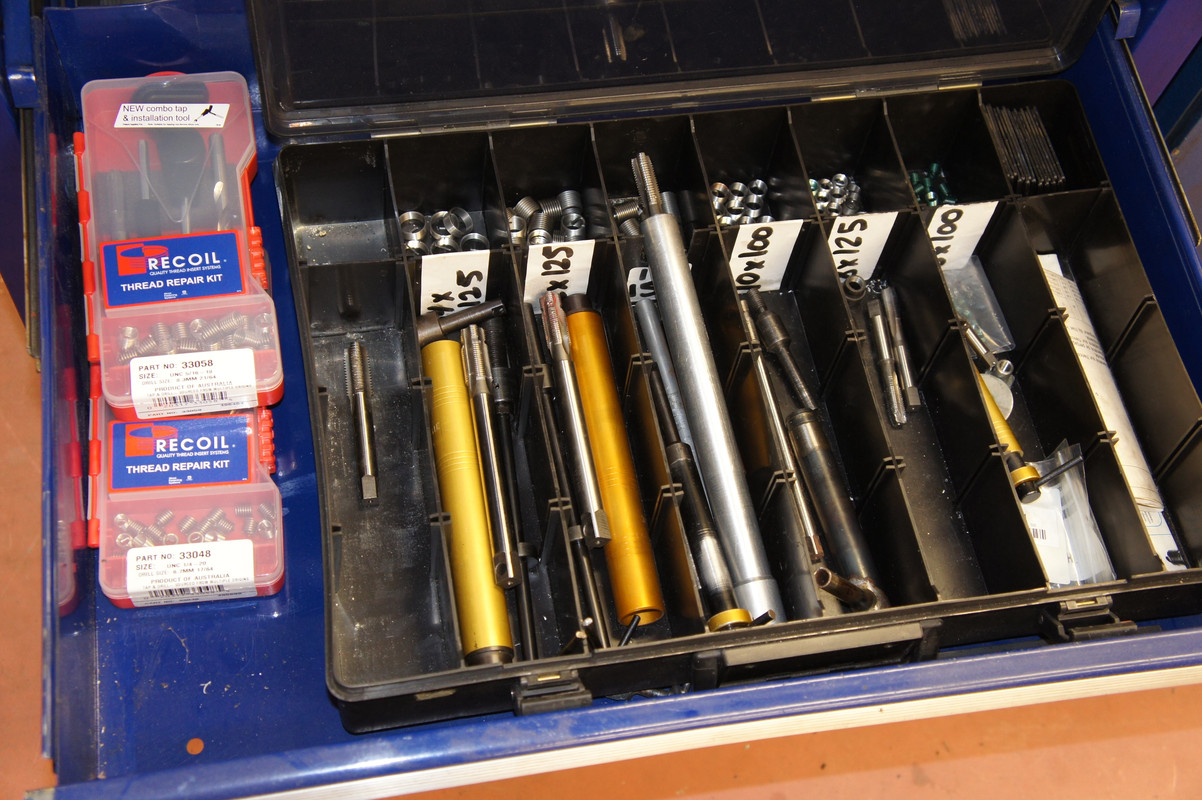
Unfortunately, in an attempt to democratise the process, the cheaper kits (like the Recoil ones made in Australia ? see below) have simplified the tooling to an extent that - I find - makes it harder to get the Helicoil insert in correctly.
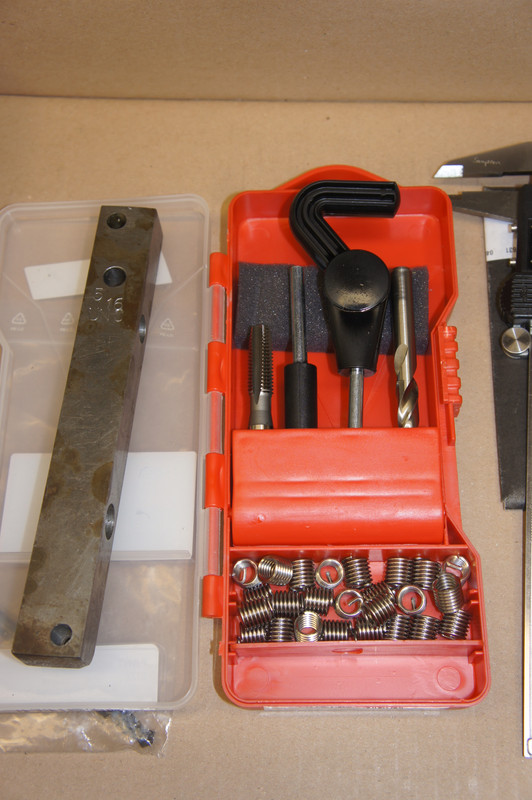
The better stuff involves a cylindrical threaded guide tool (below, see the tool on the left)
inside which the helicoil is threaded first, which pre-constrains the coils and - critically - means you can "feed" the insert into the hole in the work-piece with a little compression to maintain the pitch during the operation.
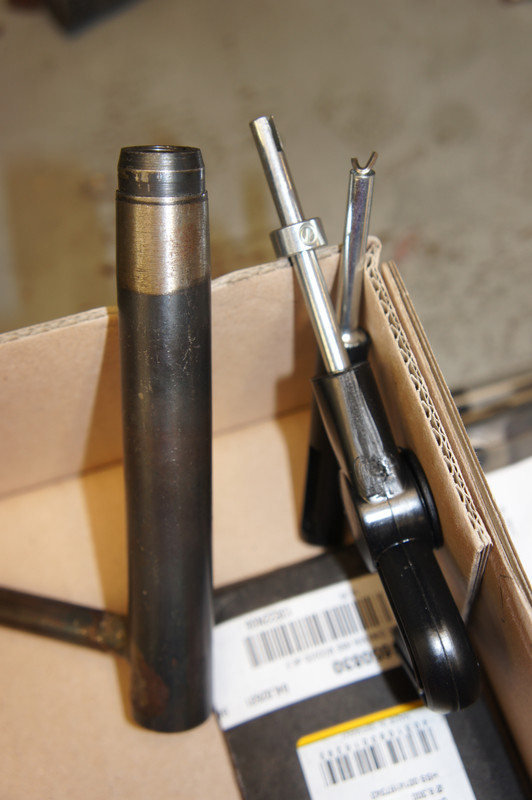
"Feel" is everything when doing Helicoils.
Cheaper and simpler kits just rely on the slotted-end insert driver (see below) to screw the insert into the tapped-hole, and so there is no pre-constraint on the insert and your efforts are located entirely on its leading spire - theoretically the adjustable collar (seen to the left) is meant to get round that, but it's not easy to dose.
Very often, in my experience with these kits, you end up with the
last turn of the insert refusing to adhere to the sequence of the previous ones - and you've got to start again. I've never
failed to get these to work, but it's trickier, can take a couple of attempts, and is not quite as predictable ?
Below is a set, including spark-plug threads, where the guide noses are apparent ; these also have the double luxury of using
stepped taps where the first thread corresponds to the damaged one that you're trying to replicate, into which you thread the tap - then next comes the
bigger diameter thread you need for the Helicoil insert, which is then
pulled through by the initial thread.
So no drilling, and no problems with alignment - but probably limited to aluminium, and obviously no good with blind holes. I confess to even having done this, in emergencies, with heads in place - ahem, plenty of grease to retain the swarf, and lots of compressed air afterwards.
However you do it, I would accept that you're going to have to practice with a dummy run or two on a test-piece before you go for the real installation ?

 ...time to learn how to helicoil then...