


I ruled out getting my son to help on the grounds that if it took more than a minute he would have lost interest. Or, looking up and seeing him holding the door with one hand and texting someone on his phone with the other while insisting we had some pounding beats on and repeating "are we finished yet?" would have tipped me over the edge
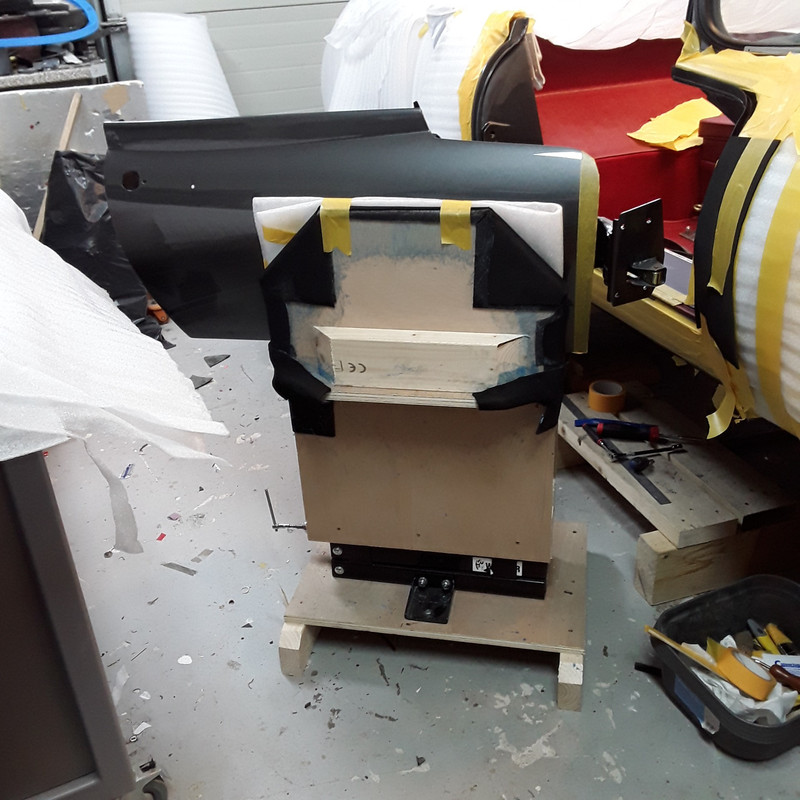
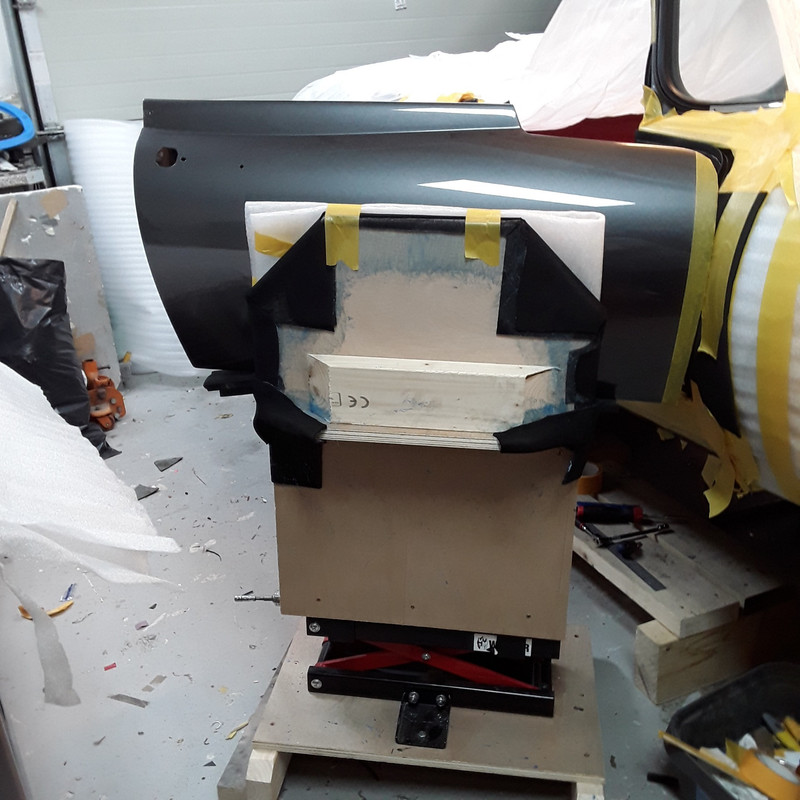
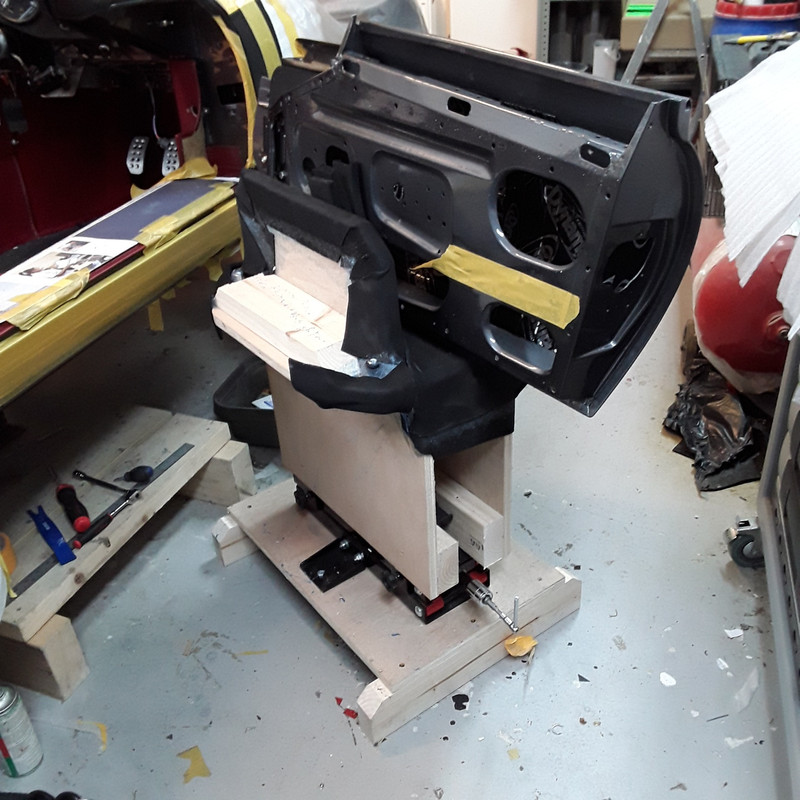
Anyway in the end I made a simple height adjustable jig that might be of interest to others struggling on their own. It allowed me to support and fit the doors on my own and at my own pace.
The pics speak for themselves. 18mm ply lined with high density foam. The scissor lift is a cheap (£35) E bay motorbike one.
Also a few tips that worked for me.
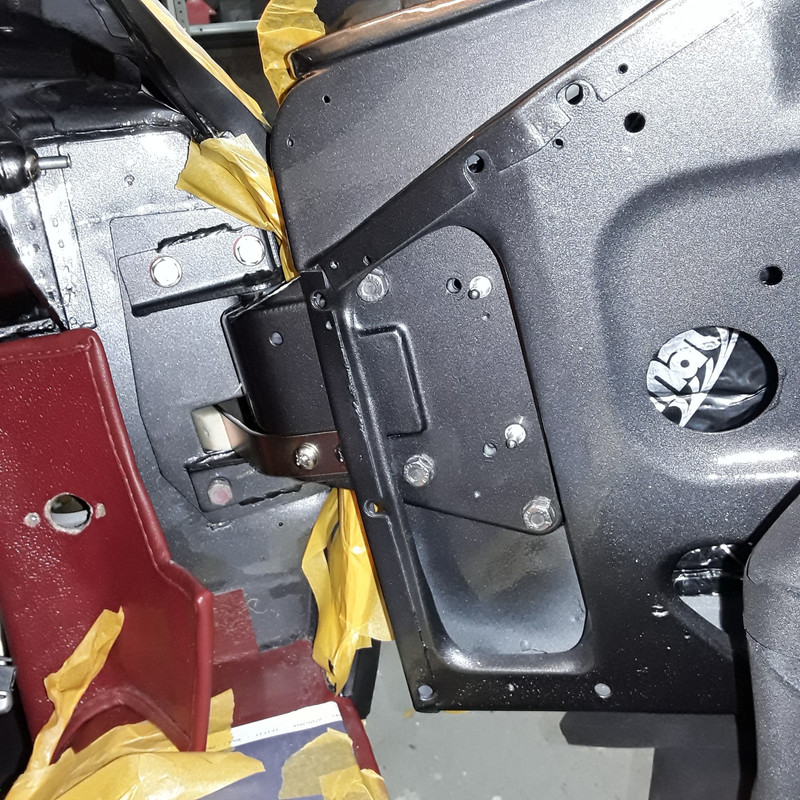
Before removing the hinge from the door, if you are happy with the alignment, drill two small holes in the hinge to door mounting and insert two rivet shafts. This will allow you to put the hinge back in the same position. The factory did this with two large self tappers but if the door is new ,has had work or a new skin these probably won't line up again.
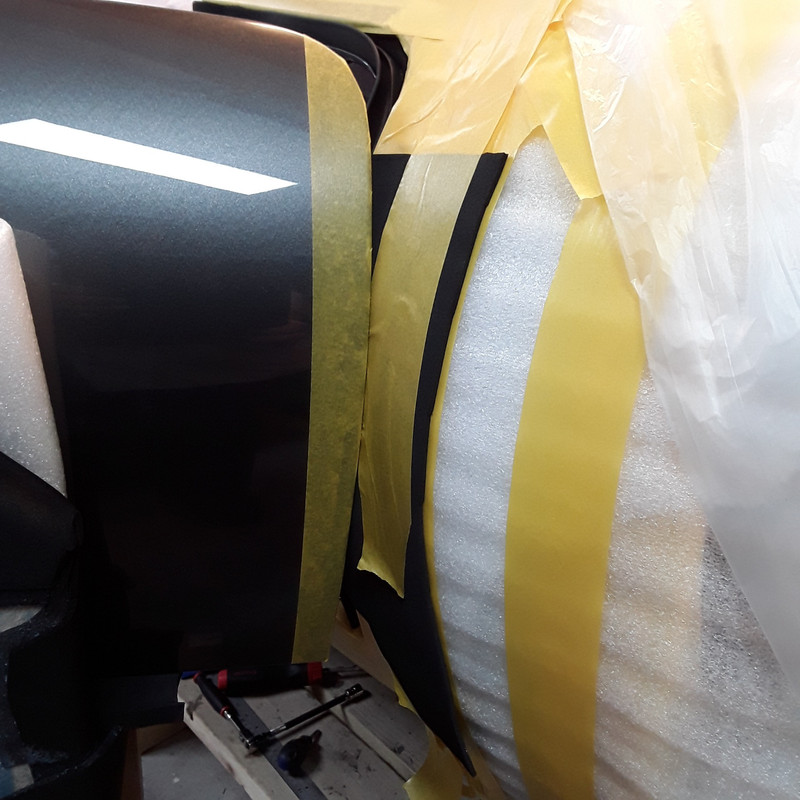
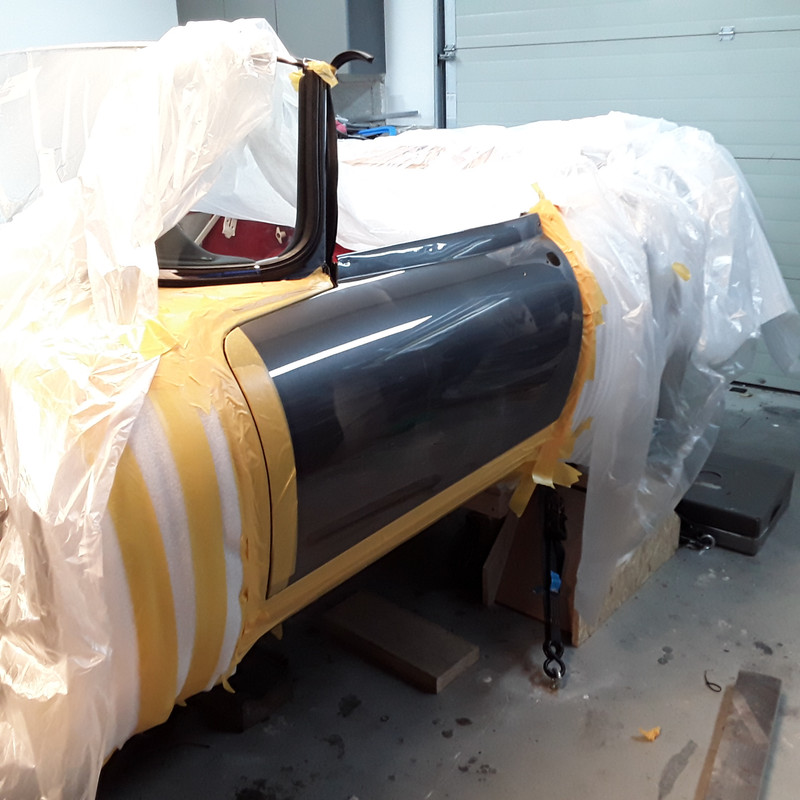
Mask up the edges of the door ,A post and sill but don't put so much on you can't see what you are doing.
Place a strip of 3mm high density foam between the front edge of the door and the A post with the door in its fully open position.
Set the hinge to A post at it's furthest out position and very gradually adjust it inwards ALWAYS watching the clearance on the leading edge of the door.
Remember to fit the A post seal before the door is fitted. Be conscious that the area of the seal at the bottom of the screen pillar may need trimming or thinning out so don't glue that area until you are happy with the fit. Too much rubber in this area forces the door outwards and backwards and means that the door will need slamming to close it.
If you are doing a full restoration, it is imperative that the doors are set up with a set of rubbers in position prior to paint to minimise final assembly problems. You may wreck a set of "mock up" rubbers but it's worth it.
Simon
