Page 1 of 1
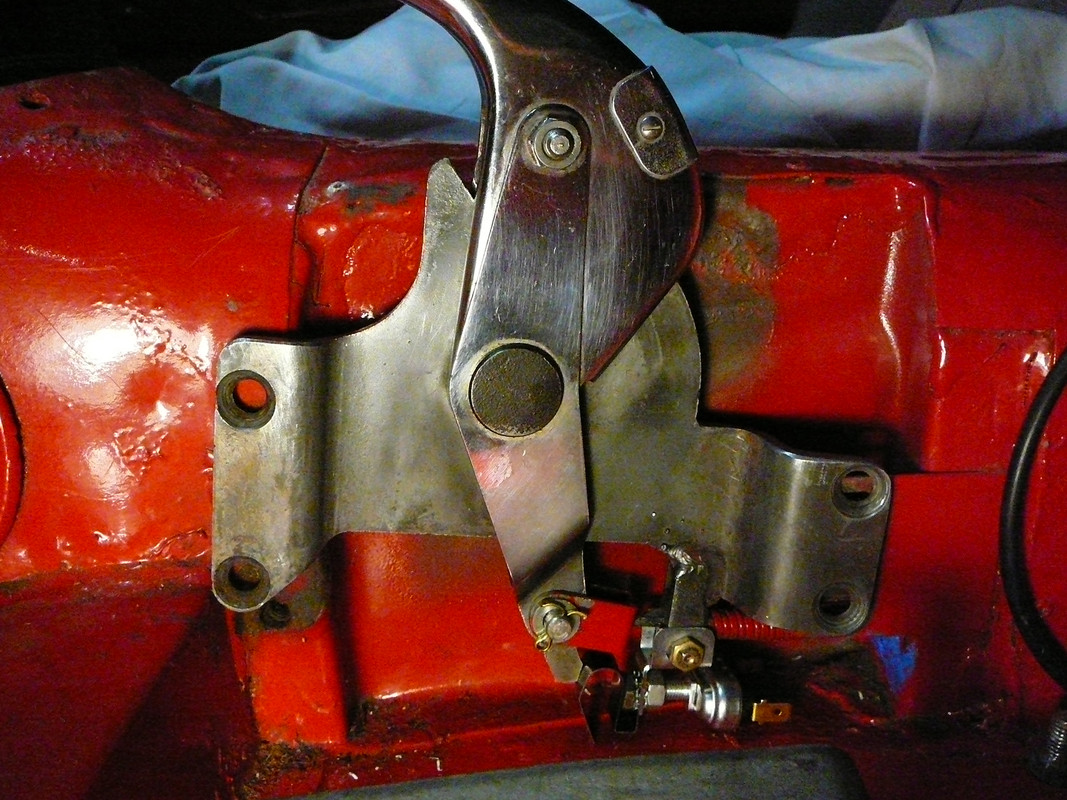
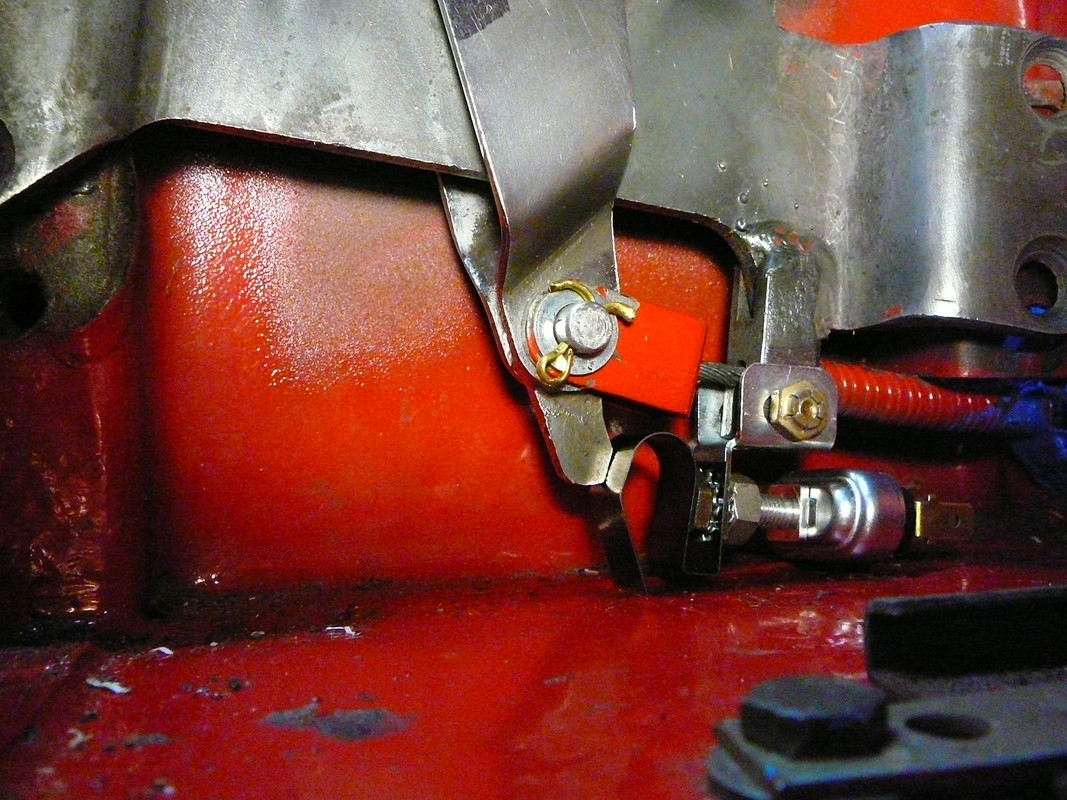
#1 Handbrake Switch Series 1 FHC
Posted: Tue Aug 31, 2021 8:18 pm
by scottie
#2 Re: Handbrake Switch Series 1 FHC
Posted: Tue Aug 31, 2021 9:43 pm
by politeperson
Loosen the clamp then twist your spring around 90 degrees and it will clear the floor and still function.
Dont forget to test continuity before you button it all up!
#3 Re: Handbrake Switch Series 1 FHC
Posted: Tue Aug 31, 2021 9:54 pm
by Series1 Stu
This is a pig of a job!
I had exactly the same problem with my 63 coupe. James' advice is good but may not be enough. I had to 'massage' the floor a little with a hammer and dolly to give a tiny bit more clearance.
Regards
#4 Re: Handbrake Switch Series 1 FHC
Posted: Tue Aug 31, 2021 10:05 pm
by scottie
Thanks Gents. That is a good idea. I'm going down to the shop to try it right now! I hope I don't have to relieve the floor.
#5 Re: Handbrake Switch Series 1 FHC
Posted: Tue Aug 31, 2021 10:35 pm
by scottie
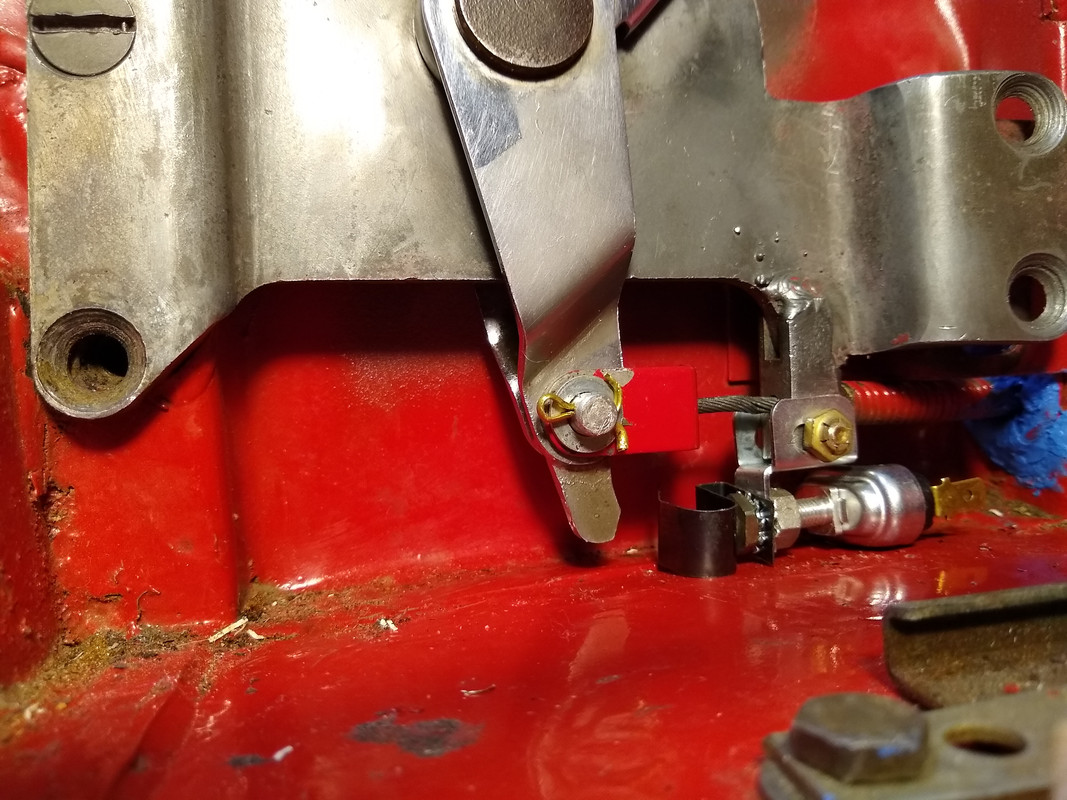
I'll be jiggered! This is going to work. However, the switch still hits the floor before the rear bolts line up. Tomorrow I'll caress the floor into moving downwards a bit with a pry bar, not a hammer. It needs about 1/4". Hopefully I won't crack the paint on the bottom side.
It just goes to show how helpful this forum is. I hope I can payback someday.
You've saved the day. Who'd of ever thought I'd spend all day on a handbrake!!
#6 Re: Handbrake Switch Series 1 FHC
Posted: Wed Sep 01, 2021 12:34 am
by abowie
I just don't fit the spring at all.
The switch is the same one that works the choke light, and that doesn't have a spring.
WRT the switch hitting the floor. Modify your bracket, not the floor. Bend it or oval the holes.
#7 Re: Handbrake Switch Series 1 FHC
Posted: Wed Sep 01, 2021 7:52 am
by rswaffie
Hi,
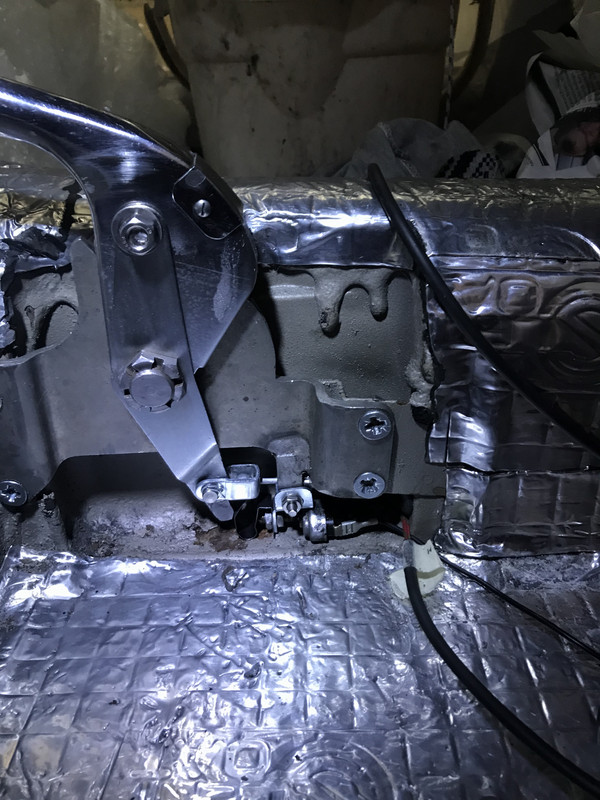
Here’s a pic of my 63 fhc handbrake. It may be the angle of your photo’s but the bracket looks a few mm longer where the switch attaches than on mine. Might just be my eyes. Can you post a pic with the brake mechanism fitted without the switch bracket and see what clearance you have? Do you have the original bracket?
#8 Re: Handbrake Switch Series 1 FHC
Posted: Wed Sep 01, 2021 12:19 pm
by scottie
Thanks Andrew and Richard. I appreciate the comments.
WRT raising the bracket. The front bolt holes are threaded by the factory. The rears however are slots that require a nut. So, that is a possibility. Perhaps I can gain a mm that way and that might be enough. Good idea.
I'm sorry Richard I don't seem to have taken a photo of the handbrake prior to dismantling it. The switch bracket attaches to an abutment on the handbrake and it is entirely possible that my abutment is a tad longer than others. I already filed it to narrow it so the switch bracket will straddle the abutment. Shortening it by itself though won't help without elongating the hole that the switch's bolt fits through. That's a thought as the switch bracket has an elongated hole for fore/aft adjustment; the switch is ultimately held in place by the tightness of the bolt and nut. I suppose elongating the hole in the abutment vertically will allow some adjustment in that direction where it is needed. I'll look into that. So, another good idea!
But here's another idea stemming from Andrew's comment. I have the original switch on the choke and perhaps it is slightly smaller thereby offering some more clearance. I shall have a look at that too.
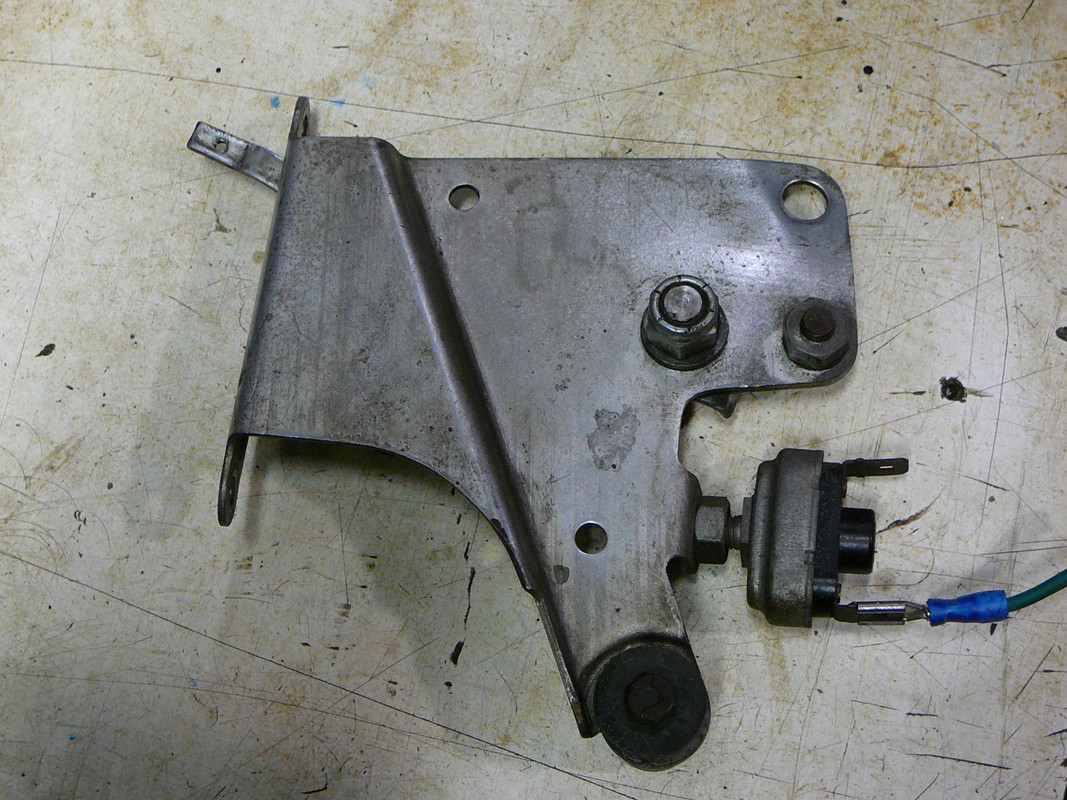
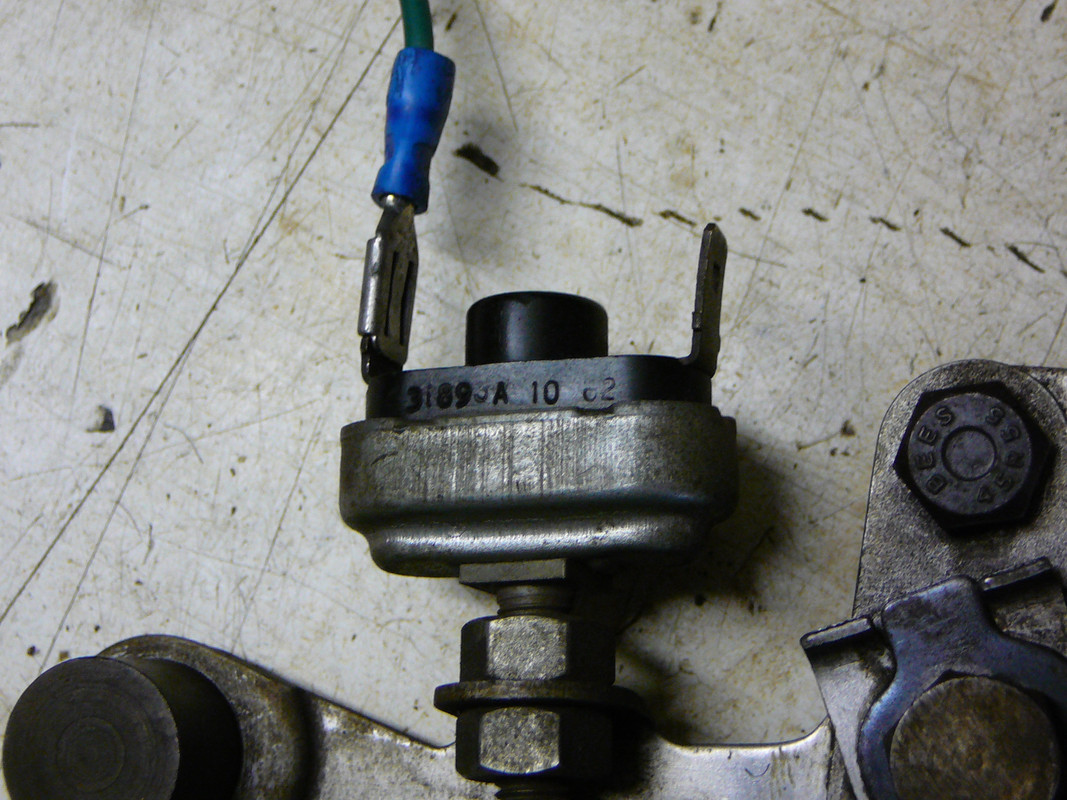
Thanks!
#9 Re: Handbrake Switch Series 1 FHC
Posted: Wed Sep 01, 2021 2:39 pm
by scottie
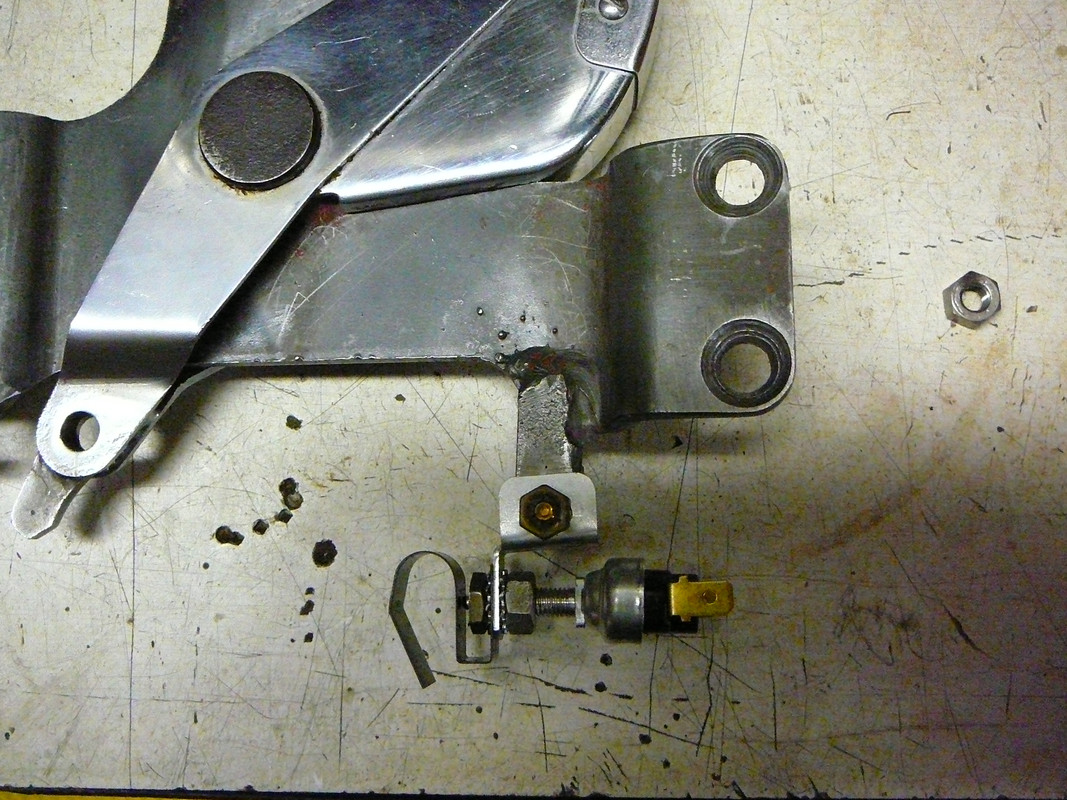
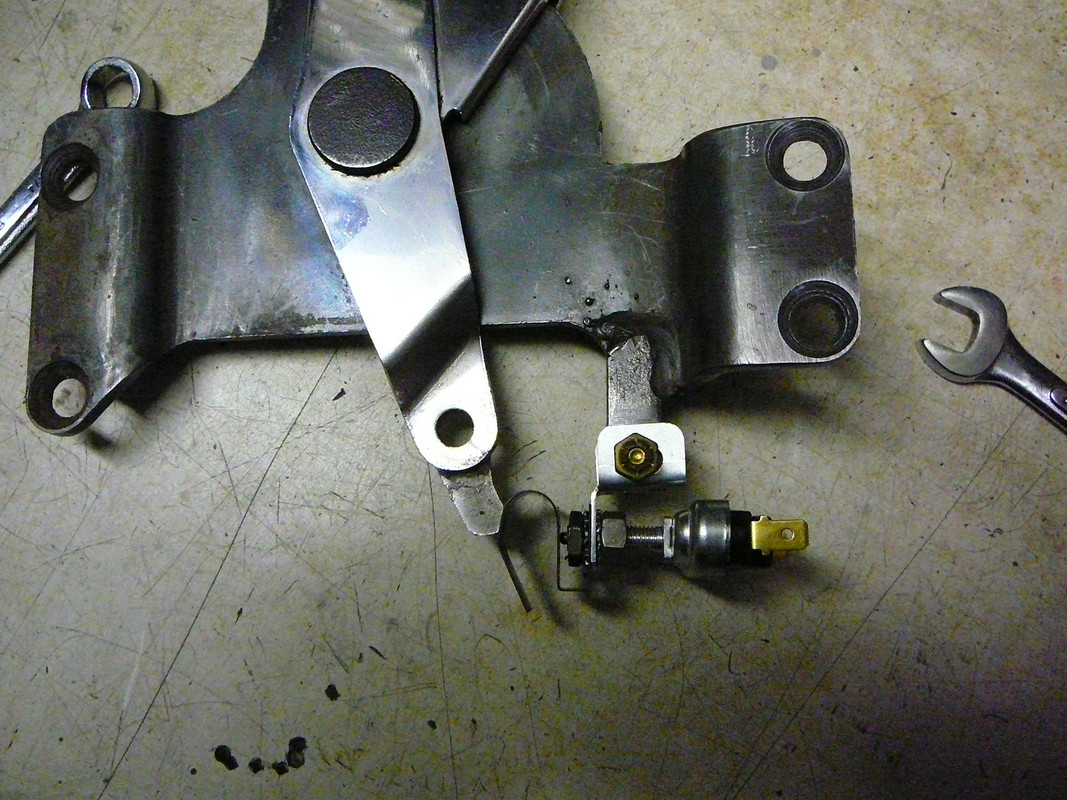
Some additional information. The switch, sourced from SNGB, is made by Lucas. Stamped right on it. It is dimensionally nearly identical to the original dated 1962 that came from my choke. The most critical to me is the vertical height of the switch casing and the new one is marginally shorter than the original! Here's pics:
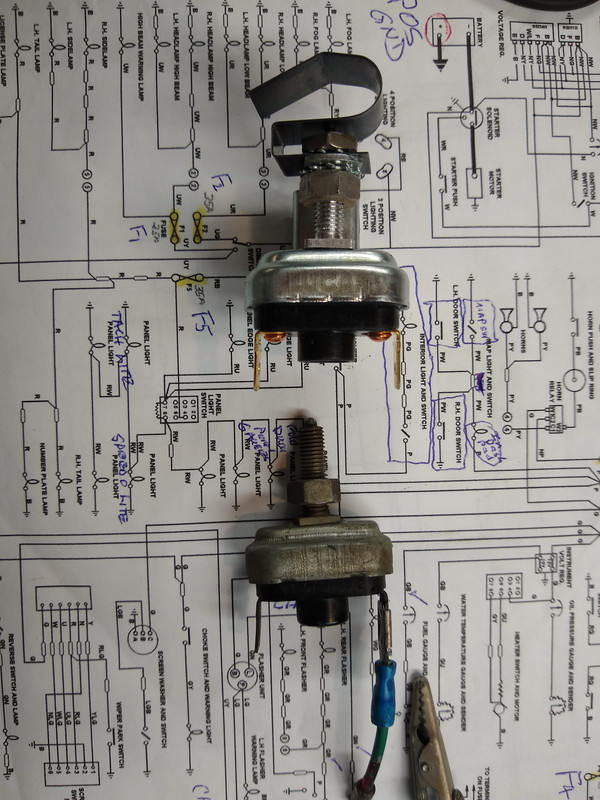
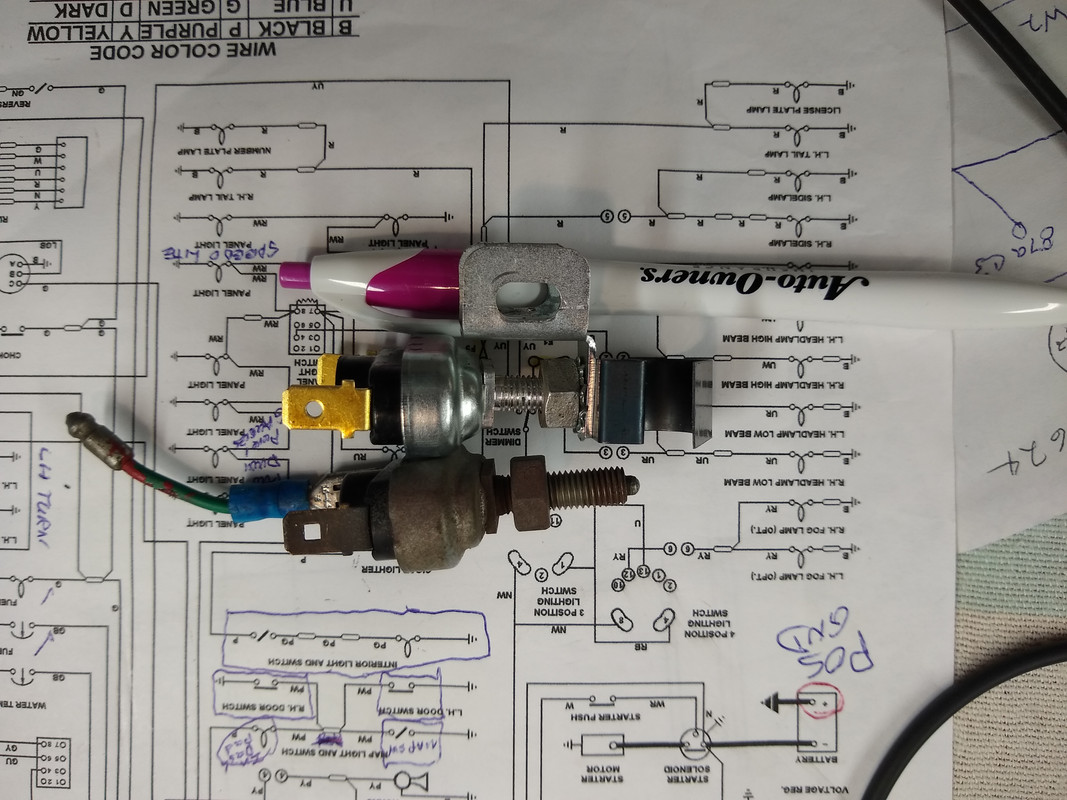
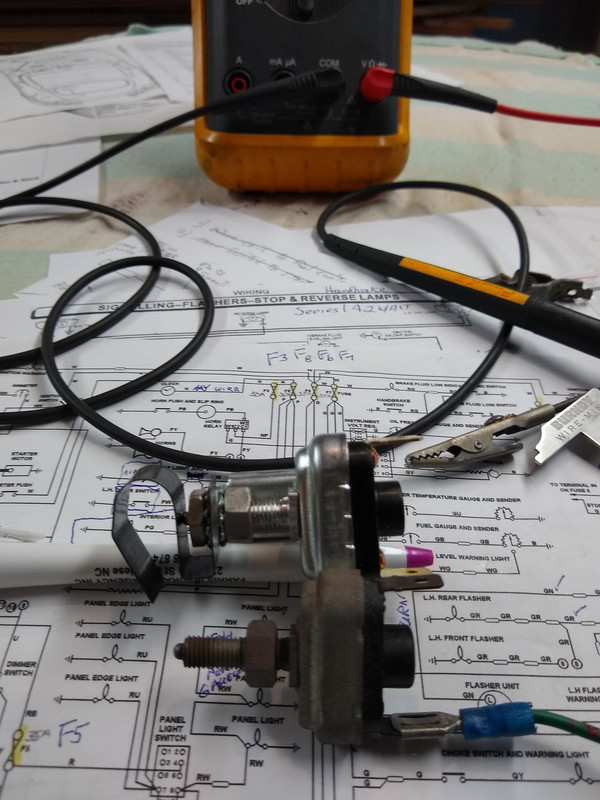
It has been noted on the Jag-Lovers website in a similar thread as this that the spring latch is somewhat different from the original. The ending is longer than the original it appears and the width of the new spring is also wider. There's opportunity to mount the spring vertically by trimming the end off. I shall leave mine mounted sideways and while (okay, whilst) I could narrow it I shall leave it alone.
While I had both switches out, I measured them electrically. The switches should have 0 ohms when relaxed and when the end button is pushed in it should have continuity. Well the new one does: 0 ohms out and 1.4 ohms in. The old one is sporadic I am sad to discover. Sometimes when relaxed it goes to 0, but often it settles on some high megaohm number. When pushed in, it shows some continuity but at more than 100 ohms. As I said, it is erratic. So, the old switch is not working properly and I shall dismember it in the hopes I can clean its contacts.
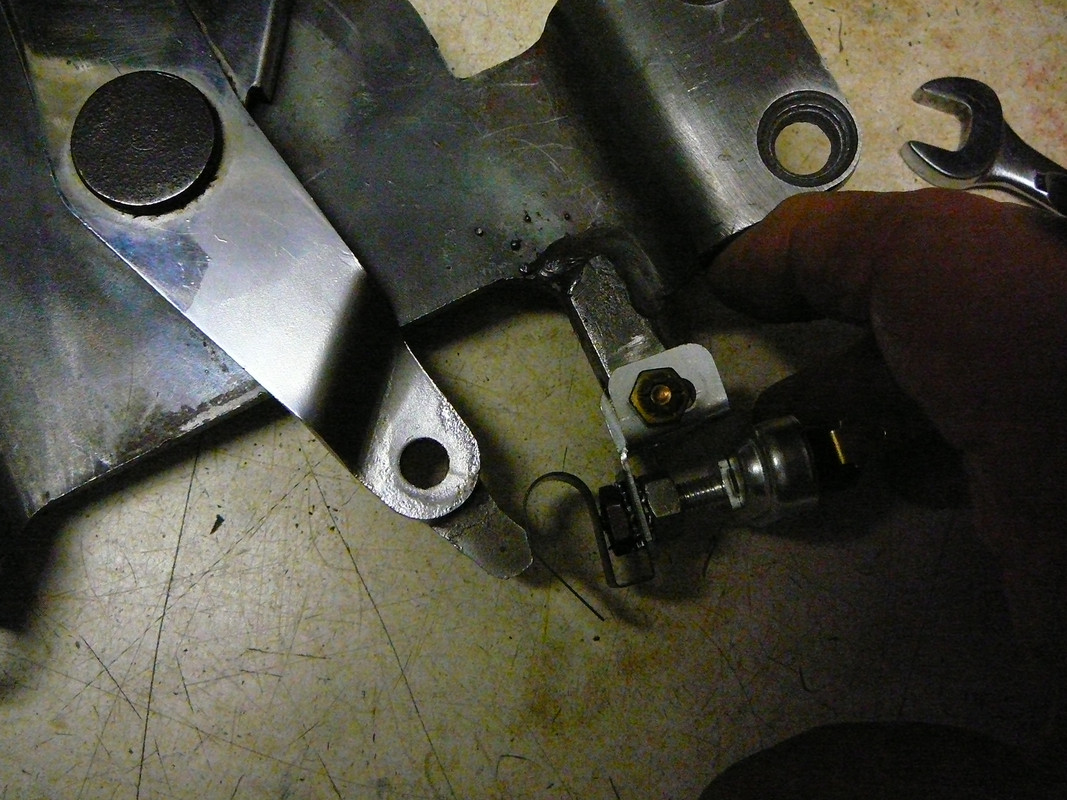
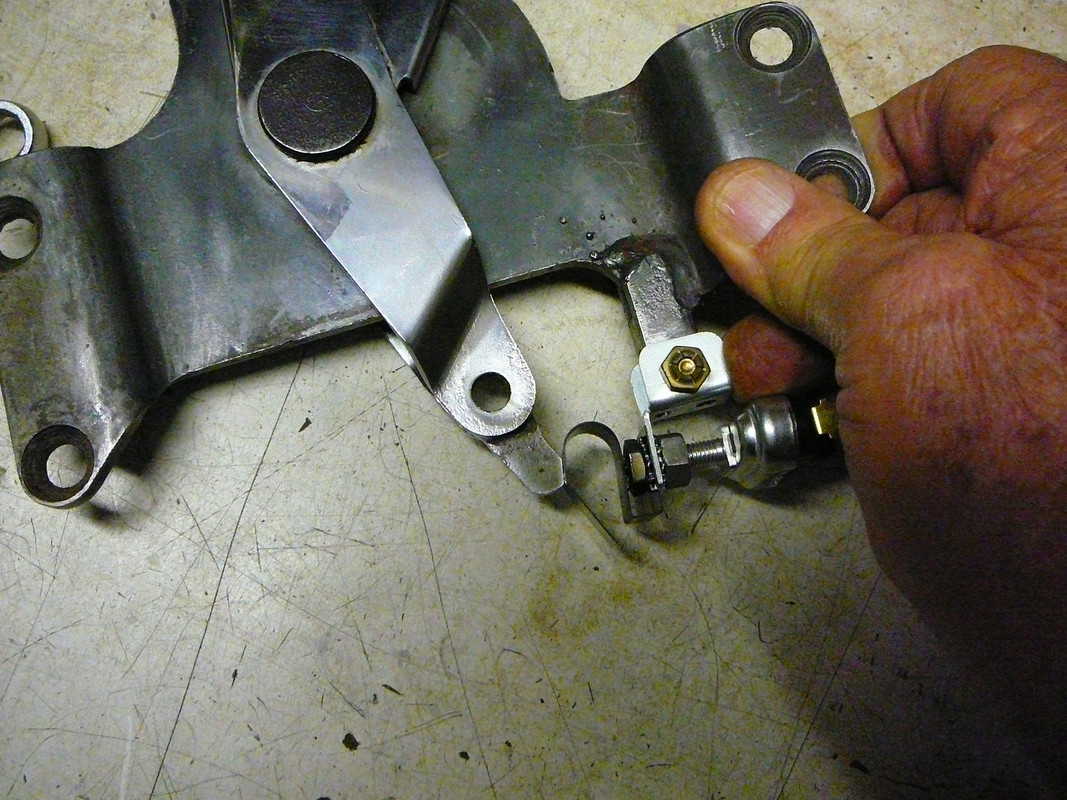
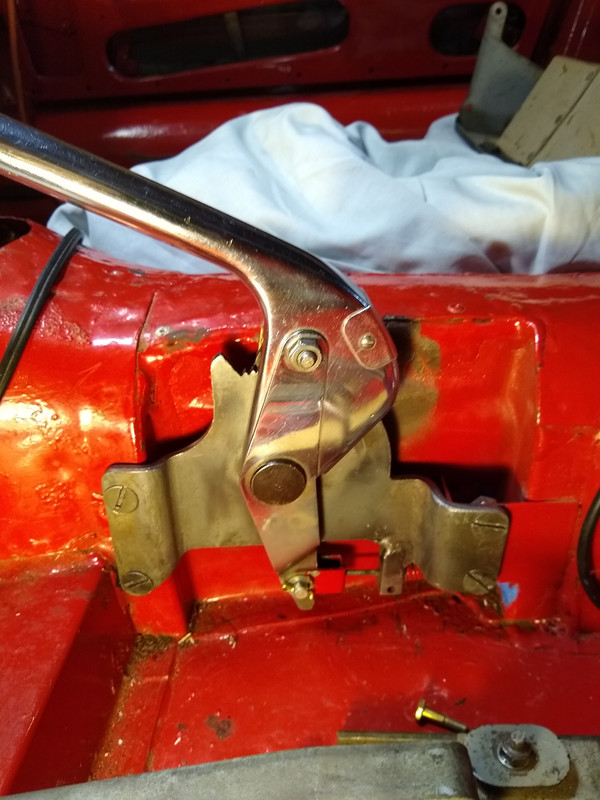
Also a picture of the handbrake mounted without the switch. In remounting the handbrake so as to take a picture without the switch, I noted the front, threaded holes line up well, but the rear holes in the handbrake frame do not align exactly with the slots in the rear bracket to which the handbrake mounts. It requires a bit of persuasion to get the bolts to go into the fore/aft slotted holes in the rear mounting bracket. And the stress is caused by the need to force the rear of the handbrake downwards in order to slip the bolts through the rear brackets holes! So, the rear bracket was perhaps welded to the tunnel a bit lower than called for. And for me, that means I can wallow out those slots a bit so as to raise the rear of the handbrake. That alone will solve this problem I do believe. Pics:
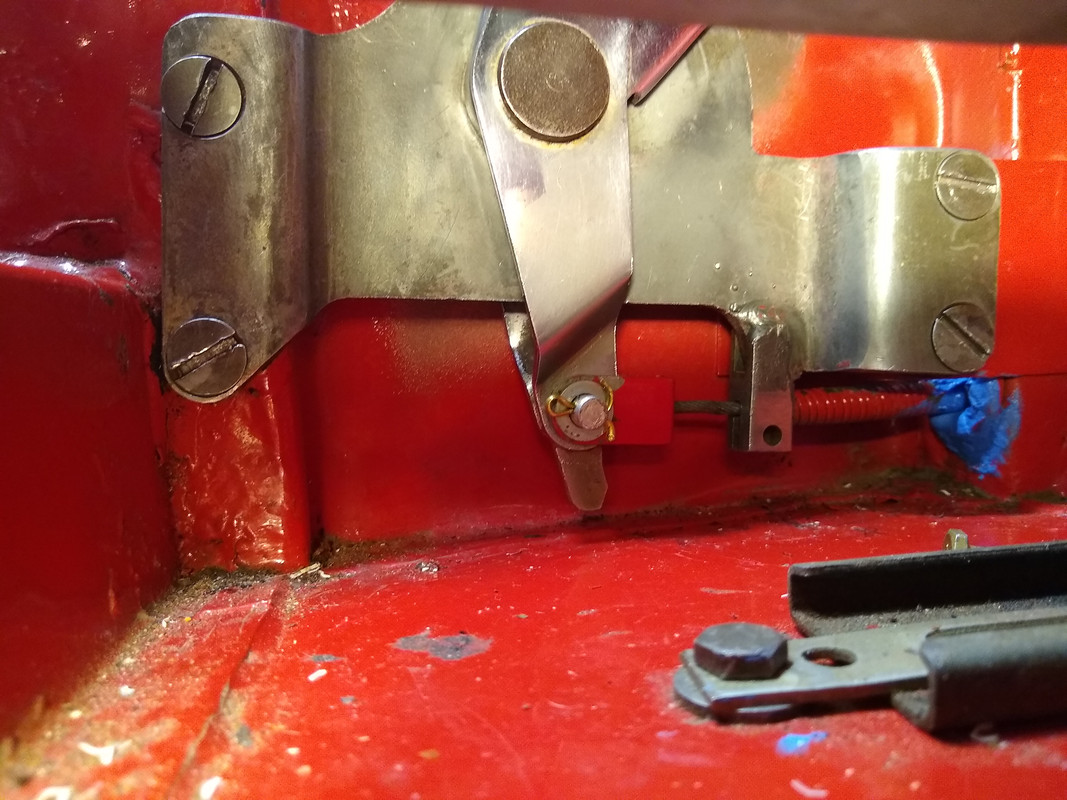
More later.
#10 Re: Handbrake Switch Series 1 FHC
Posted: Wed Sep 01, 2021 7:24 pm
by scottie
Well, it is done! Sheesh, just 2 days to put the switch on a handbrake. Must be a record, huh?
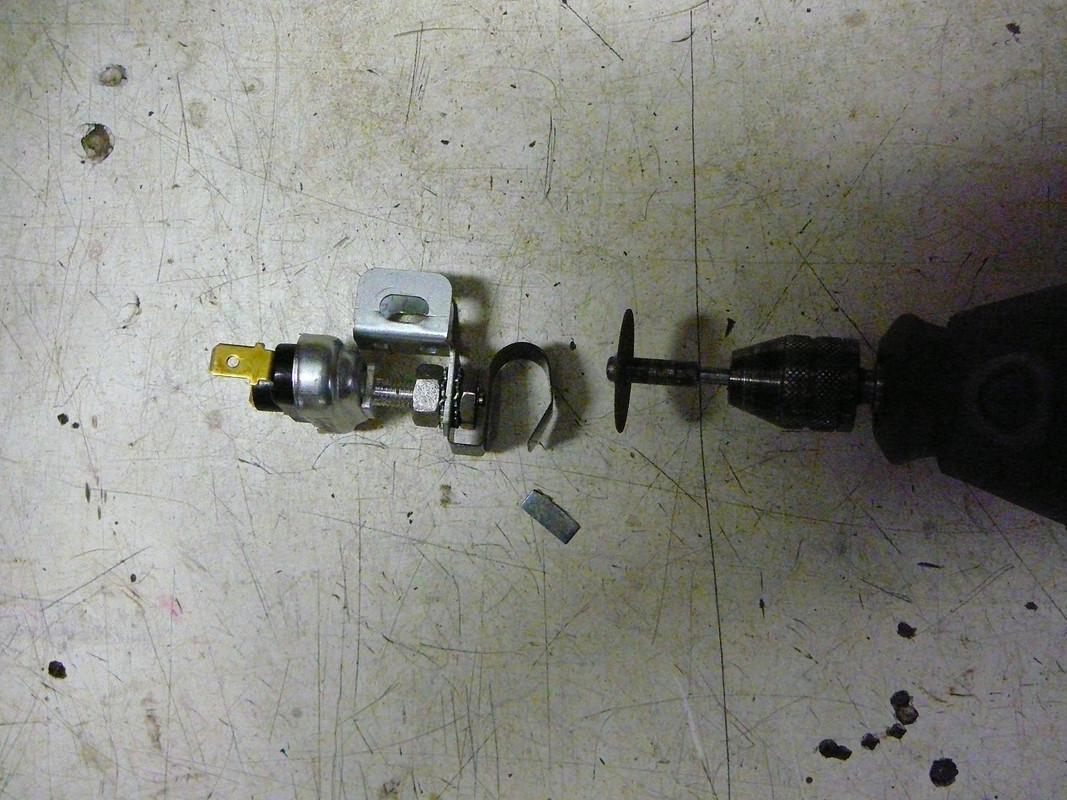
I mounted the front of the handbrake, with switch, into the two factory threaded holes and let it fall where it may be at the aft end. The aft mount for the handbrake is welded to the tunnel. The slotted holes in the aft mount did not agree with the front ones. So, I marked them with a pen and removed the handbrake altogether. Took a Dremel with grindstone and whittled out everything inside the circular markings on the aft mount. You can see the amount of mis-alignment that existed; the rear slots were only horizontal and all that which now goes upwards is what I ground out. I then turned my spring latch around so as to be vertical and cut-off about 3/16" of the end of it. While the horizontal spring would work, the vertical alignment gives a better fit IMO. I then assembled the handbrake and offered it up to the newly configured mounting points. Fronts as per factory, rears as per my markings. I used washers on the backside of the rear mounting holes and tightened it all up. It fits! It works! 0 ohms at "brake off" and 1.4 ohms with the "brake on." Sounds easy now, but it was tedious work. I'm glad it is done. Pics follow:
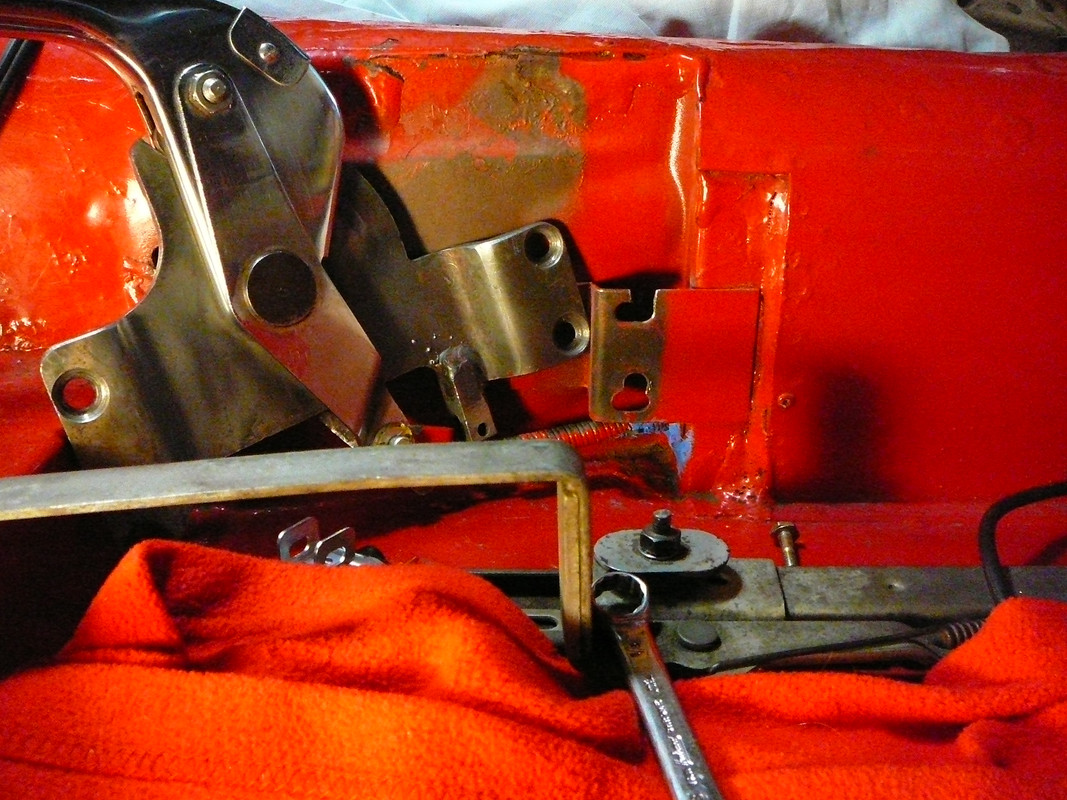
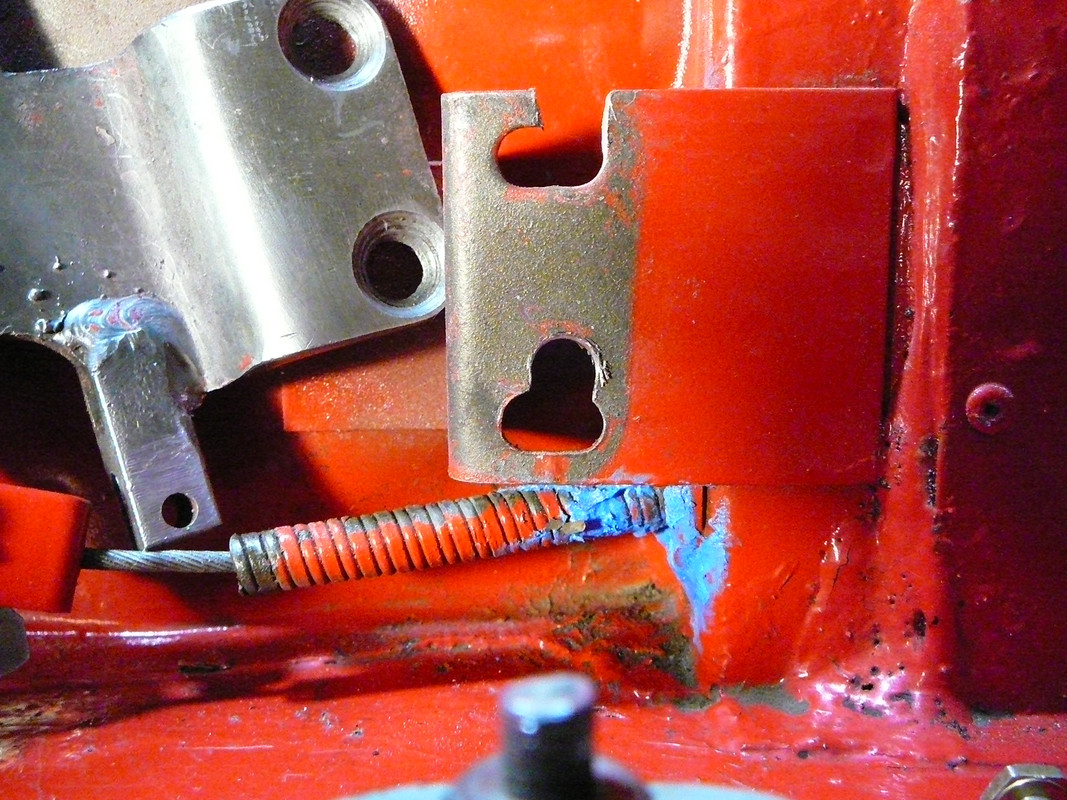
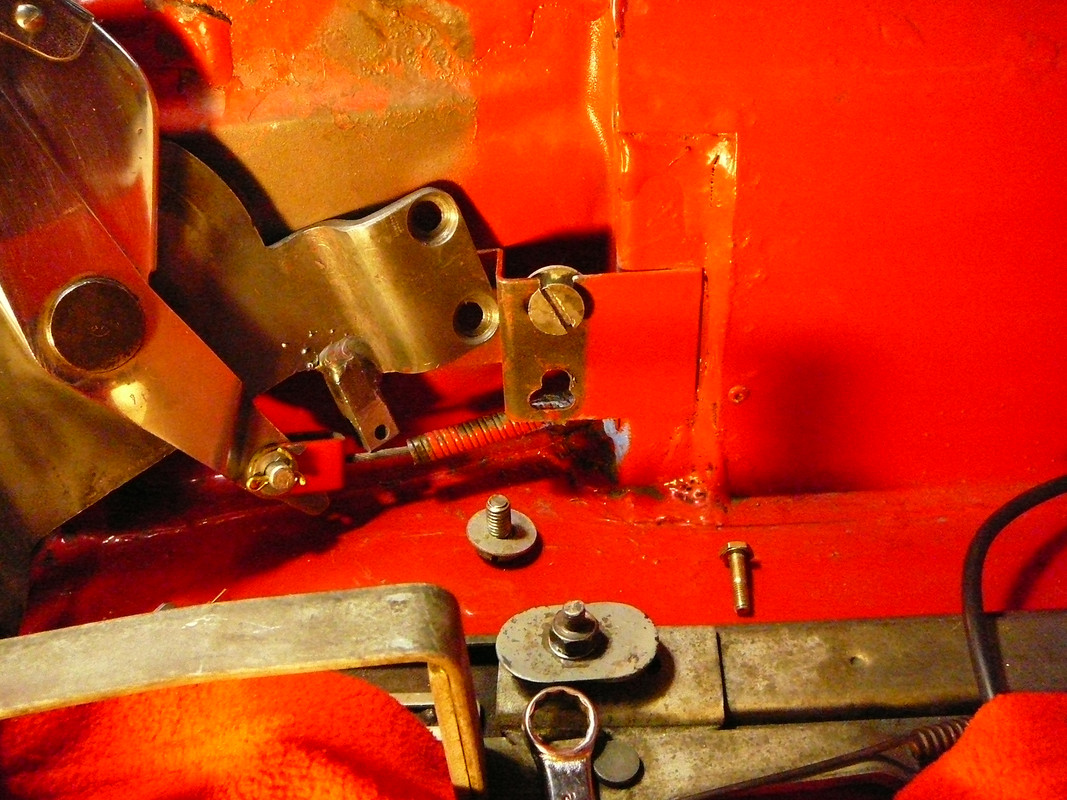
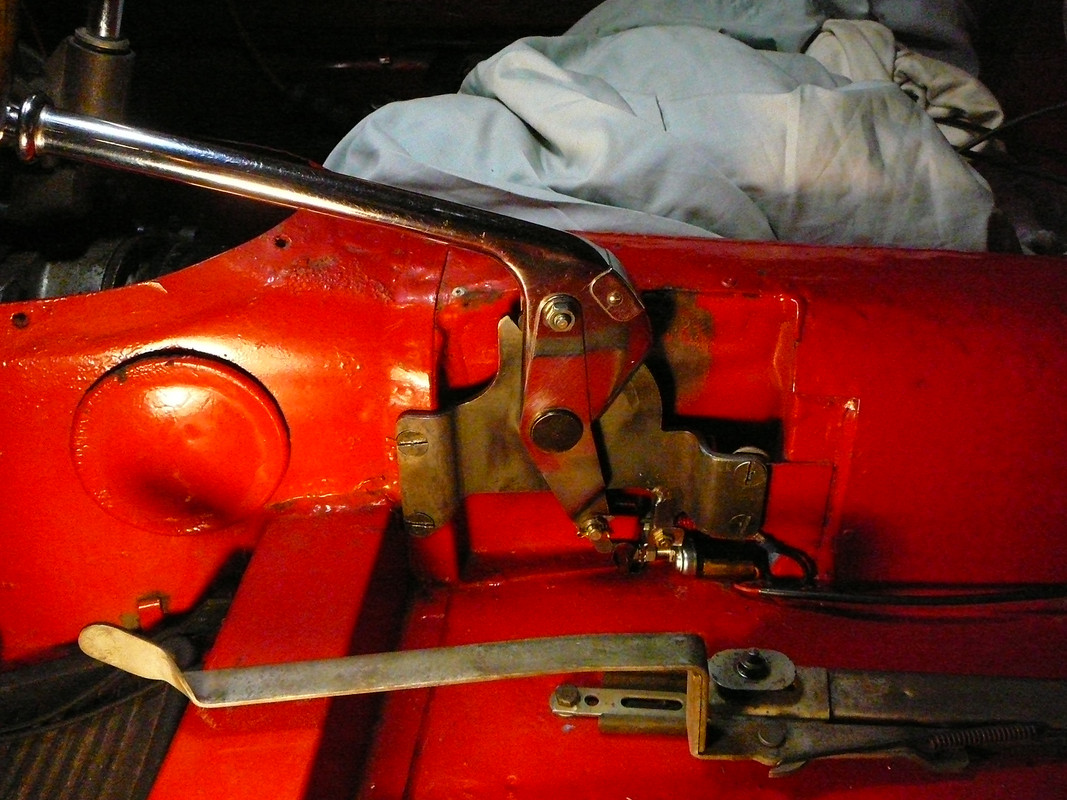
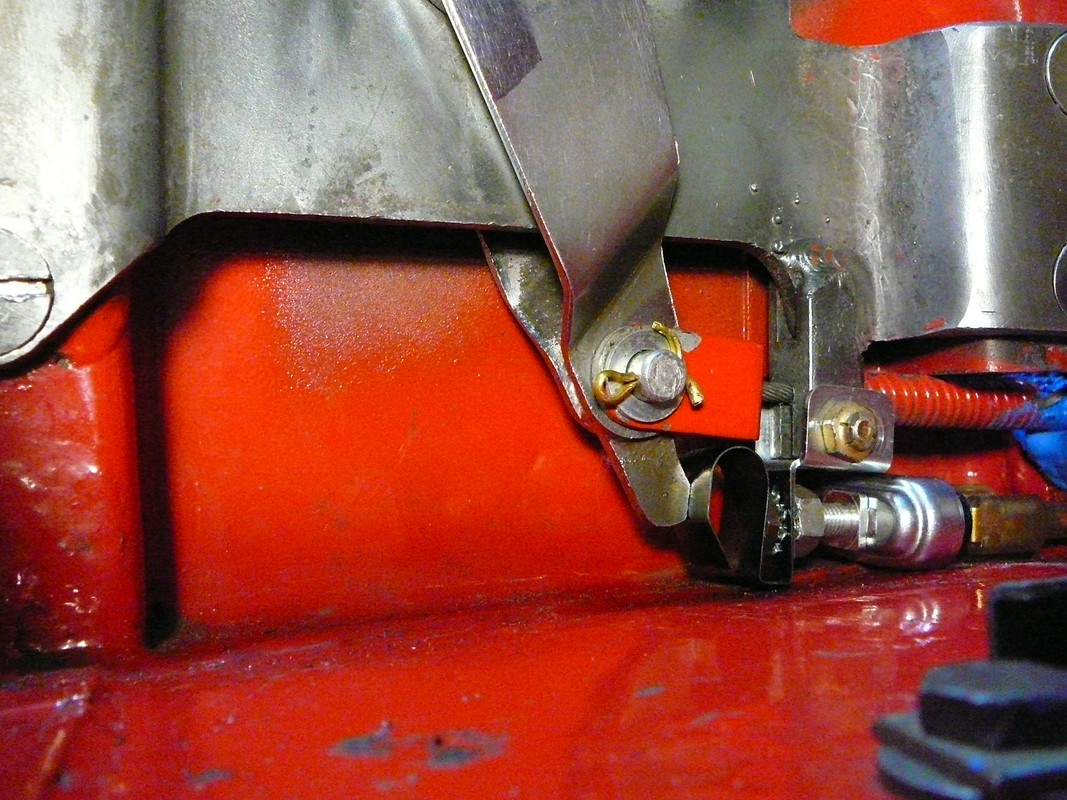
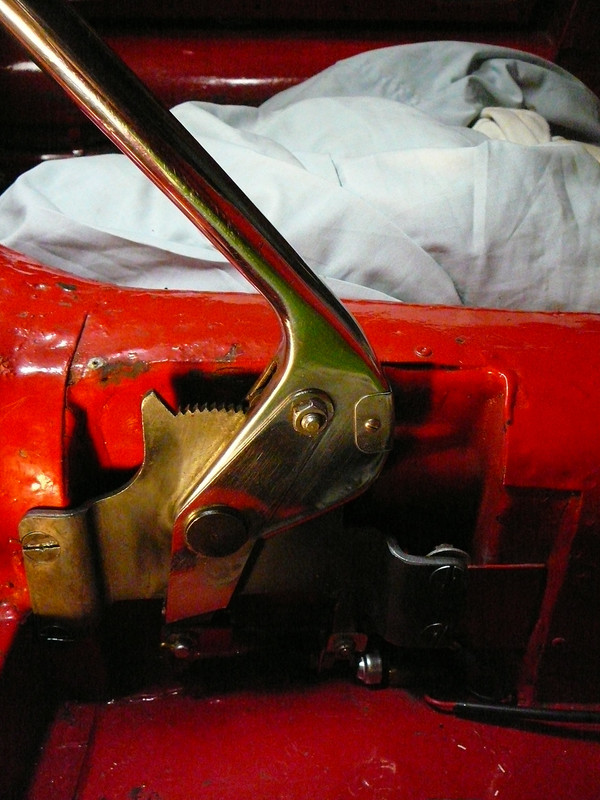
I want to thank everyone for their contributions, ideas, and especially the photos. Thank you! Scottie
#11 Re: Handbrake Switch Series 1 FHC
Posted: Wed Sep 01, 2021 8:21 pm
by rswaffie
Well done! Glad it’s all sorted.
I love my Dremel - used it for so many different jobs during my restoration.
#12 Re: Handbrake Switch Series 1 FHC
Posted: Wed Sep 01, 2021 10:57 pm
by Series1 Stu
Wow! That's radical surgery there Scottie! I didn't need to do anything near that to get mine to fit.
I had forgotten that I needed to trim and slot the mounting bracket quite a bit and cut a chunk off the spring but nothing as drastic as slotting the handbrake mounting holes. I don't think I could ever bring myself to do that - it's too much of a departure from standard.
I did dimple the floor a little and had to remove some excess seam sealer.
For the switches, try exercising them on and off with a couple of amps load on them to check their function and possibly restore their contact resistance characteristics.
Regards
#13 Re: Handbrake Switch Series 1 FHC
Posted: Thu Sep 02, 2021 11:02 am
by scottie
Yep Stuart, it bothers me too to modify the car as I am striving hard to maintain its originality with modifications that cannot be undone. Nonetheless, in this case it was dent the floor and hurt the underside paint or drill new holes in a simple bracket. I chose the latter.
I wonder how it got this far off in the first place? When installing the handbrake before I drilled the holes, one had to insert all 4 screws loosely with some pressure on them to get the ones in the rear holes. Then snugging them up just distorted the metal as it was tightened. Something had to move over the years, but I see no evidence of warping nor metal damage.
Good advice on exercising the switch. I did a bit and shot some contact cleaner in the plunger end when I was fiddling with it. I then set that choke switch aside to finish the handbrake. When I picked it up again...it was working perfectly. I'll try it again with voltage applied. Today the choke and glovebox will all go back together and that'll be interesting because the Blaupunkt amplifier fits behind the glovebox.