Adjusting The Temperature Gauge

Technical advice Q&A
User avatar

Topic author
rfs1957
Posts: 1585
Joined: Sat Jan 15, 2011 2:52 pm
Location: Languedoc - France
France

#1 Adjusting The Temperature Gauge

Post by rfs1957 » Sun Dec 08, 2024 8:43 pm

Spoiler Warning ! Some of this may be nonsense, read through to the end of the string first …..

You dont want to believe everything you read on the Internet, especially if I write it.

There's nothing revolutionary in what follows but as there seemed to be nothing about this on the Forum I thought I'd put some suggestions up, the kind of hand-holding I might have enjoyed before getting stuck in.

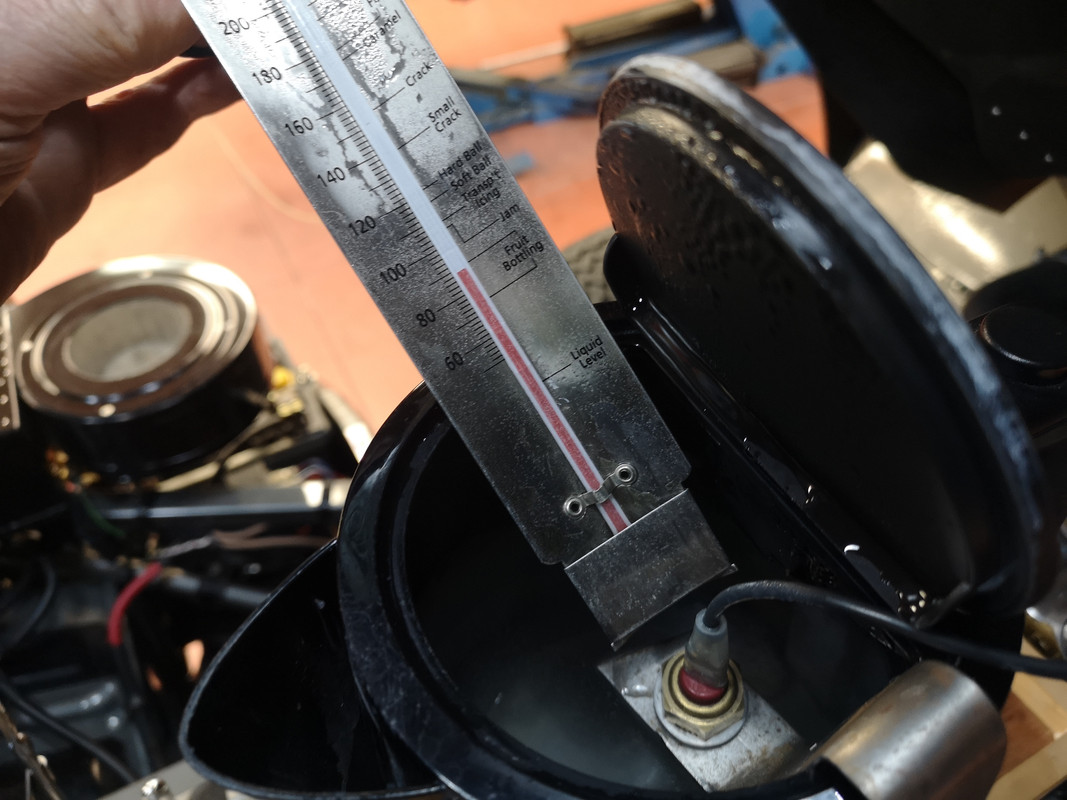
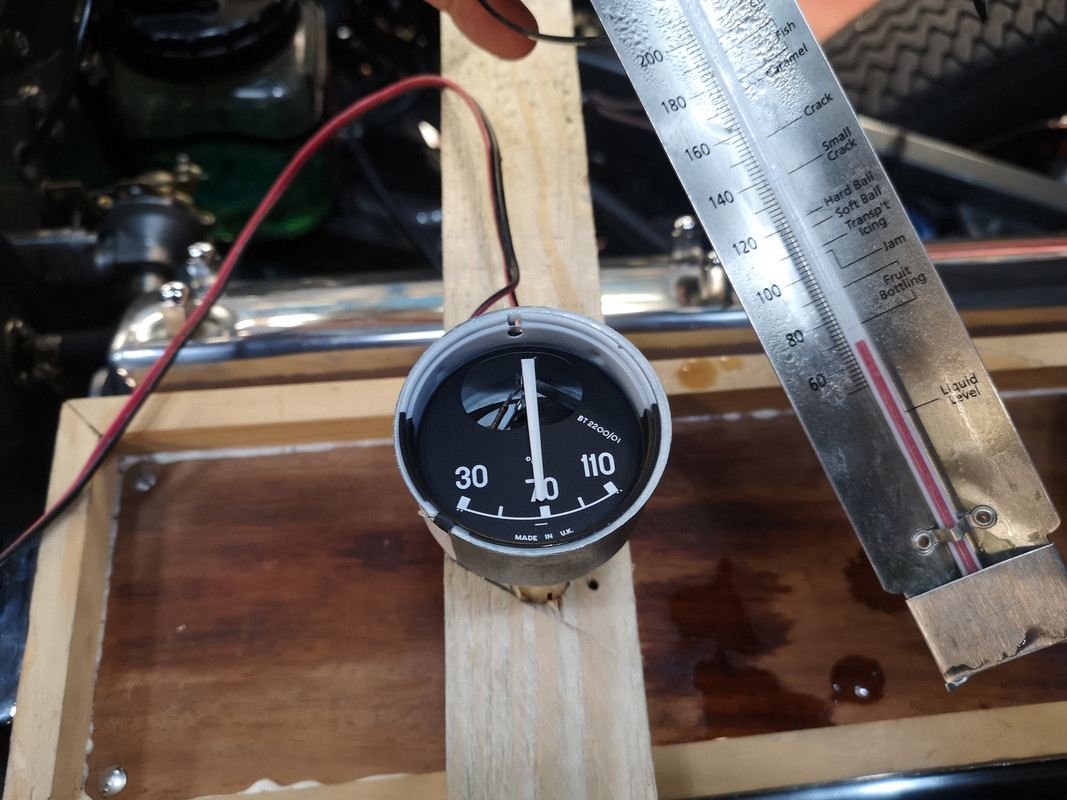
My recent Caerbont/Smiths temperature gauge, and brand new sender unit, gave readings that were palpably well below the true engine temperature.

Image

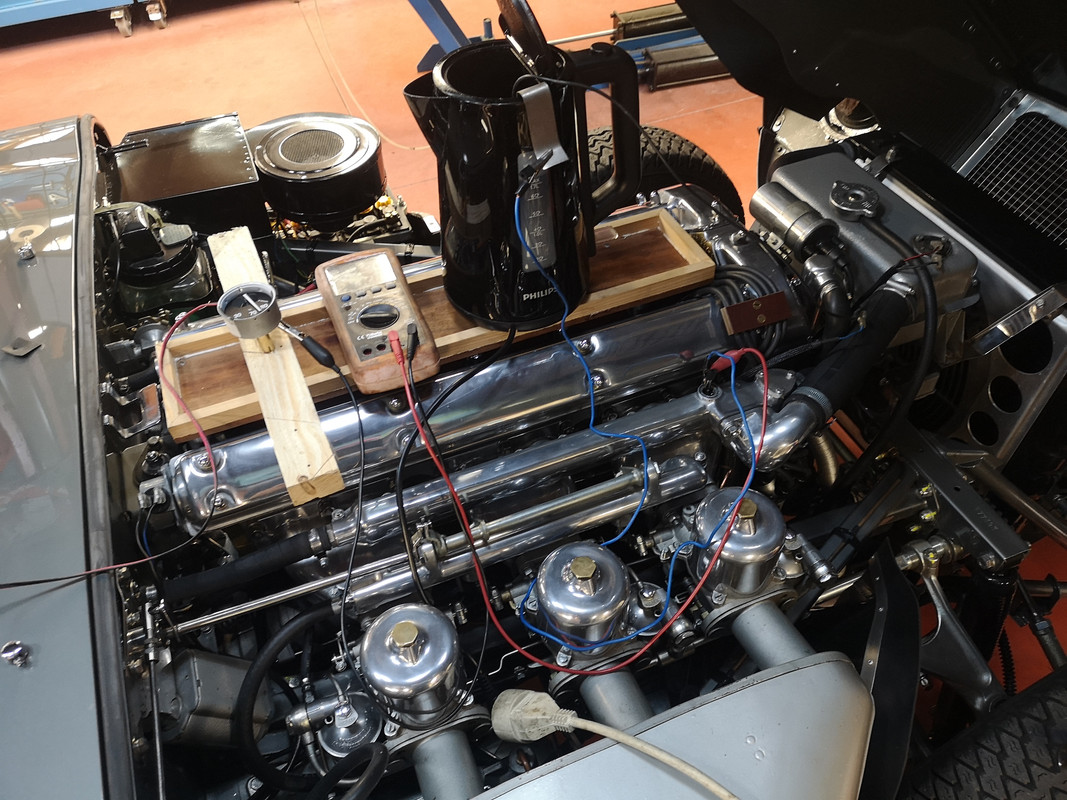
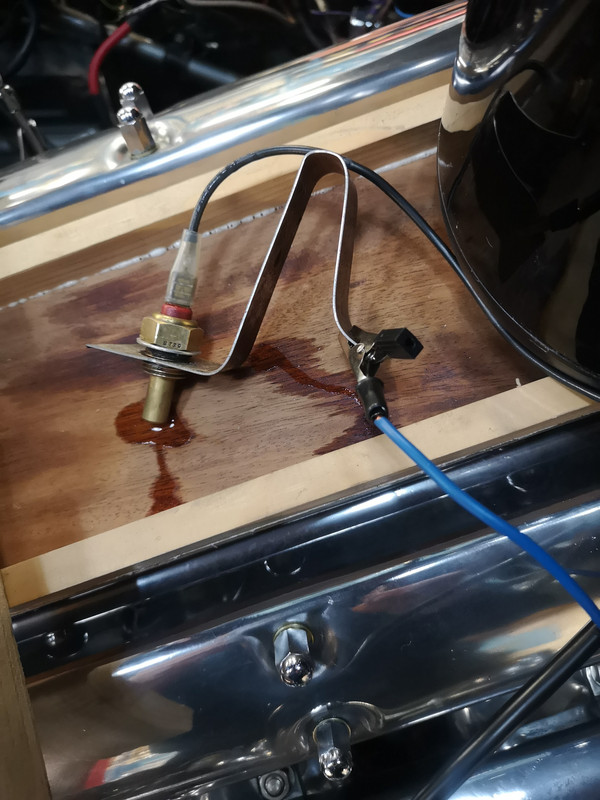
With a kettle and a fruit thermometer, a bracket to hold the sender unit, and a few wires, you can set the gauge up on top of the engine and run it around the "fruit-bottling" temperatures of between 70°C and 100°C.

Make sure your Jaguar Dealer has one of these, they probably had to pay £150 for it.

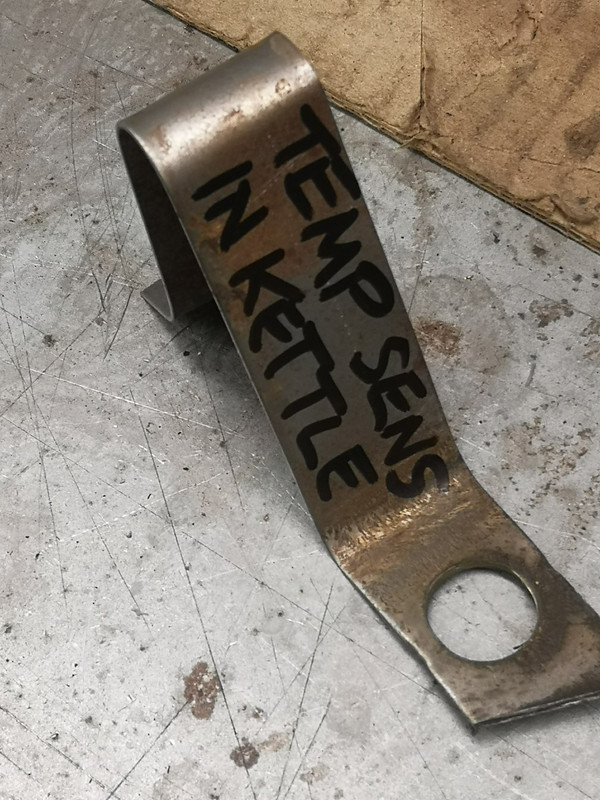
I now have so many jigs that I can't even remember what some of them are for, or I end up making them a second time, so I now have to write on them.

Image

Image

It's a lot easier if you have a my Patented Tool Tray, another one that every Jaguar Dealer ought to possess.

Image

Image

Image

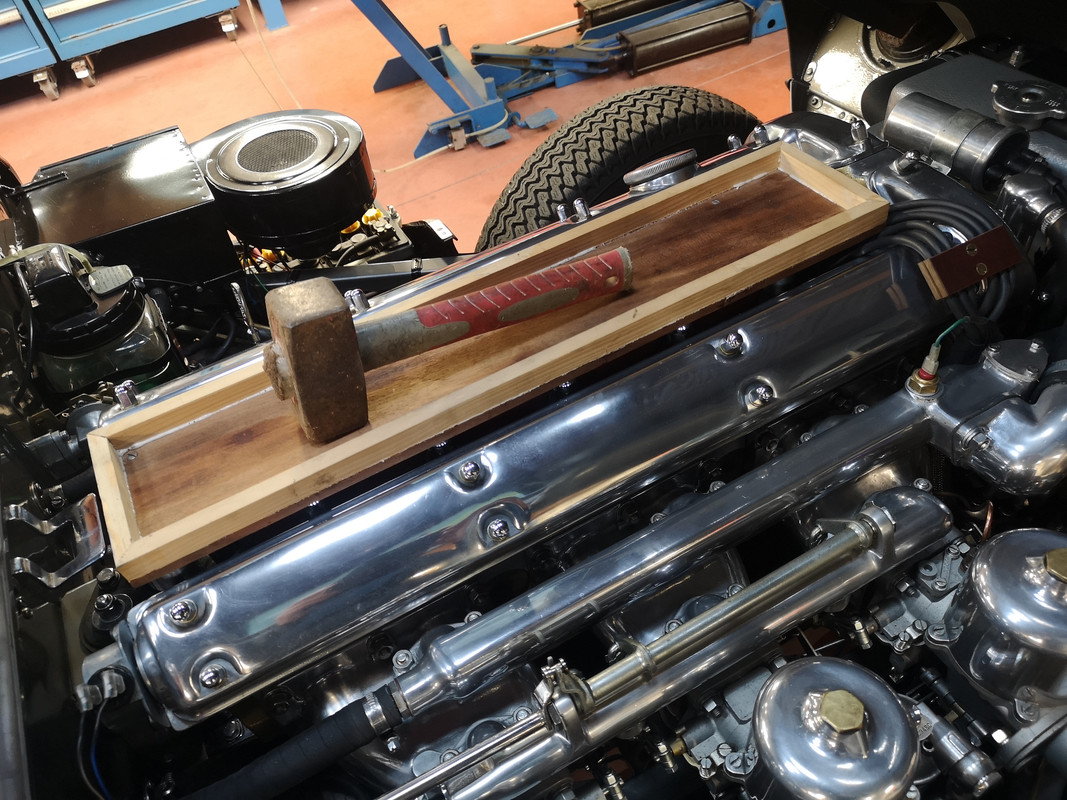
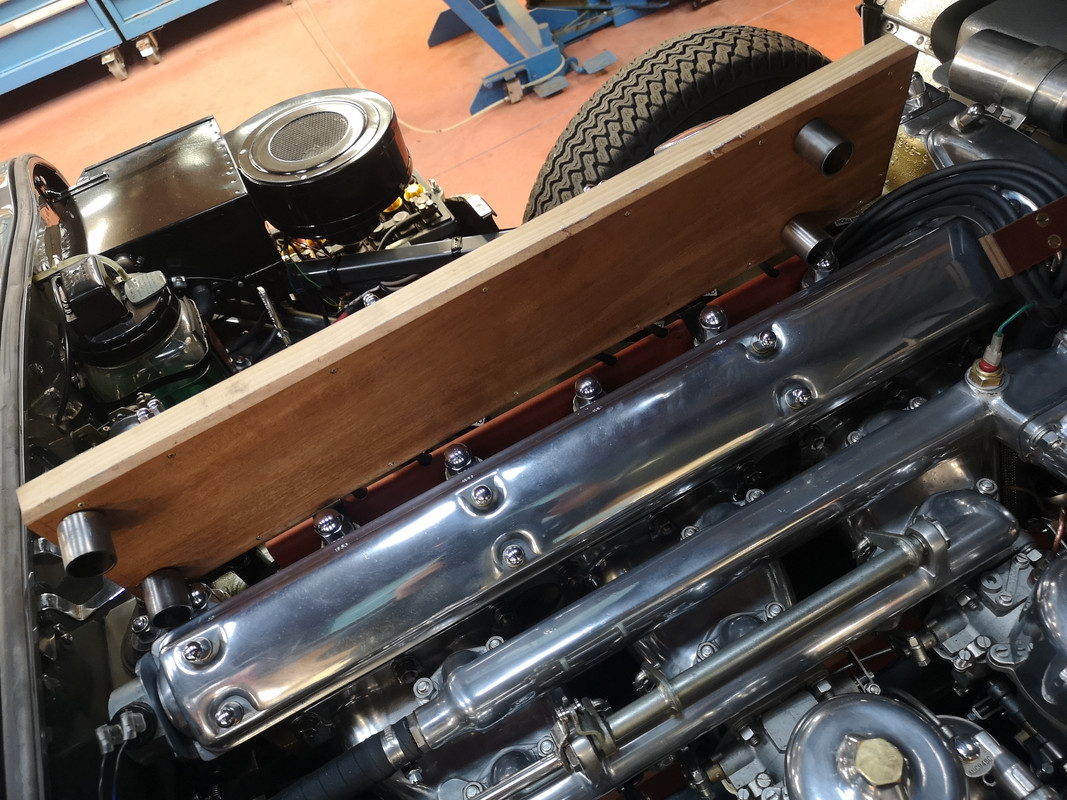
SNGB could make a fortune popping these out in fibreglass or blow-moulded plastic whatever, as we all know the spark plug area gets used as a tool-rack.

Image

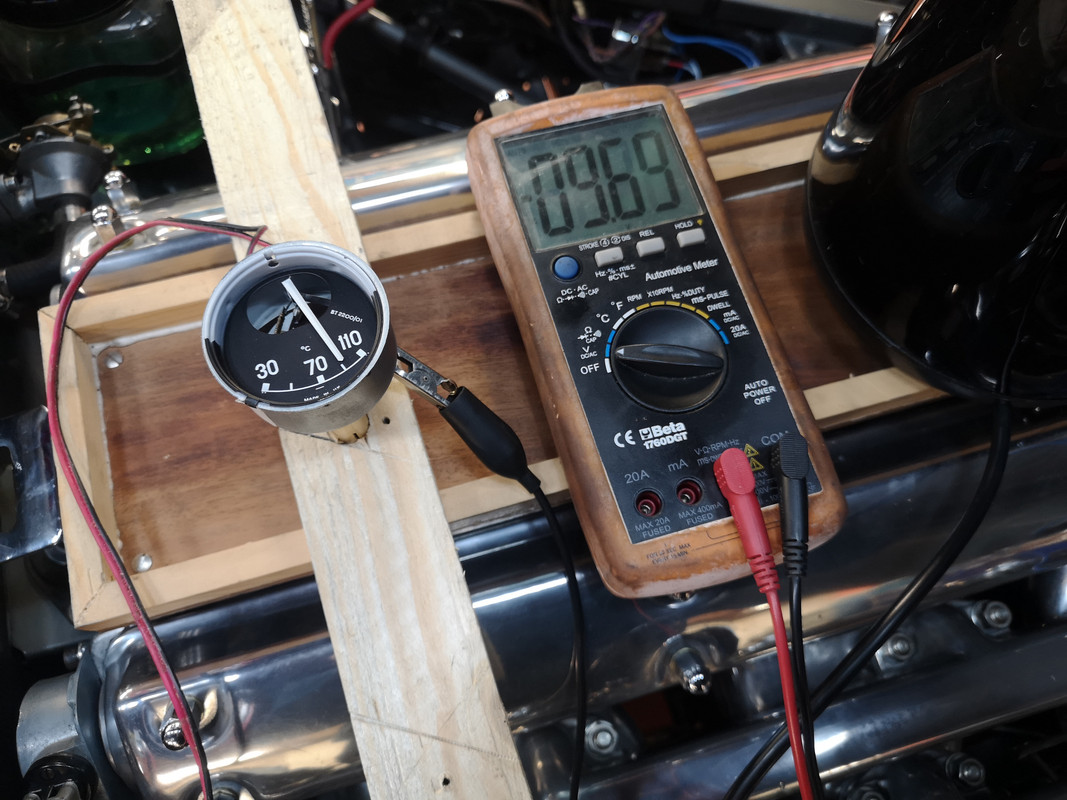
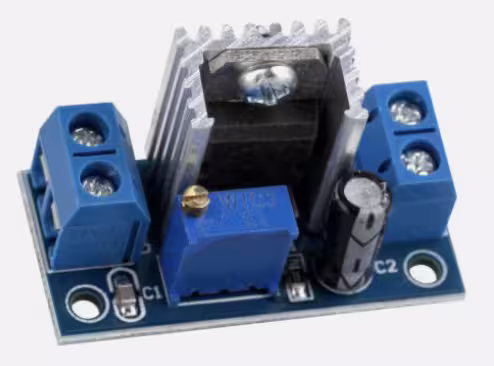
I also used a voltmeter on the "10v" feed to make sure that nothing untoward was going on with all the extra wiring - my voltage regulator always reads 9.70 on this meter, but as long as its steady this isn't an issue.

Image

Getting the bezel off a recent Smiths gauge shows the downward path they're engaged in, as there are no longer the three cut-aways in the case to correspond with the three lugs on the bezel.

Image

For evident reasons of economy, you now have to bend the tangs right back, so there's none of the rather satisfying bayonet-rotation sensation that we've enjoyed for 60+ years.

Image

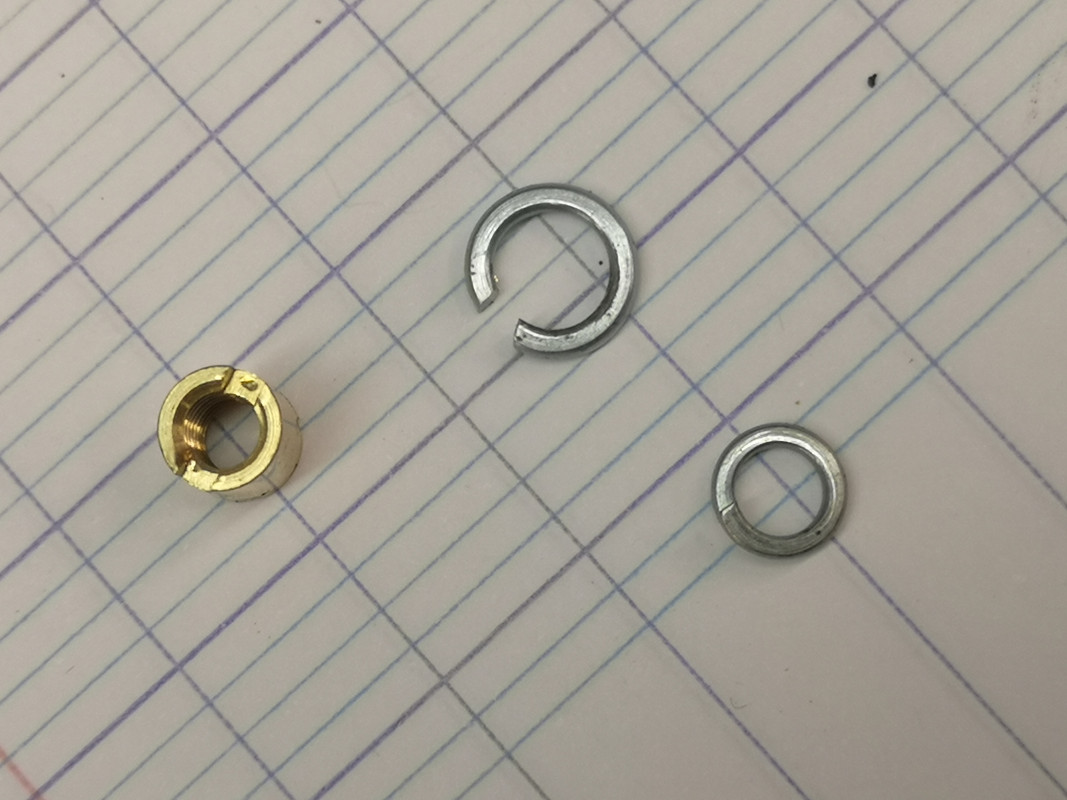
Was it economy that led them to use 2BA spring-washers instead of 4BA ones, I wonder, on the terminal posts ?

Image

Image

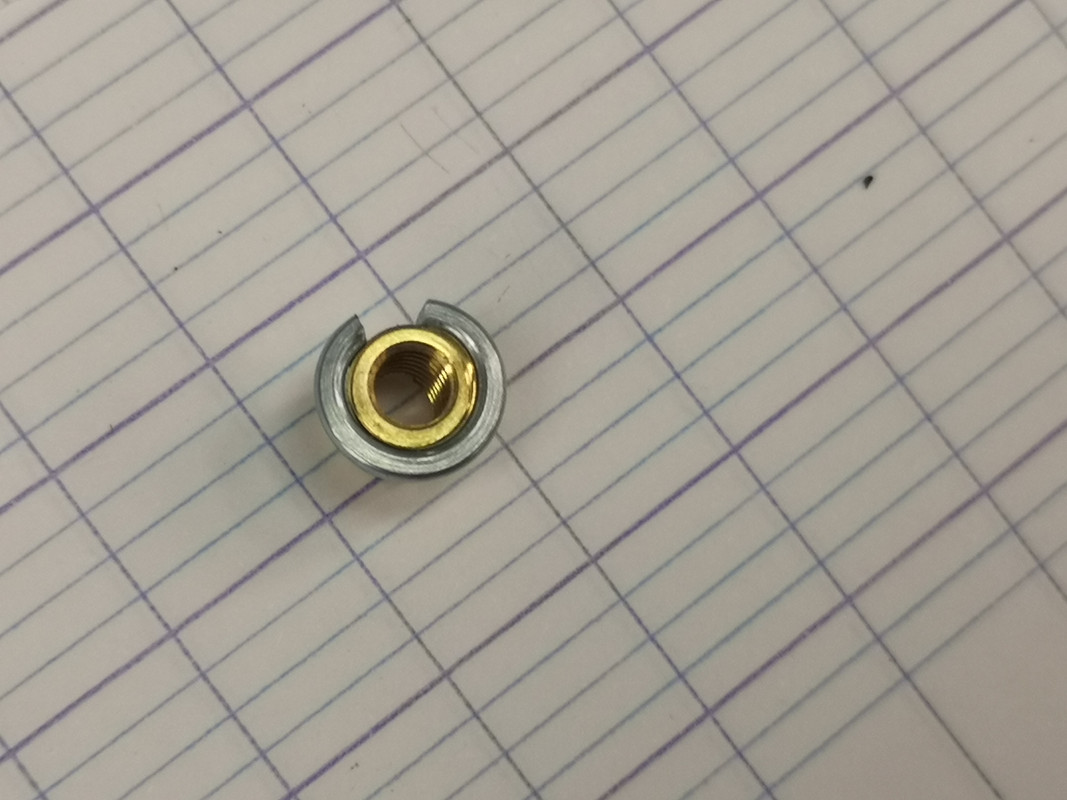
Once you've got the bezel and glass off, you need to get the outer face off too in order to gain access to the actual root of the needle. The main face stays in place.

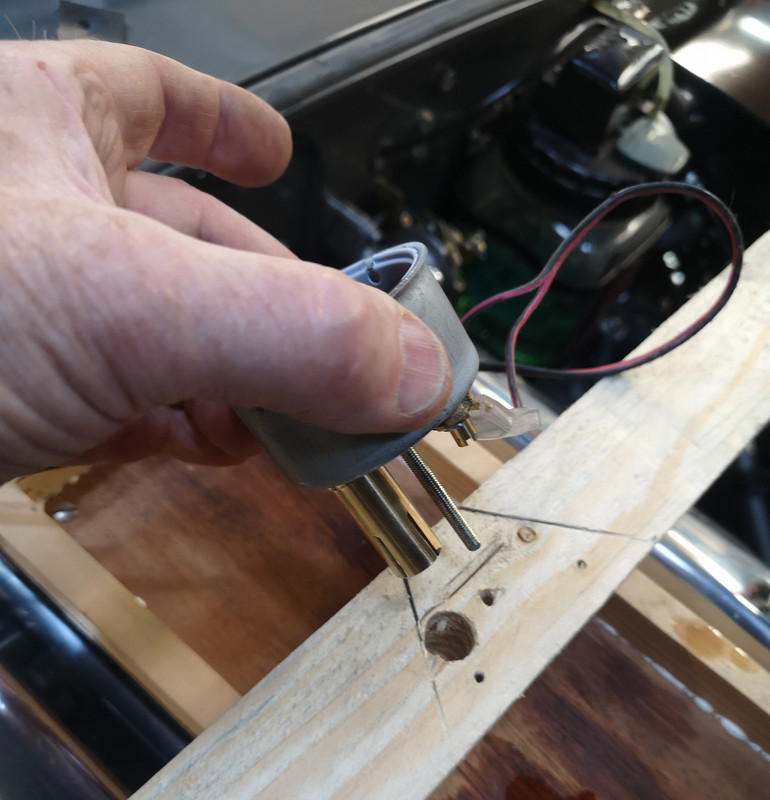
Tweaking the needle to suit the fruit-thermometer reading is a pretty fraught operation, only possible if the gauge is fixed firmly on a support of some sort. I found a 4mm hole for the fixing stud and a 13mm hole for the bulb holder tube, in a bit of 2x1, and pushing both in a certain distance, gave me a steady platform.

Image

It requires a really thin-nosed pair of tweezers, and a delicate needle-ended tool, to even begin to do this safely - as you have to grip the root of the needle, right next to some frighteningly delicate linkage, and slightly twist the needle root.

I ended up with the needle poking out too far, and/or moving in an unintended direction, so it took quite a few stabs before it was where I wanted it ; and I'm not sure I'd do this any better if I had to do it again. Is there an easier way ? Please don't tell me there's a hidden screw that does all this for free !

Anyway, across the 70-100 range I got perfect correlation, so if the jam thermometer is accurate then so am I.

Image

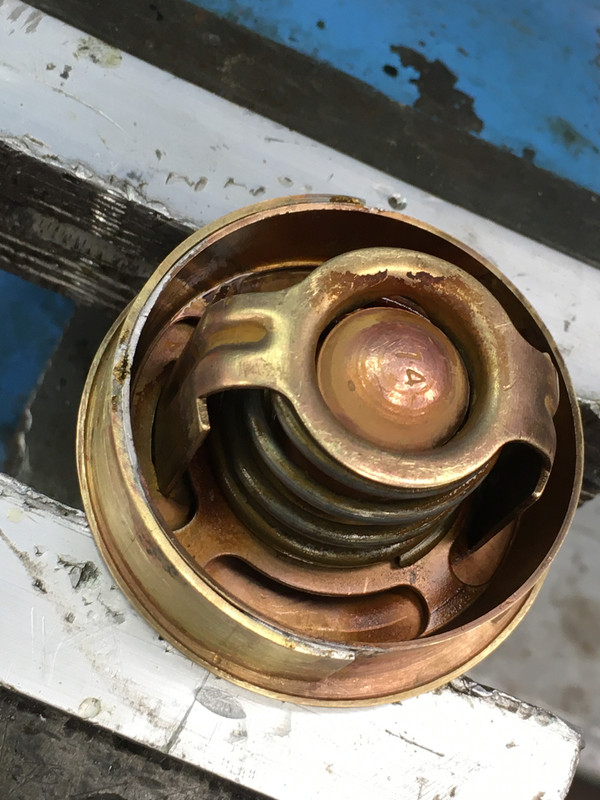
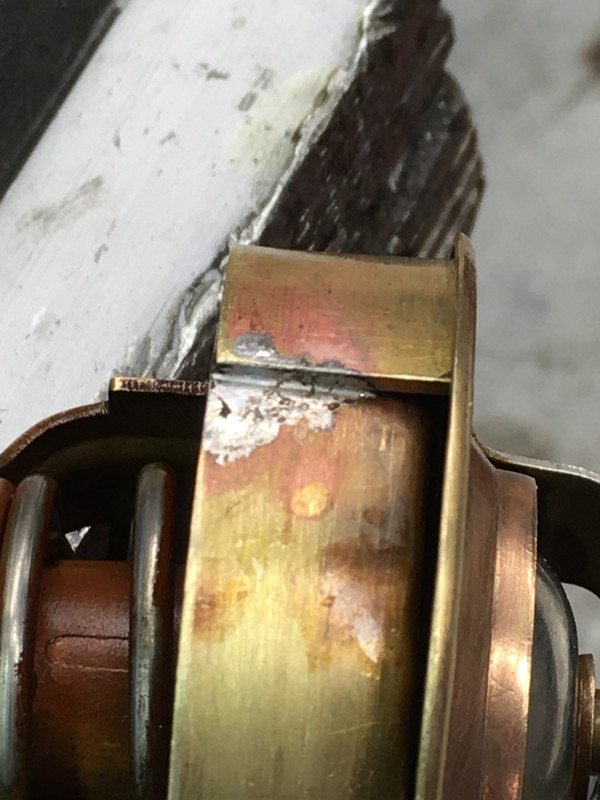
One of the delights of a completely rebuilt car has been to be able to drive it without glancing nervously at the temperature gauge the whole time, including at 35°C in a traffic jam, and the modifications I made to the thermostat to improve the efficiency of the cut-off (soldering a segment to the edge, to effectively make for a snugger fit) appear to have worked very well

viewtopic.php?f=4&t=17043

Image

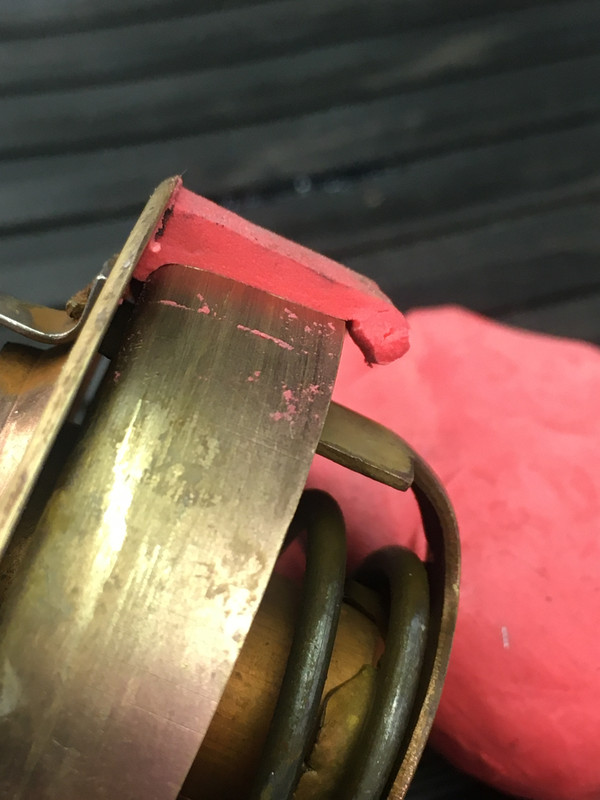
This is using Plastiscene, sliced to measure the clearance ; the better the fit across the bleed port, the better the efficiency of the cooling system.

Image

Image

as the temperature rises quickly once running, and then remains remarkably steady across all sorts of driving conditions.

Making the temperature gauge accurate was on my Long Term List, so it's a very satisfying crossing-off.
Last edited by rfs1957 on Mon Dec 09, 2024 7:55 am, edited 1 time in total.
Rory
3.8 OTS S1 Opalescent Silver Grey - built May 28th 1962

Link:
BBcode:
HTML:
Hide post links
Show post links

User avatar

mgcjag
Moderator
Posts: 8981
Joined: Fri Jul 09, 2010 6:15 pm
Location: Ludlow Shropshire
Great Britain

#2 Re: Adjusting The Temperature Gauge

Post by mgcjag » Sun Dec 08, 2024 9:19 pm

Hi Rory..original guages had 2 small round Cork discs on the rear.....pull them out the reveal the 2 adjusting slots...Steve
Steve
69 S2 2+2 (sold) ..Realm C type replica, 1960 xk150fhc

Link:
BBcode:
HTML:
Hide post links
Show post links

User avatar

Topic author
rfs1957
Posts: 1585
Joined: Sat Jan 15, 2011 2:52 pm
Location: Languedoc - France
France

#3 Re: Adjusting The Temperature Gauge

Post by rfs1957 » Sun Dec 08, 2024 9:30 pm

Thanks Steve, I should have asked first :lol:

Too late to check on the new one, it's all back together and tucked up in bed.

"Engage Brain Before Operating Hands".

Still, it's good for a laugh :hammerdrill:
Rory
3.8 OTS S1 Opalescent Silver Grey - built May 28th 1962

Link:
BBcode:
HTML:
Hide post links
Show post links

User avatar

Simonpfhc
Posts: 766
Joined: Mon Aug 27, 2012 12:38 pm
Location: Surrey
Great Britain

#4 Re: Adjusting The Temperature Gauge

Post by Simonpfhc » Wed Dec 11, 2024 1:06 pm

Love that tool tray Rory! I’ve now made one too.

Have I infringed copyright? :lol:
Simon
62 3.8 FHC
91 Porsche 928GT
Find me on Instagram and Facebook @oldcarfixer

Link:
BBcode:
HTML:
Hide post links
Show post links

User avatar

Mark Gordon
Posts: 1007
Joined: Tue Jun 23, 2009 3:33 pm
Location: Columbus, Ohio
United States of America

#5 Re: Adjusting The Temperature Gauge

Post by Mark Gordon » Thu Dec 12, 2024 4:23 pm

I love the tool try, also! Great idea. Tomorrow is my last day at work until Jan. 7th so I'll have lots of spare time. I plan on infringing on your copy rights. I'm no lawyer but I think that you'll have to sue me in Ohio courts and good luck with that! :bigrin:
Mark

67 OTS 1E14988, 2015 Camry XSE

Link:
BBcode:
HTML:
Hide post links
Show post links


Gfhug
Posts: 3748
Joined: Thu Jun 19, 2014 3:08 pm
Location: Near Andover, Hampshire,in D.O. Blighty
Great Britain

#6 Re: Adjusting The Temperature Gauge

Post by Gfhug » Sat Dec 28, 2024 3:41 pm

Following on from Rory’s inspiration here are a couple of tool trays I knocked together over Christmas:
Image
(Other wine suppliers are available!)

Image
(Other colours are available)

Geoff
S2 FHC Light Blue
S2 OTS LHD - RHD full restoration

Link:
BBcode:
HTML:
Hide post links
Show post links


johnetype
Posts: 523
Joined: Sun Feb 26, 2012 11:54 pm
Location: Worcestershire
Great Britain

#7 Re: Adjusting The Temperature Gauge

Post by johnetype » Mon Dec 30, 2024 11:47 pm

I agree with Rory that it's useful to have your temperature gauge actually indicating the correct temperature and Rory's method achieves that by adopting a mechanical solution of bending the needle which unfortunately means opening up the gauge and bending tabs etc.

There are also a couple of electrical ways you can use to calibrate the gauge which saves having to open it up but you'll still have a use for Rory's patented valve cover tray. :bigrin:

1. Use a combination of resistors in parallel with or in series with the temperature sensor until you get the correct reading on the gauge.

2. Obtain a LM317 based variable voltage module like this:

Image

readily available for around £3 and use it to replace the 10 volt voltage regulator feed to the water temperature gauge. (Leave your existing voltage regulator connected to the petrol gauge)

Connect the module to a 12 volt feed and adjust the output to around 10 volts by turning the brass coloured slotted screw head. When your jam thermometer or other temperature checking device registers say 90 degrees, adjust the module output voltage up or down until the gauge also reads 90 degrees.

Mount the module behind the centre instrument panel and you're done.

Neither this way or Rory's way will stop you from scalding your fingers with the water from the kettle - you have to provide your own gloves :roll:
John

1969 Series 2 FHC

Link:
BBcode:
HTML:
Hide post links
Show post links

User avatar

Topic author
rfs1957
Posts: 1585
Joined: Sat Jan 15, 2011 2:52 pm
Location: Languedoc - France
France

#8 Re: Adjusting The Temperature Gauge

Post by rfs1957 » Tue Dec 31, 2024 4:34 pm

Really neat :thankyouyellow:

But isn't there a simple way of adjusting via some device at the back, via those two holes referred to ?

I'm rather hoping NOT as I wouldn't look so stupid :banghead:

But happy to take one for the team.
Rory
3.8 OTS S1 Opalescent Silver Grey - built May 28th 1962

Link:
BBcode:
HTML:
Hide post links
Show post links

User avatar

Topic author
rfs1957
Posts: 1585
Joined: Sat Jan 15, 2011 2:52 pm
Location: Languedoc - France
France

#9 Re: Adjusting The Temperature Gauge

Post by rfs1957 » Tue Dec 31, 2024 4:39 pm

As regards the trays, I think I found my narrow one very useful when I was shimming the valves, tho' being so excited by the invention I forgot to take a picture.

Most of the time, though, a bigger/wider one would indeed be much more useful, and it would be a good idea to design it so it makes a genuine, frank contact with the bonnet so you can't forget it OR dent the former !
Rory
3.8 OTS S1 Opalescent Silver Grey - built May 28th 1962

Link:
BBcode:
HTML:
Hide post links
Show post links


Gfhug
Posts: 3748
Joined: Thu Jun 19, 2014 3:08 pm
Location: Near Andover, Hampshire,in D.O. Blighty
Great Britain

#10 Re: Adjusting The Temperature Gauge

Post by Gfhug » Tue Dec 31, 2024 5:05 pm

Happy New Year, Rory. Isn’t it wonderful how simple things like a tool tray can create so much enthusiasm and pride to distract from the job in hand!

Geoff
S2 FHC Light Blue
S2 OTS LHD - RHD full restoration

Link:
BBcode:
HTML:
Hide post links
Show post links

Post Reply Previous topicNext topic