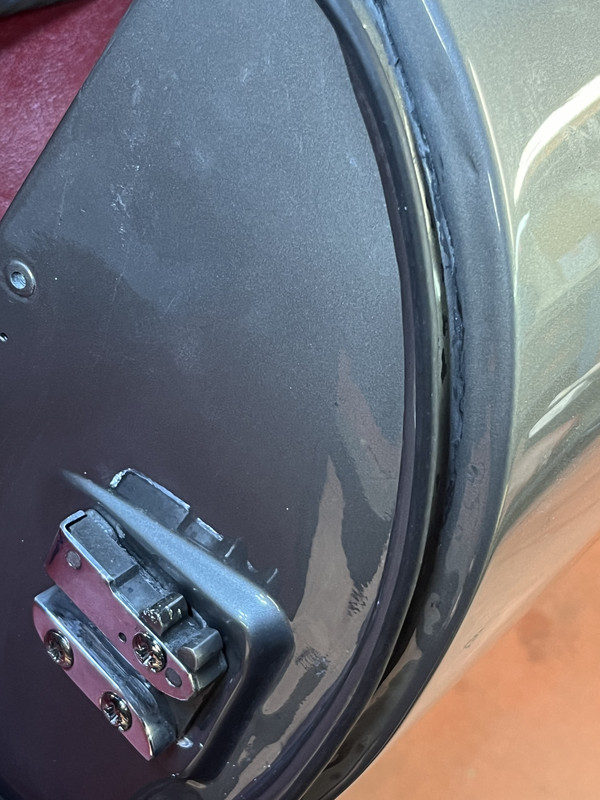
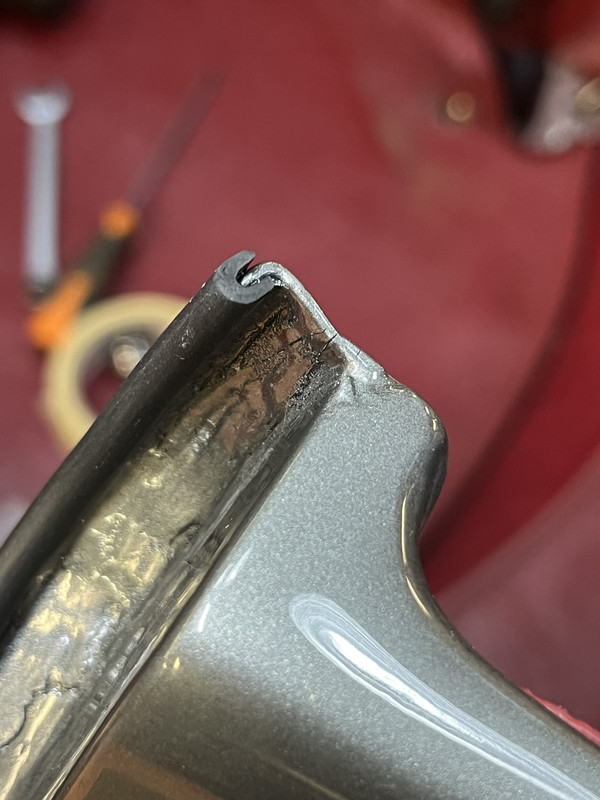
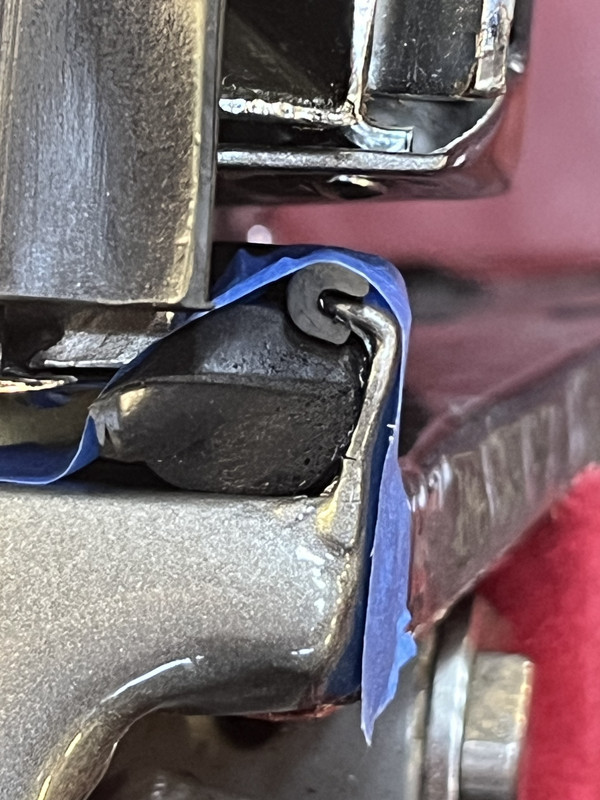
#1 Door Adjustment - Twisting Doors, Tweaking Striker Plates, Making New Striker Pins, Shaving B-Post Seals.
Posted: Fri Jan 30, 2026 8:50 pm
Yeah Yeah Yeah there's too much been written about door alignment / panel gaps already, why write another thread ?
Well, I've never seen anyone admitting to bending their doors, especially once they have been painted.
And I've never seen anyone mention the striker-assembly pins, the dowel on the door lock that engages into the groove in the striker mechanism.
So here's a bucket-full of suggestions that might help others.
Pins first :
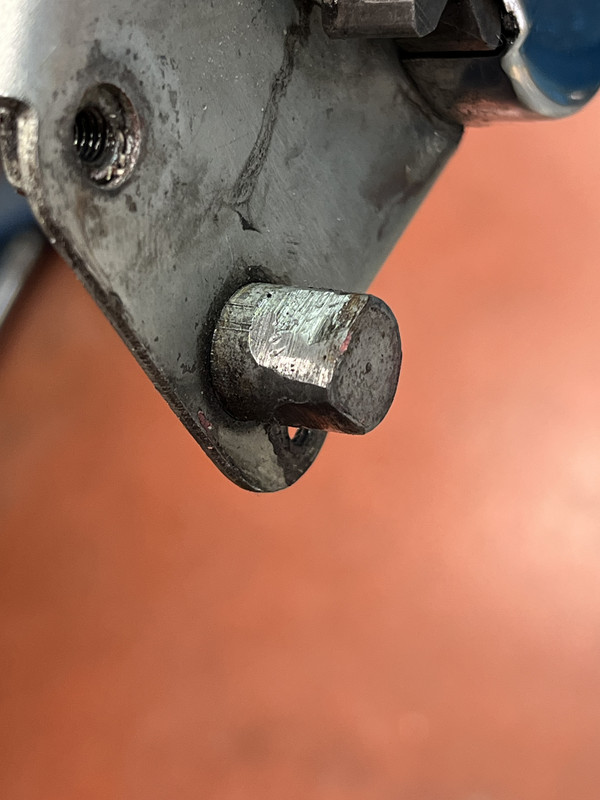
Those 1/2" pins, on every E-Type I've ever looked at, unless someone has fitted new repro locks, always look f--k-d.
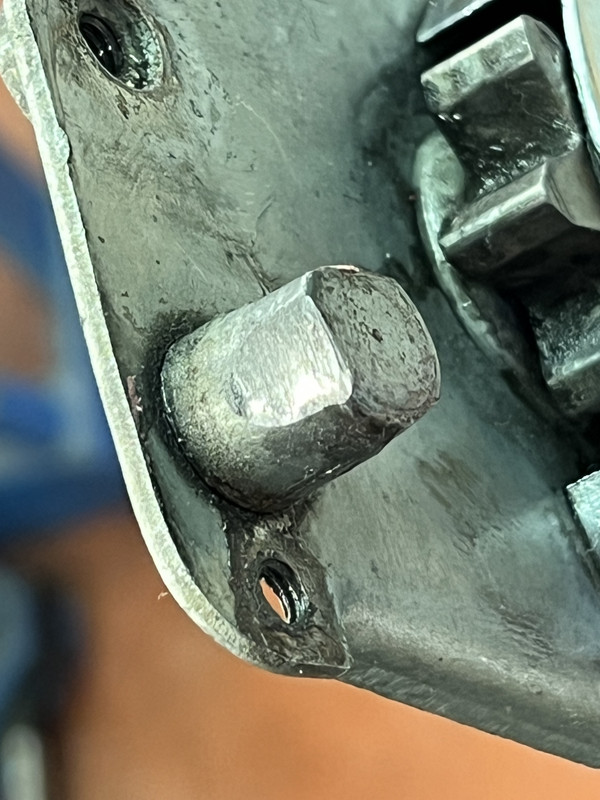
They live a terrible existence, trying to keep the door in position - vertically - whatever the condition of the hinges, and I think they ought to be considered a "wear" item as they are actually really easy to change.
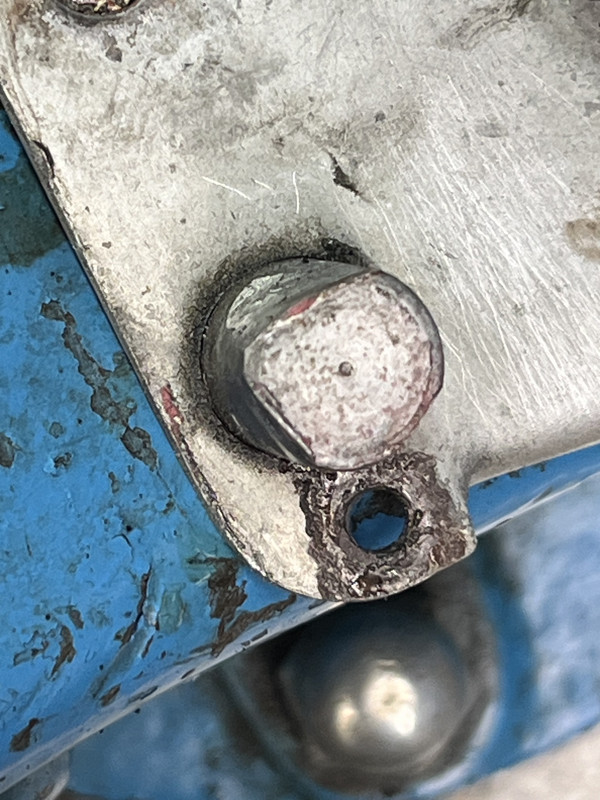
Furthermore, you can make them of a length that suits your car so that you get fuller, and optimised, engagement by making them as long as you can, less a millimetre or so.
Test with Plastiscene or whatever to see what extra length your striker-assembly will swallow - I managed to add an extra 3.50mm in length on both of my doors, up from the standard 1/2" or 12.50mm, hence the 16mm seen on the drawing.
Next remove the lock assembly from the door and drill out the swaged rivetting on the back, mine cleaned up at about 8.40mm.
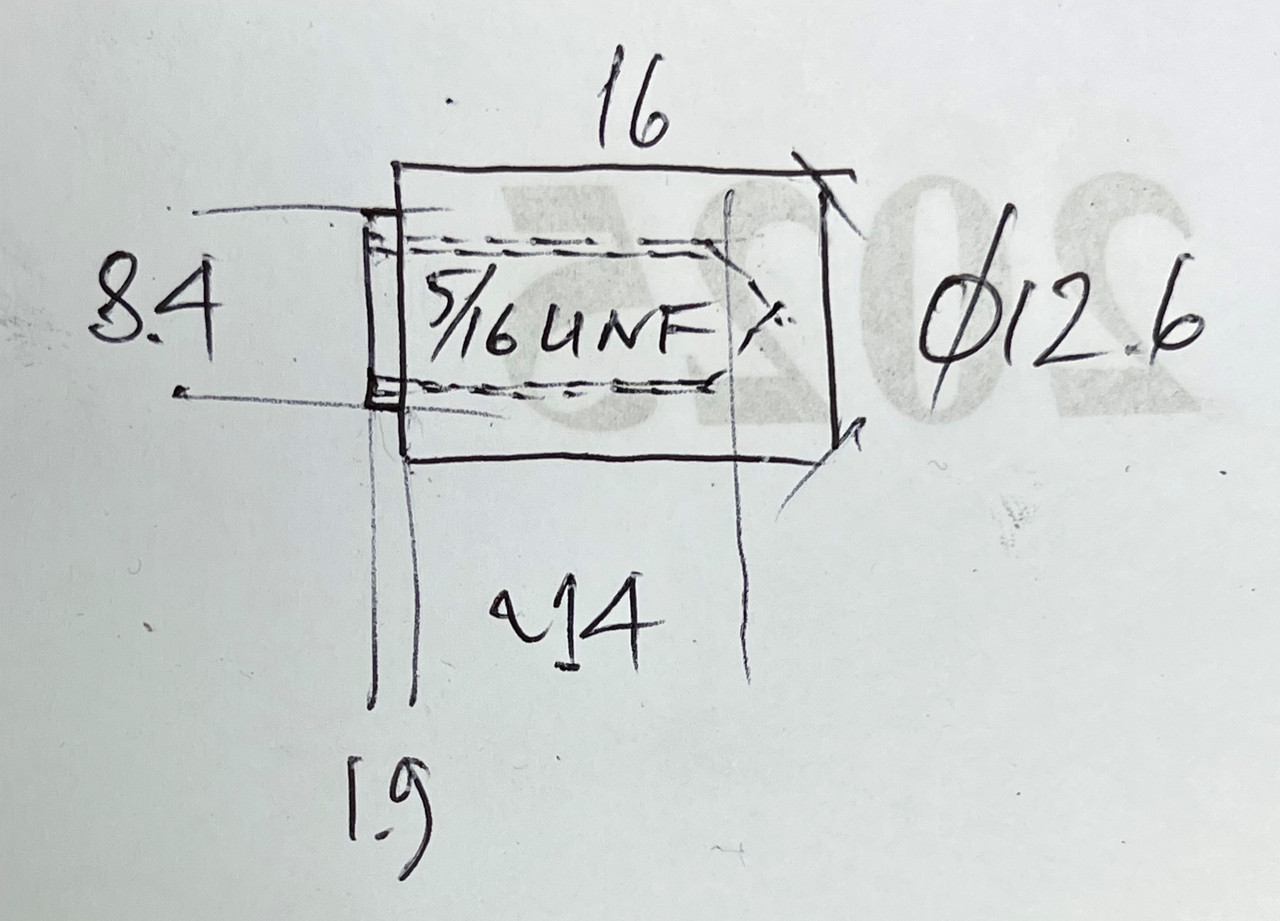
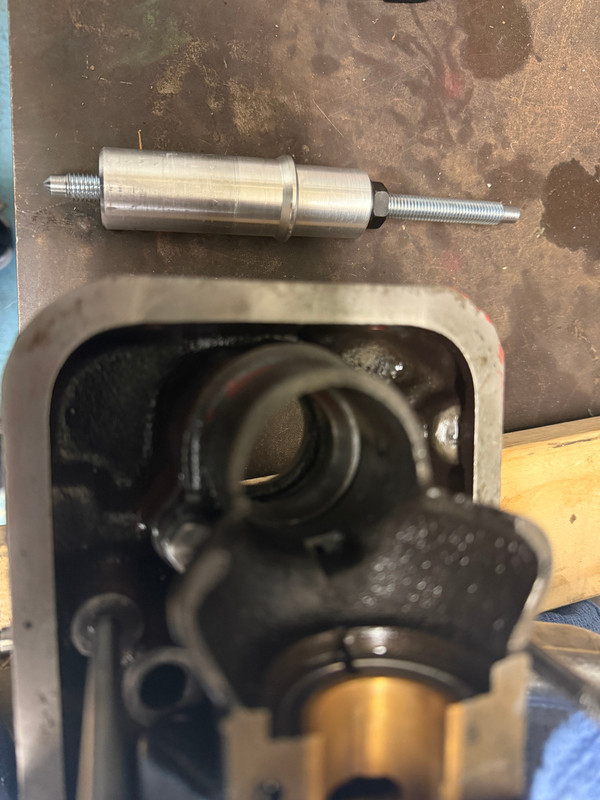
Make a pin from 1/2" bar, with an 8.40mm nose (I actually did 8.45 and pressed it into place) around 1.80-1.90mm deep, just short of the thickness of the plate, and tap it 5/16" UNF to take an 1/2" Unbrako cap-screw, which because of of their quality manufacture you can get really tight, with a Schnorr serrated washer under the head.
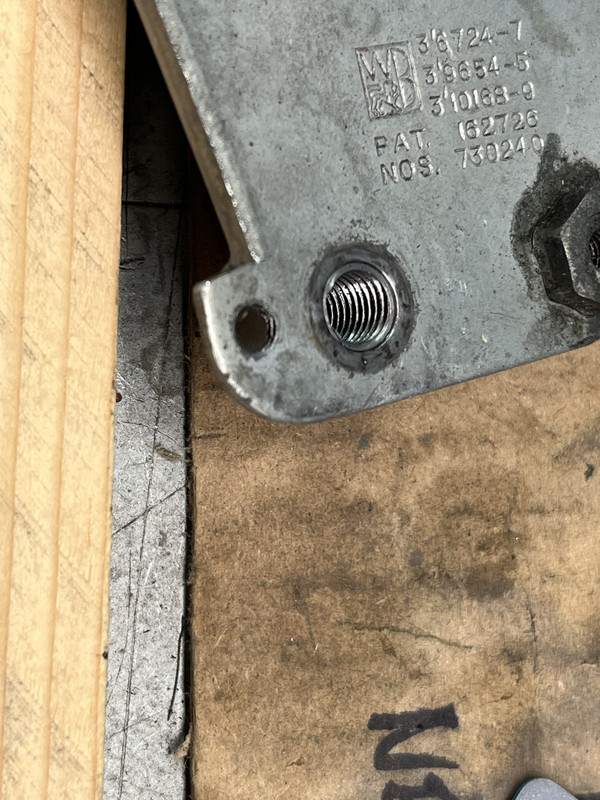
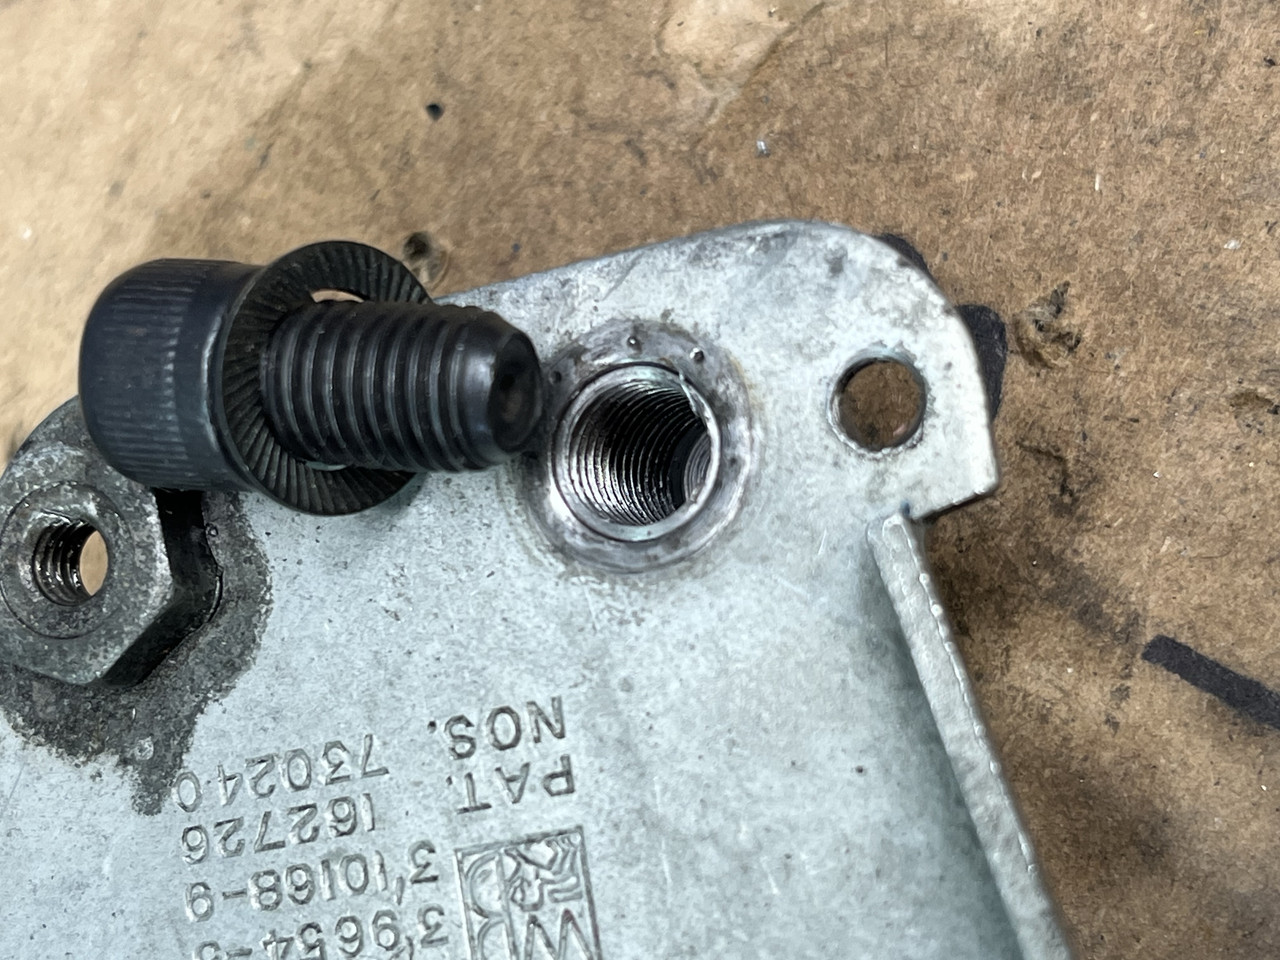
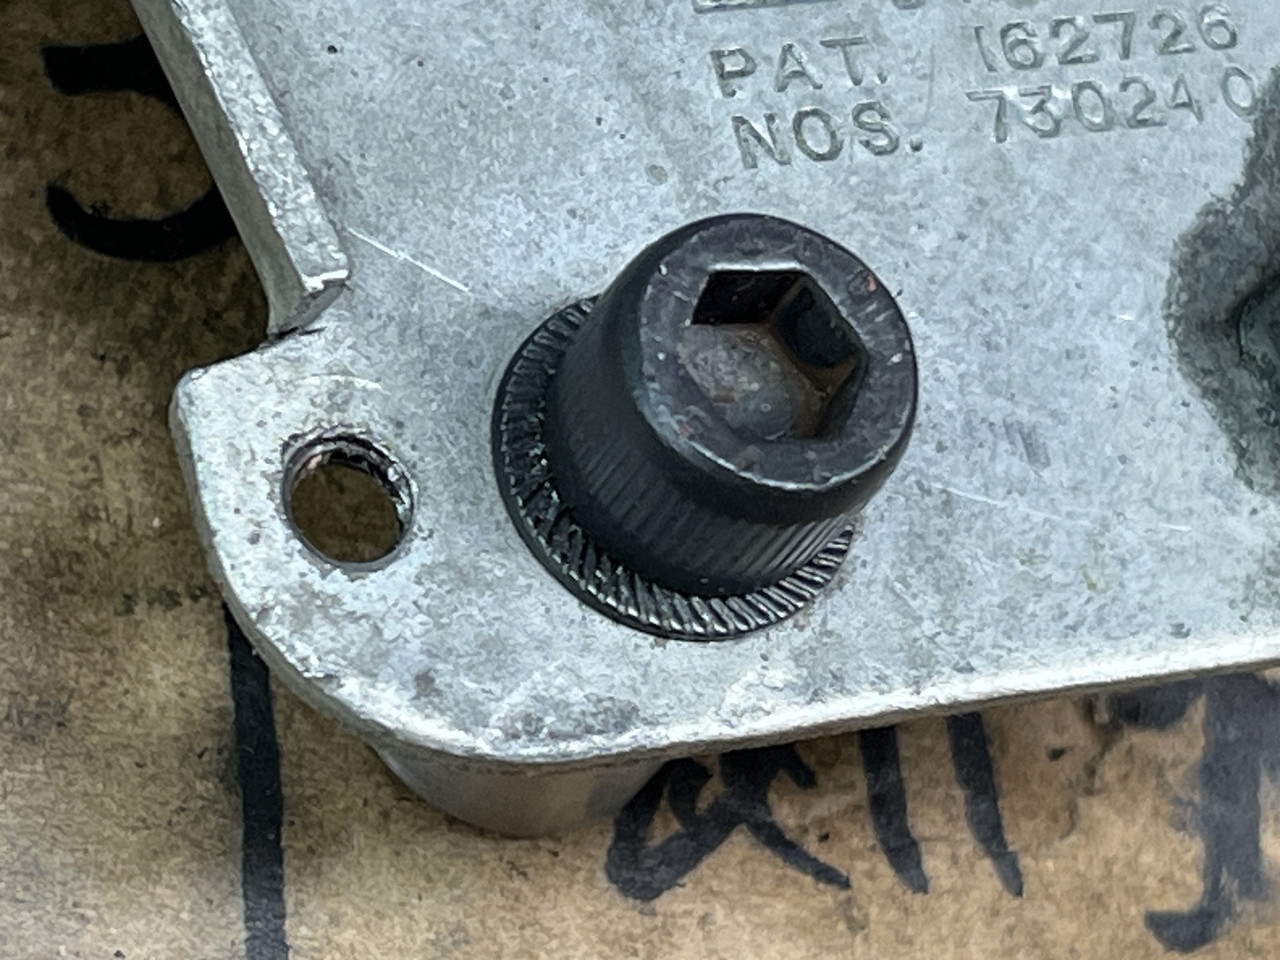
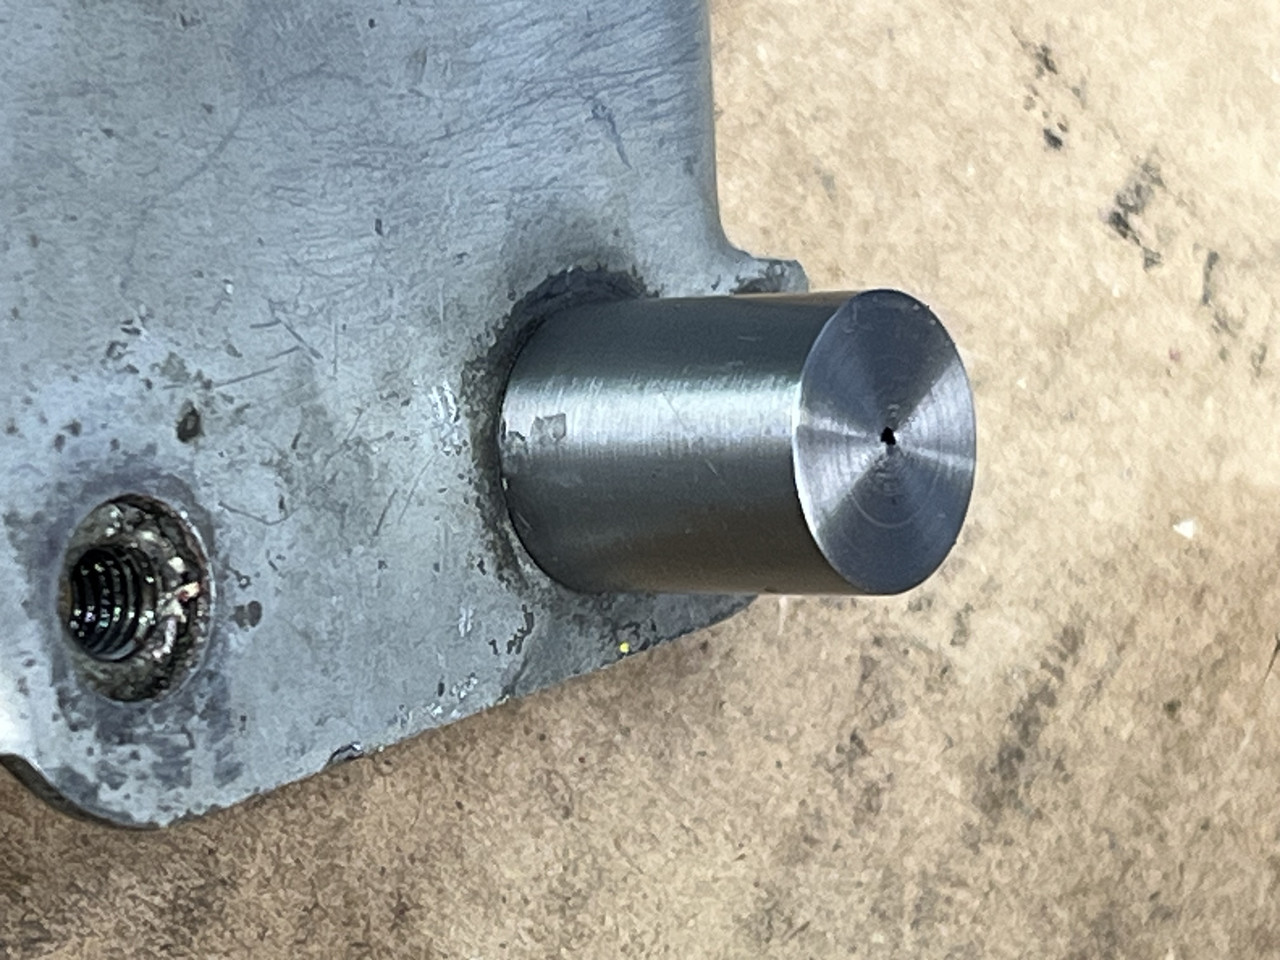
Having pins that look this good will of course bring a smile to casual bystanders.
They are a part that SNGB should knock out by the thousand, multiply the cost price by 50, and then retire.
Bending Doors :
My shell has been through the hands of some of Britain's finest, panel-shop then paint-shop, but STILL the doors were not quite right, whatever I did with adjustment - hinges - rubbers.
Unless the panel-and-paint guys have had a fully-loaded door, with all the lock parts and accessories in place, and a shell that has all the rubbers in place, it is now my opinion that you cannot predict what the panel orientation will truly look like.
I could get the gaps perfect, and the front panel alignment perfect, but I had a slight toe-out towards the bottom of the rear.
So in desperation .................. and you have to be pretty desperate to try this - bearing in mind that when I suggested this to Andy Rayner at Hutsons he said "Welcome To My World, Rory", which those of you you that know him will read with a smile .................
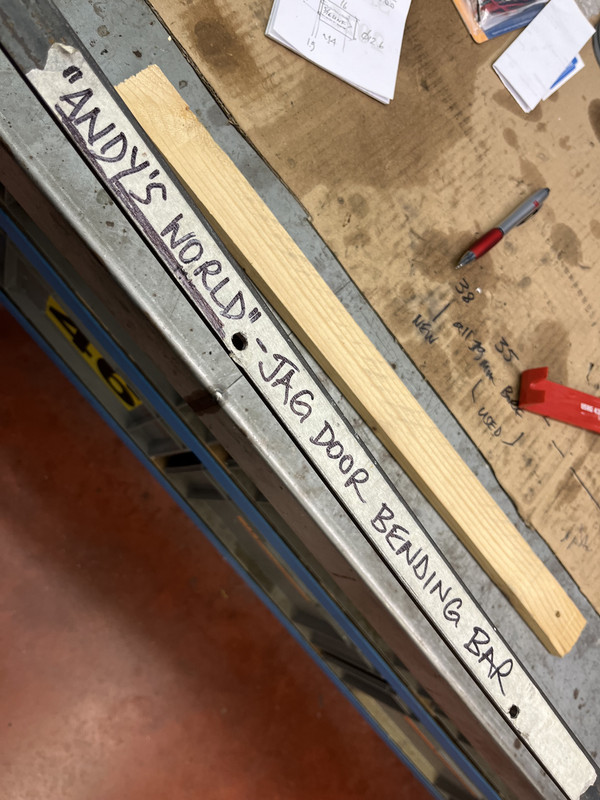
So my 6-foot length of 30x30x3mm T-Section steel is now named after Andy.
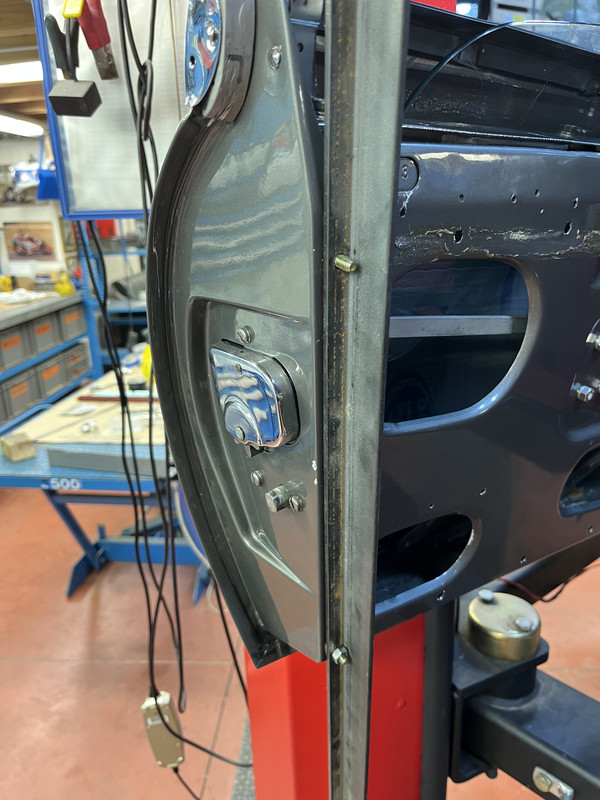
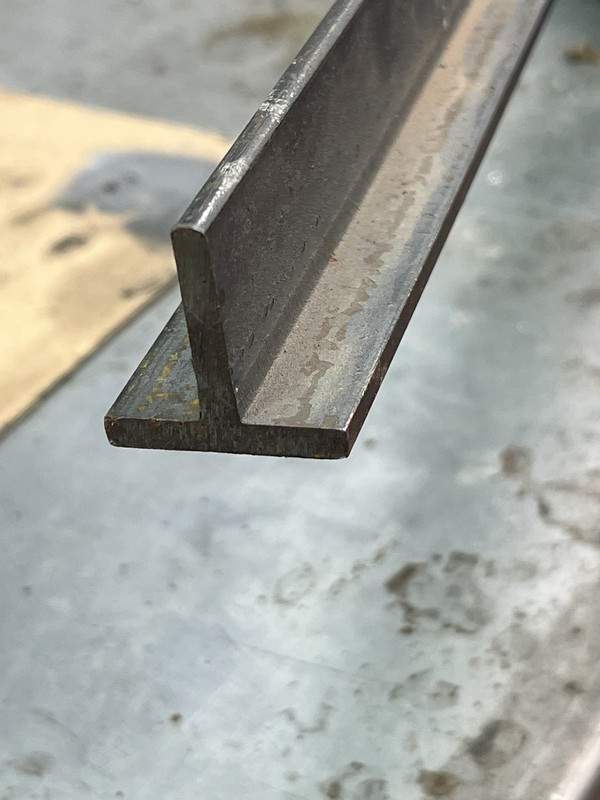
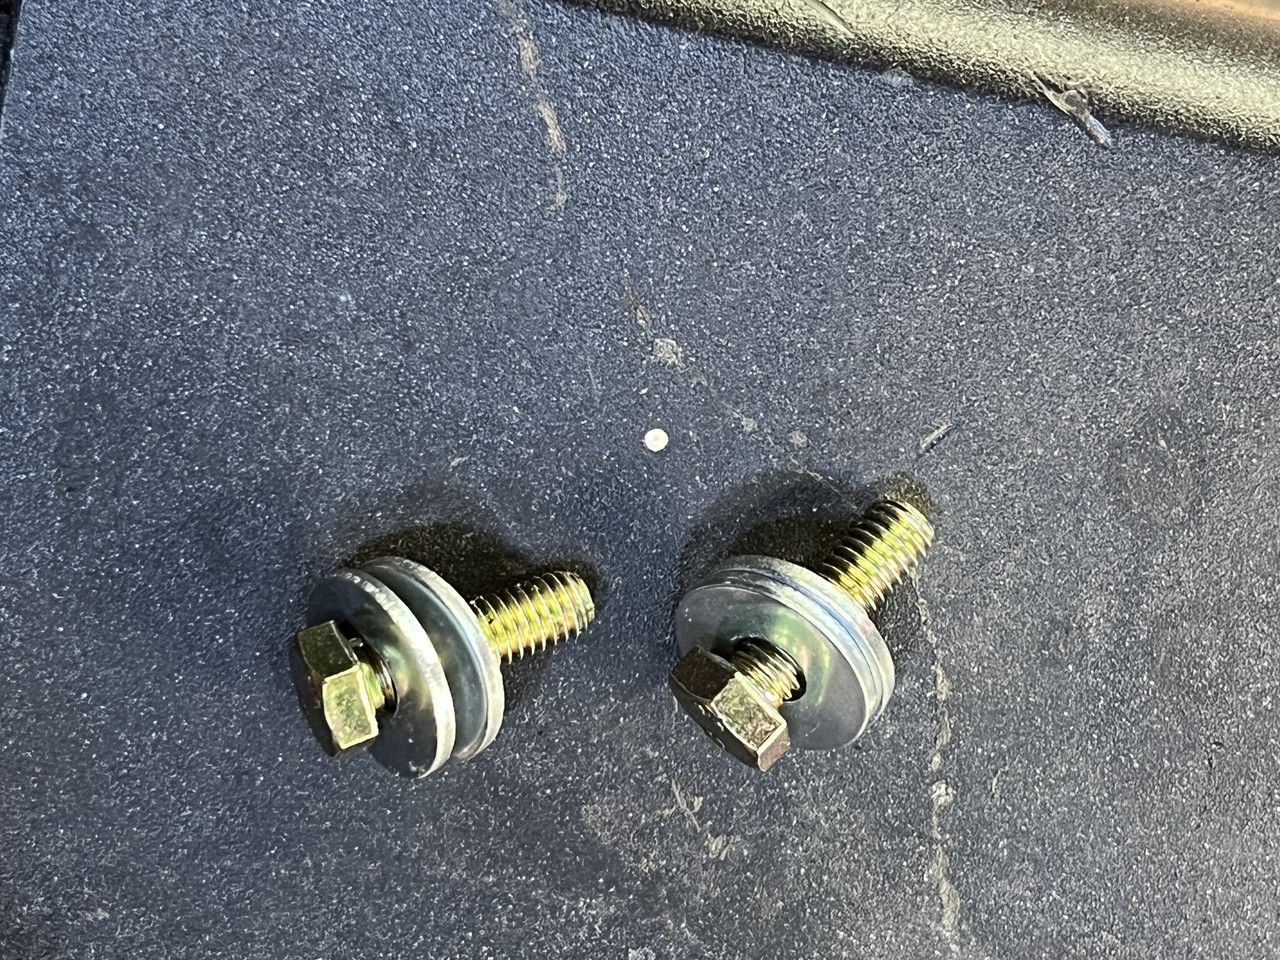
You need decent 6mm thick semi-penny washers behind 25mm x 6mm bolts going through the top and bottom trim holes on the rear edge of the door, otherwise (ask me) you can actually deform the panel around the holes.
Ever aware that I might be about to ruin the doors, and the paint, by applying the greatest torque I could possibly obtain with my two bare arms, I can tell you that our doors are surprisingly flexible AND I have indeed managed to correct their alignment.
I did the first one six months ago, and was so amazed that it was possible that it has taken me 6 months to pluck up the courage to do the second one.
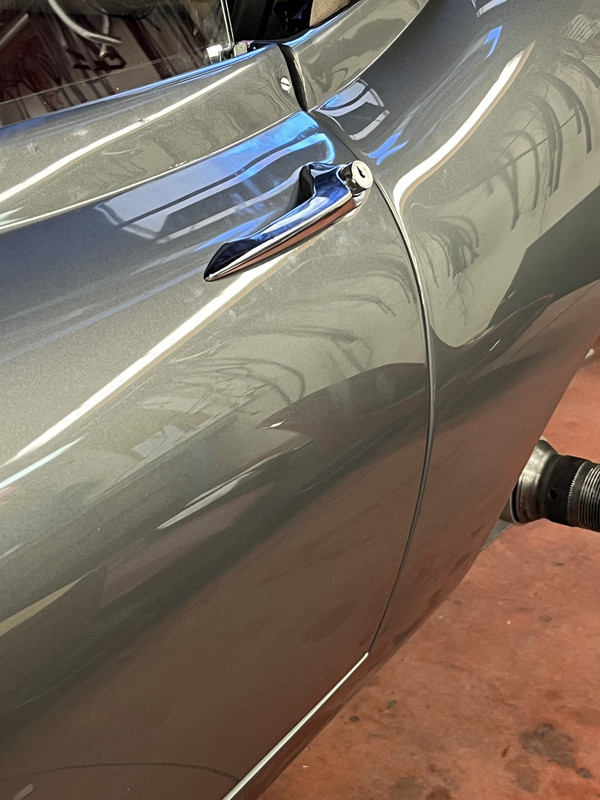
Hard to photograph, and reflections can be misleading, but in the flesh they look a million dollars.
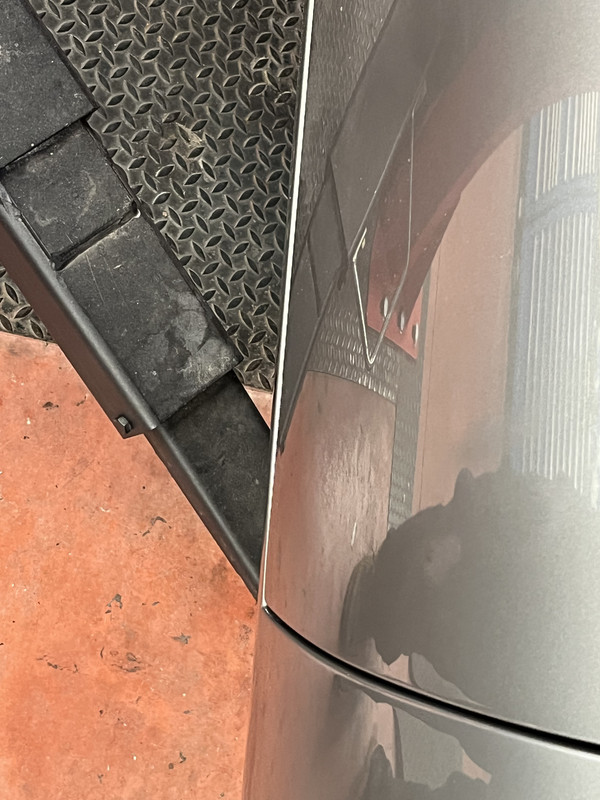
If your car and its doors are not painted yet, WHATEVER you do make sure you get all this sorted - and your doors bent if need be - before you go any further.
No professional that's only doing part of your shell restoration will ever spend as long as you can to get this right.
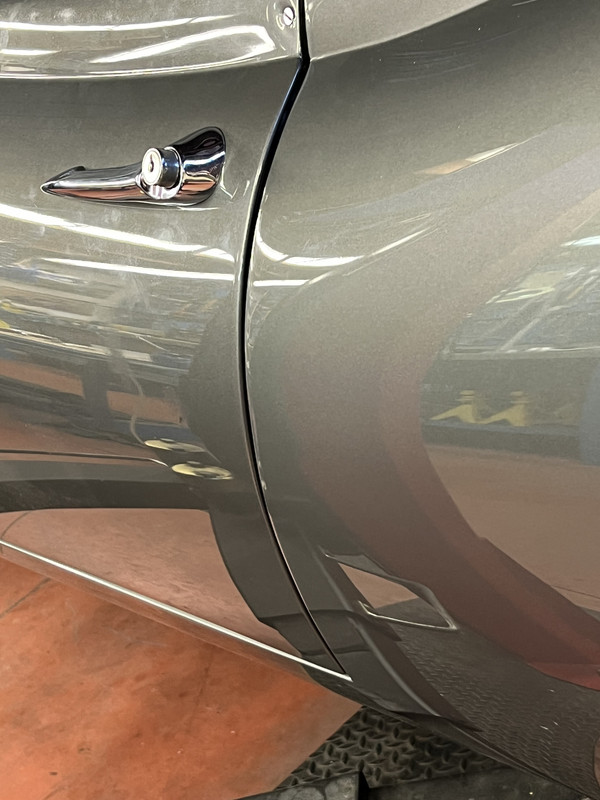
Striker Plate Screws
It seems that most of us have struggled to get the striker plates far enough in.
I'm aware of the "waisting" of the screws as one possible approach.
However I managed to gain 2 or 3mm like this.
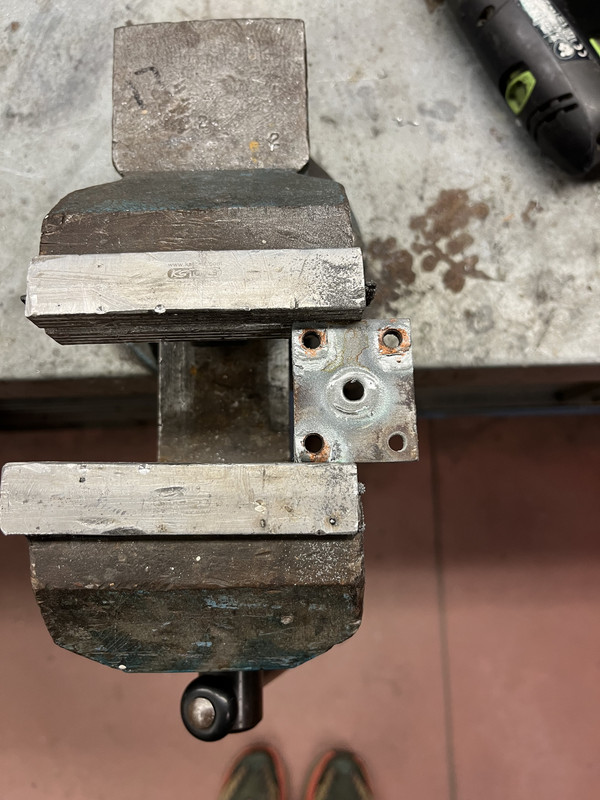
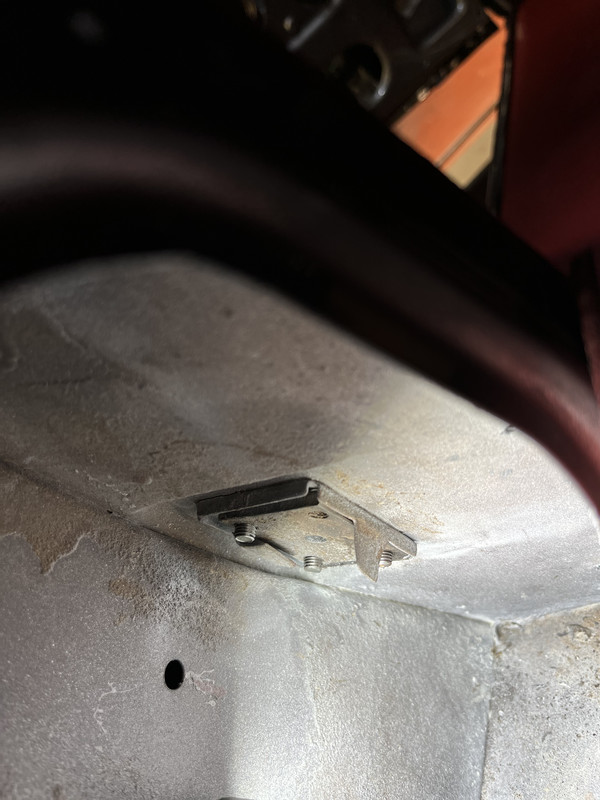
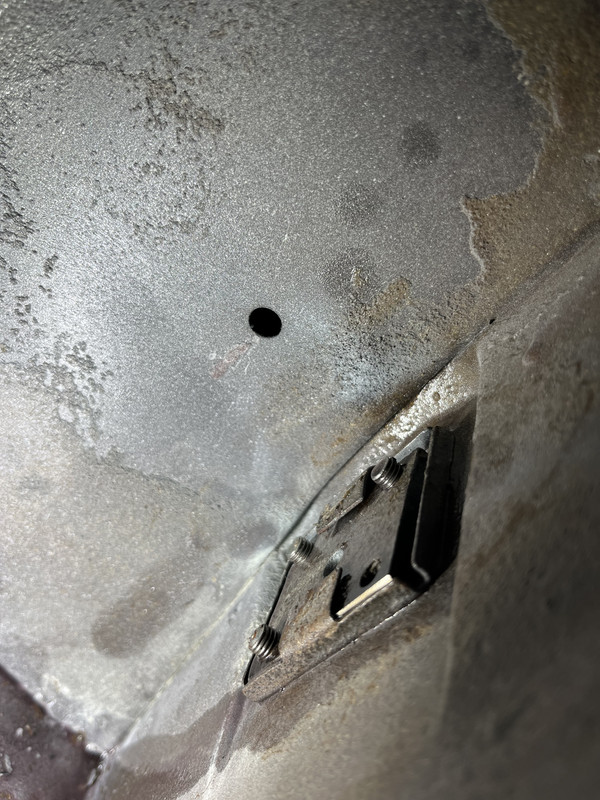
Firstly by grinding down the inner edge of the nut-plate, effectively moving the holes in-board.
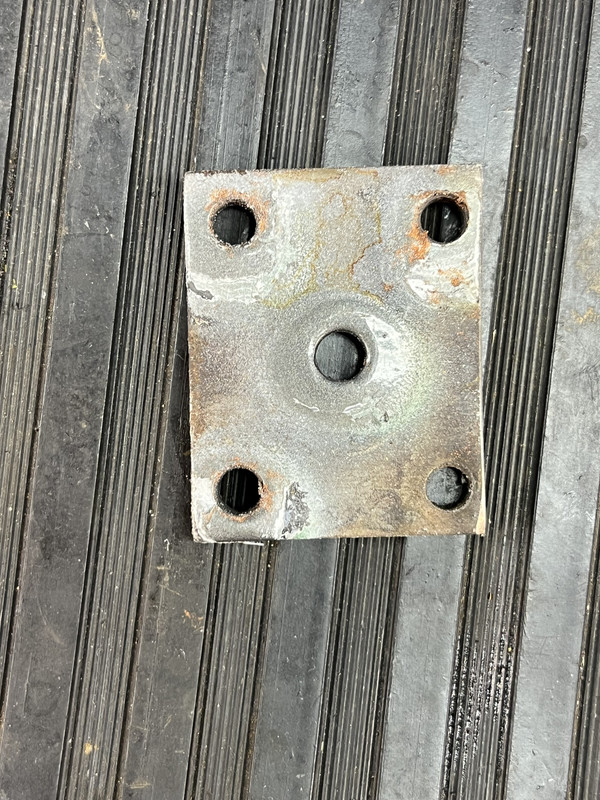
Secondly, when re-fitting it, I first of all used 3 bolts to clamp it as far in-board as it would go (having eased the holes in the B-post first) - critically, before folding the retaining tab over.
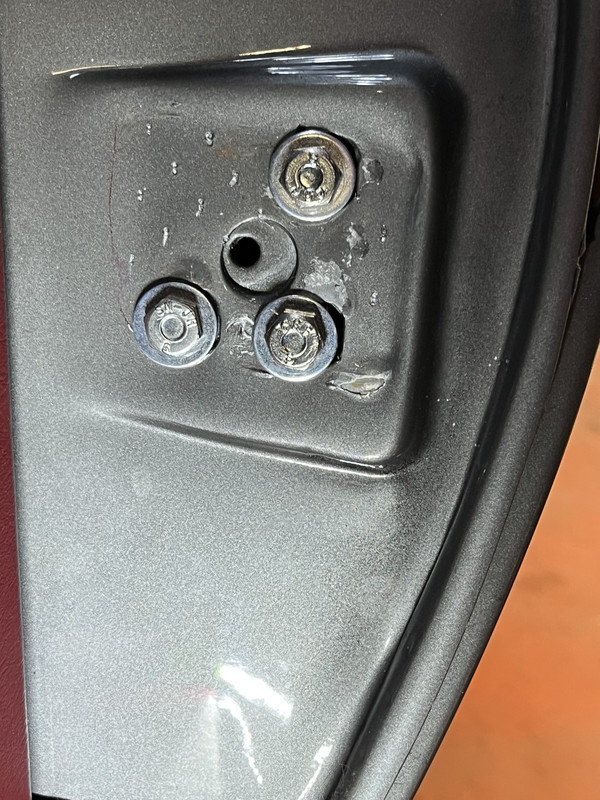
Otherwise, the action of folding the tab tends to deform the cage, and you can lose quite a bit for nothing.
We all know that the door-fit (together with the bonnet) is the defining signature of a restoration.
Because our cars were - in places - essentially made from bits of bean-cans, and were never designed to have the levels of finish or fit that we now self-impose, these can be really difficult to get right.
Well, I've never seen anyone admitting to bending their doors, especially once they have been painted.
And I've never seen anyone mention the striker-assembly pins, the dowel on the door lock that engages into the groove in the striker mechanism.
So here's a bucket-full of suggestions that might help others.
Pins first :
Those 1/2" pins, on every E-Type I've ever looked at, unless someone has fitted new repro locks, always look f--k-d.
They live a terrible existence, trying to keep the door in position - vertically - whatever the condition of the hinges, and I think they ought to be considered a "wear" item as they are actually really easy to change.
Furthermore, you can make them of a length that suits your car so that you get fuller, and optimised, engagement by making them as long as you can, less a millimetre or so.
Test with Plastiscene or whatever to see what extra length your striker-assembly will swallow - I managed to add an extra 3.50mm in length on both of my doors, up from the standard 1/2" or 12.50mm, hence the 16mm seen on the drawing.
Next remove the lock assembly from the door and drill out the swaged rivetting on the back, mine cleaned up at about 8.40mm.
Make a pin from 1/2" bar, with an 8.40mm nose (I actually did 8.45 and pressed it into place) around 1.80-1.90mm deep, just short of the thickness of the plate, and tap it 5/16" UNF to take an 1/2" Unbrako cap-screw, which because of of their quality manufacture you can get really tight, with a Schnorr serrated washer under the head.
Having pins that look this good will of course bring a smile to casual bystanders.
They are a part that SNGB should knock out by the thousand, multiply the cost price by 50, and then retire.
Bending Doors :
My shell has been through the hands of some of Britain's finest, panel-shop then paint-shop, but STILL the doors were not quite right, whatever I did with adjustment - hinges - rubbers.
Unless the panel-and-paint guys have had a fully-loaded door, with all the lock parts and accessories in place, and a shell that has all the rubbers in place, it is now my opinion that you cannot predict what the panel orientation will truly look like.
I could get the gaps perfect, and the front panel alignment perfect, but I had a slight toe-out towards the bottom of the rear.
So in desperation .................. and you have to be pretty desperate to try this - bearing in mind that when I suggested this to Andy Rayner at Hutsons he said "Welcome To My World, Rory", which those of you you that know him will read with a smile .................
So my 6-foot length of 30x30x3mm T-Section steel is now named after Andy.
You need decent 6mm thick semi-penny washers behind 25mm x 6mm bolts going through the top and bottom trim holes on the rear edge of the door, otherwise (ask me) you can actually deform the panel around the holes.
Ever aware that I might be about to ruin the doors, and the paint, by applying the greatest torque I could possibly obtain with my two bare arms, I can tell you that our doors are surprisingly flexible AND I have indeed managed to correct their alignment.
I did the first one six months ago, and was so amazed that it was possible that it has taken me 6 months to pluck up the courage to do the second one.
Hard to photograph, and reflections can be misleading, but in the flesh they look a million dollars.
If your car and its doors are not painted yet, WHATEVER you do make sure you get all this sorted - and your doors bent if need be - before you go any further.
No professional that's only doing part of your shell restoration will ever spend as long as you can to get this right.
Striker Plate Screws
It seems that most of us have struggled to get the striker plates far enough in.
I'm aware of the "waisting" of the screws as one possible approach.
However I managed to gain 2 or 3mm like this.
Firstly by grinding down the inner edge of the nut-plate, effectively moving the holes in-board.
Secondly, when re-fitting it, I first of all used 3 bolts to clamp it as far in-board as it would go (having eased the holes in the B-post first) - critically, before folding the retaining tab over.
Otherwise, the action of folding the tab tends to deform the cage, and you can lose quite a bit for nothing.
We all know that the door-fit (together with the bonnet) is the defining signature of a restoration.
Because our cars were - in places - essentially made from bits of bean-cans, and were never designed to have the levels of finish or fit that we now self-impose, these can be really difficult to get right.