


Has anyone replaced the engine harness in an assembled car, as distinct to during a rebuild? My wiring is rather shabby in the battery area, so it was my plan over winter to replace the engine wiring harness. Replacing the harness in the engine area looks relatively straightforward (apart from the rubber cover on the bonnet plug), but the harness run along the inside of the dashboard to the RH body harness connections, looks more challenging.
I'm part way into removing the glove box and drivers side of the dashboard. The car is fighting this open heart surgery at bit after nearly 60 years unmolested. The dash top refused to come away since there is insufficient gap between the windscreen and the top of the dash to allow the 3/16" captive screws to clear their brackets. The screws are at least 1/4" longer than necessary I feel. Anyway, I expect I can leave the dash top in place.
I've been looking at what others on the Forum have done on this topic, & that's been useful, but I wasn't sure if anyone has threaded the harness through the dash with the other harnesses is in place.
Thanks,
Nick
Replacing engine harness S1


#2 Re: Replacing engine harness S1
It's entirely doable especially as you have the original wiring to show you where it goes.
Maybe try bending the tabs that hold the dashtop screws so that they clear. The 2 central ones are bolt on brackets you can remove if necessary.
Maybe try bending the tabs that hold the dashtop screws so that they clear. The 2 central ones are bolt on brackets you can remove if necessary.
Andrew.
881824, 1E21538. 889457. 1961 4.3l Mk2. 1975 XJS. 1962 MGB. 1979 MGB.
http://www.projectetype.com/index.php/the-blog.html
Adelaide, Australia
881824, 1E21538. 889457. 1961 4.3l Mk2. 1975 XJS. 1962 MGB. 1979 MGB.
http://www.projectetype.com/index.php/the-blog.html
Adelaide, Australia
| Link: | |
| BBcode: | |
| HTML: | |
| Hide post links |
-
 bitsobrits
- Posts: 562
- Joined: Tue Dec 27, 2011 2:09 am
- Location: Omaha, NE area

#3 Re: Replacing engine harness S1
When I replaced my engine and dash looms, I removed the seats, console, dash top, steering wheel, and dash panels. Not as much works as it sounds, and it made it very straightforward to see everything and have plenty of room to work. Also gave me an opportunity to clean 40 years of grunge off of all those interior pieces.
Steve
'65 S1 4.2 FHC (early)
'65 S1 4.2 FHC (early)
| Link: | |
| BBcode: | |
| HTML: | |
| Hide post links |
#4 Re: Replacing engine harness S1
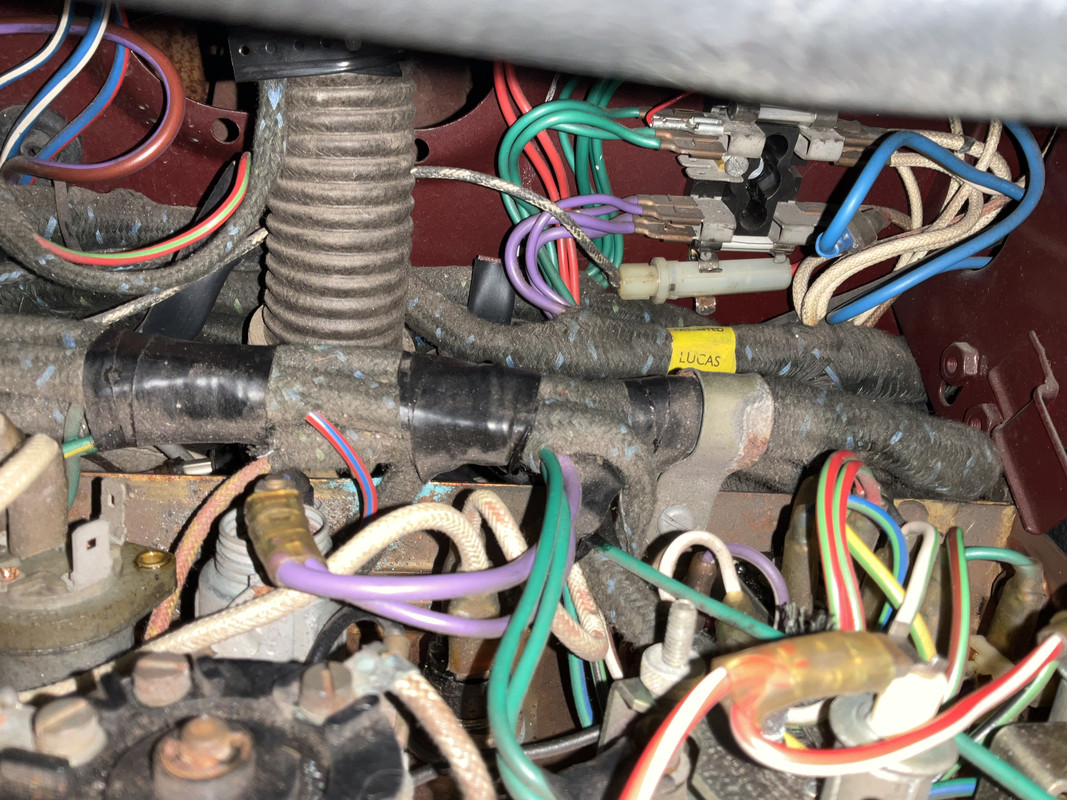
When you first see the density of wires behind the instrument panel, it's easy to change ones mind about replacing some of it, and surely that tatty area near the battery isn't really that bad - I'll just wrap some tape around it instead! But hiding a problem doesn't solve it. Thanks for helping my confidence - I'll persevere.
Nick
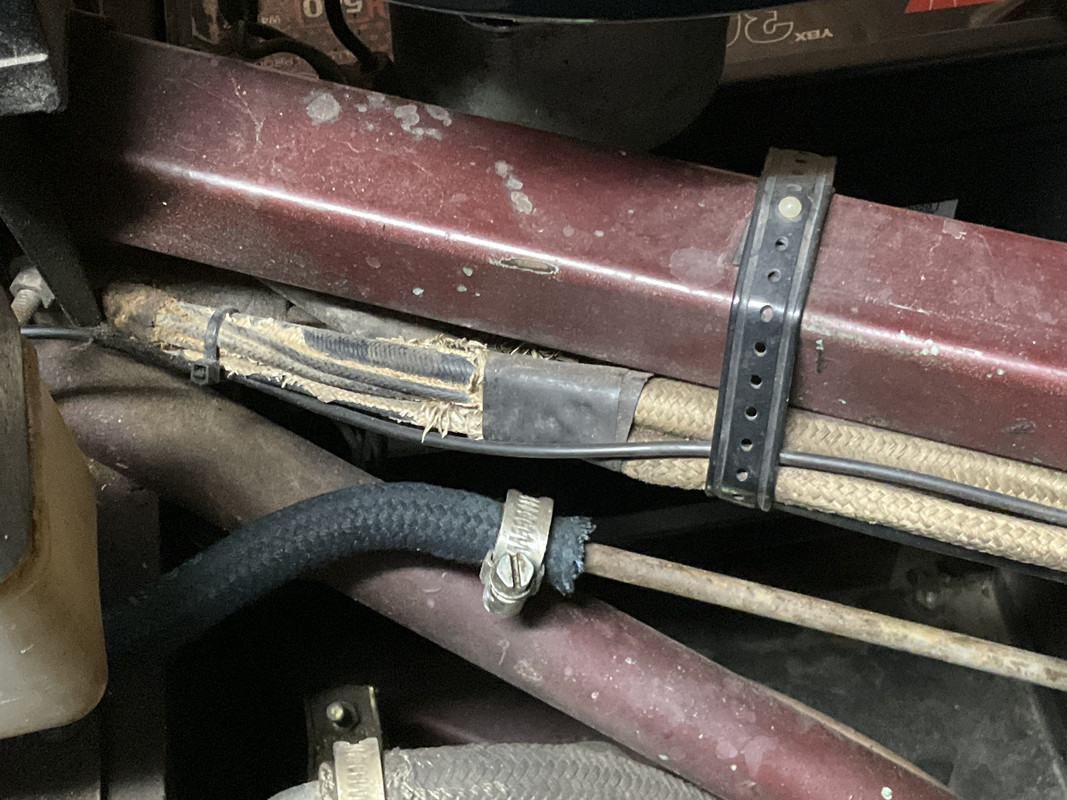
The original engine harness fabric has a blue and a green helical trace stripe. The instrument & body harness seem to have diagonally crossing stripes or just blue. Just my imagination or to assist in identifying them ?
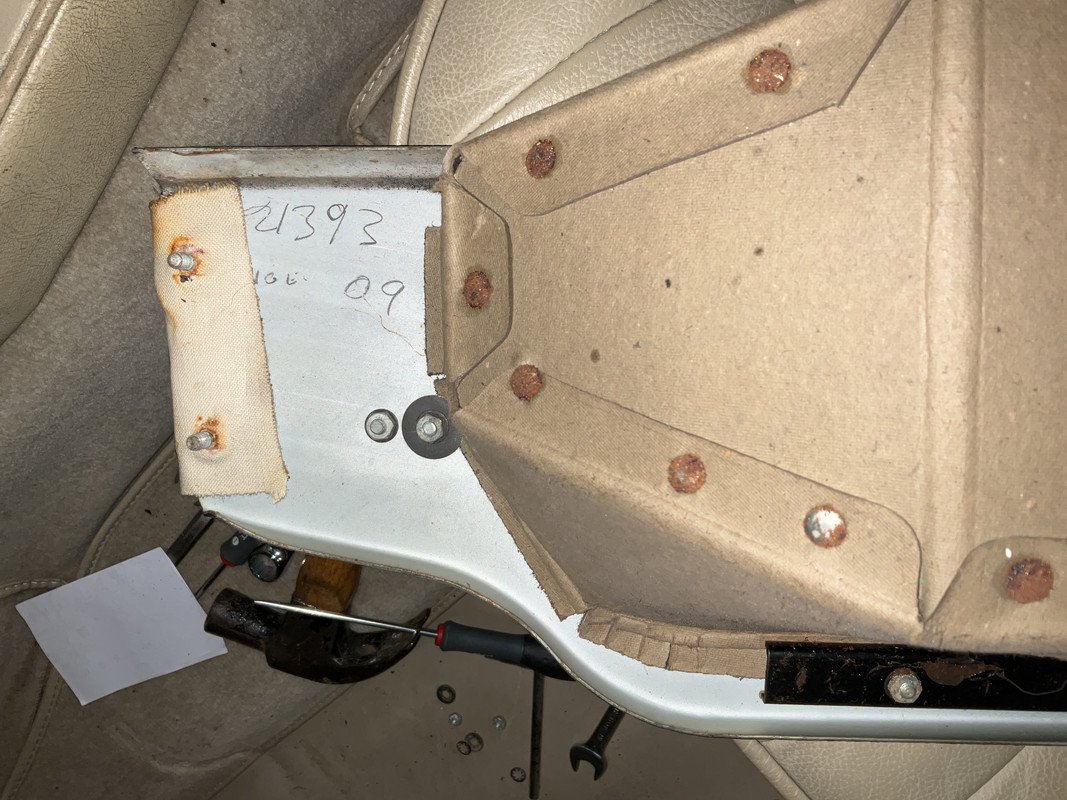
I was interested to find the body number on the back of the glove box. I haven't found it in the usual places. Sorry, a hammer (called 'that least precise of instruments' by Alan Clark) shouldn't be in view !
Nick
The original engine harness fabric has a blue and a green helical trace stripe. The instrument & body harness seem to have diagonally crossing stripes or just blue. Just my imagination or to assist in identifying them ?
I was interested to find the body number on the back of the glove box. I haven't found it in the usual places. Sorry, a hammer (called 'that least precise of instruments' by Alan Clark) shouldn't be in view !
1965 S1 FHC
| Link: | |
| BBcode: | |
| HTML: | |
| Hide post links |
-
 politeperson
- Posts: 1380
- Joined: Tue Jun 07, 2016 8:26 pm
- Location: Boston UK

#5 Re: Replacing engine harness S1
You dont have to take the dash top off, but it should not be that difficult to do ans will help a little bit if it is out.
I assume you are talking about replacing one of these?
https://www.autosparks.co.uk/jaguar-e-t ... -harness-5
There are a few different options depending on you car check the chassis number with the Autosparks website.
Once you get the new harness, you can easily identify which dash connections are involved. If you snip the ends of the old loom snip off with side clips, then you have automatically labelled the connections when you connect the new loom in place as the codes will match.
You could do the inside with the rest of the loom coiled up in the passenger foot-well, then feed it thorough the bulkhead to the engine side. Fit the new grommets to the loom first.
Its a pretty simple loom really, so should take too long. You can get to it from underneath with the under dash panels off, just a few screws. I might be tempted to replace the fuse boxes at the same time. That is pretty cheap and easy if you take pictures. The wires you are reusing retain there position.
When you come to reconnecting, with everything off, I put a 1a fuse inline with the +ve battery just in case of a short.
Finishing off an S1 roadster
| Link: | |
| BBcode: | |
| HTML: | |
| Hide post links |
#6 Re: Replacing engine harness S1
Thanks for the hints.
Yes, it's the P/No. 104. Looks like there's a separate alternator harness.
Other people have noted that the engine harness will only go through the bulkhead grommet in one direction, i.e. where the bonnet sheath joins is too bulky. Something to check before connecting anything!
Yes, it's the P/No. 104. Looks like there's a separate alternator harness.
Other people have noted that the engine harness will only go through the bulkhead grommet in one direction, i.e. where the bonnet sheath joins is too bulky. Something to check before connecting anything!
1965 S1 FHC
| Link: | |
| BBcode: | |
| HTML: | |
| Hide post links |