Page 1 of 1

#1 S1 2+2: Front Frame 5/16-24 Fixed Nut Thread Issue

Posted: Tue Oct 22, 2024 8:08 am
by wfpridgeon1
Good morning,

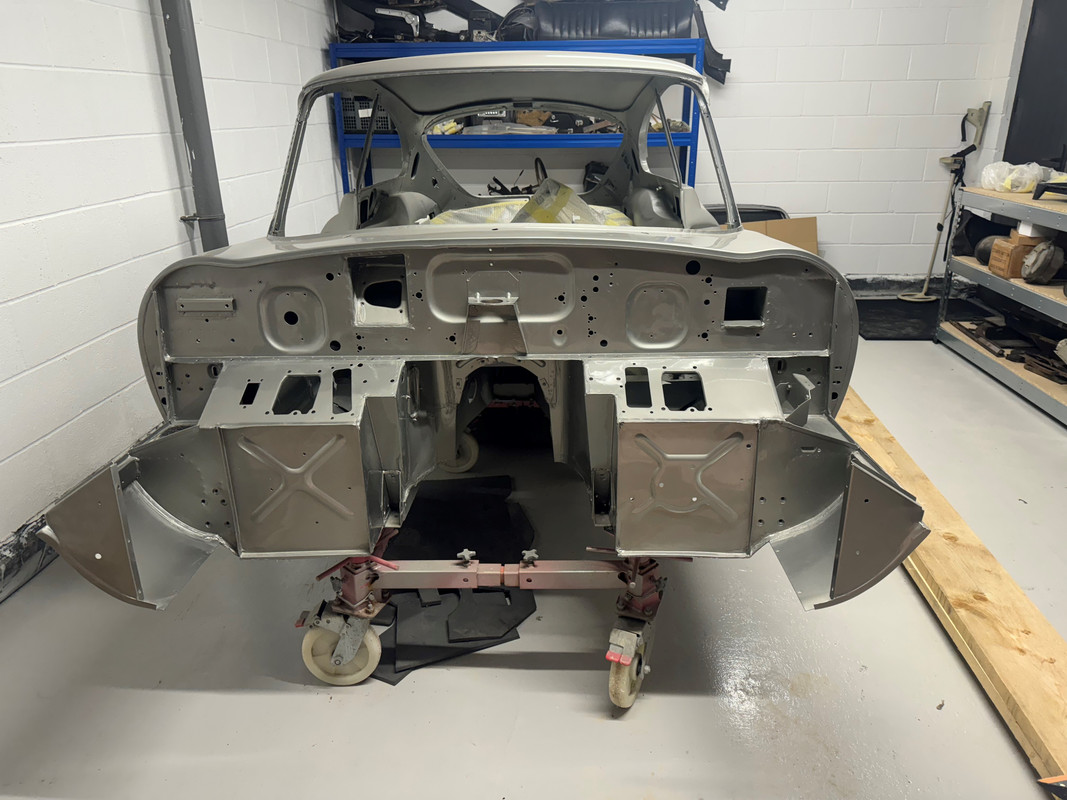
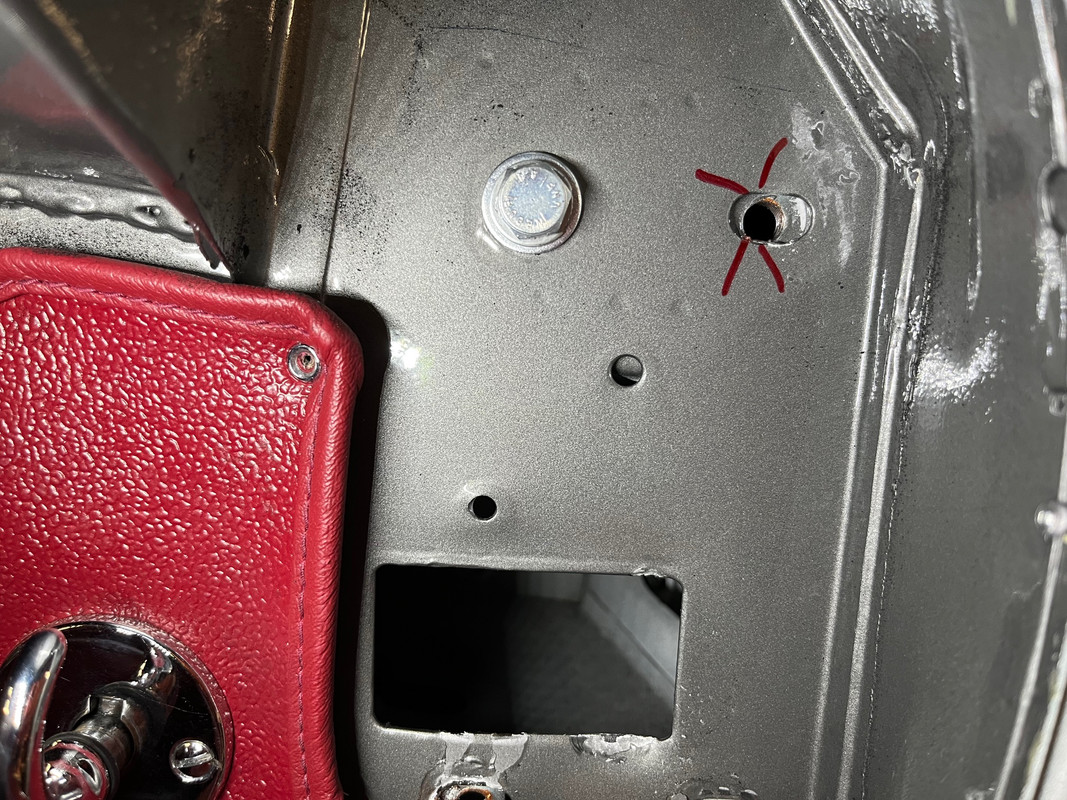
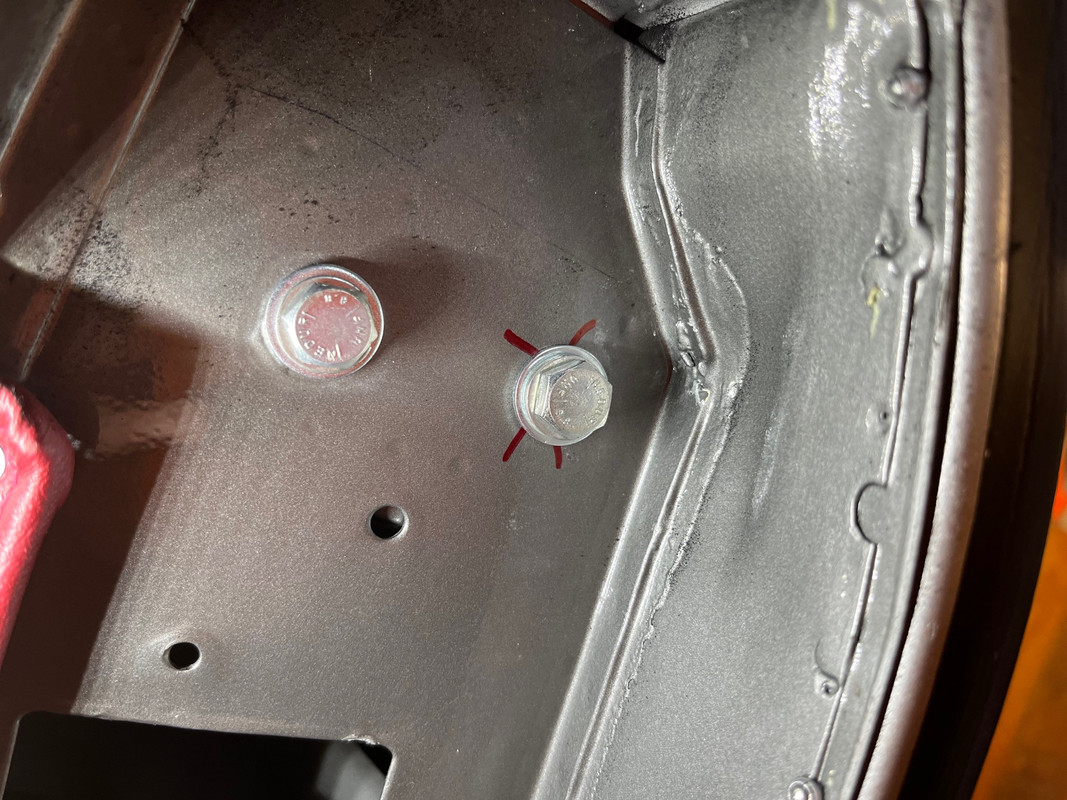
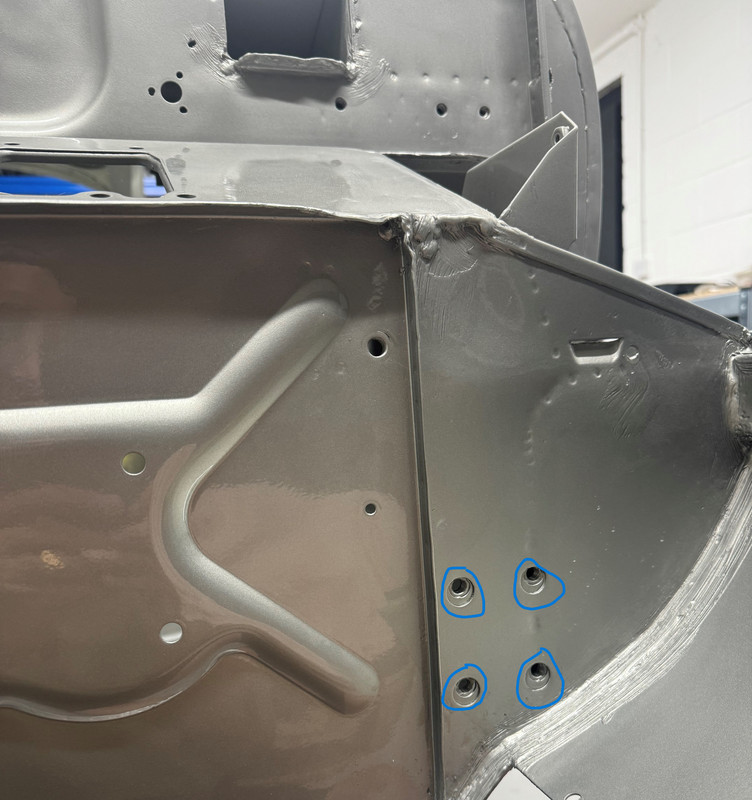
So I am just prepping to re-attach the front frame on my restoration, needless to say I went to check all 24 5/16-24 holes and pre-welded nuts. 90% okay but found threading issues with the front left lower 4 OFF bolts which are welded (see photos).

Threads look to either to have been crossed in the past, or dare i say someone has fired in 5/16-18.

Just looking for advice, do i either re-tap 5/16-24 and add additional nut (nyloc) behind? or grind off and re-weld a single nut or helicoil existing nuts?

Slightly irritating as the tub is fully prepped and sprayed, but my fault for not checking originally :)

Cheers

Will
Image

Image

#2 Re: S1 2+2: Front Frame 5/16-24 Fixed Nut Thread Issue

Posted: Tue Oct 22, 2024 11:54 am
by Allrand
The inner ones can be accessed from the foot well to put extra nuts on. Unfortunately the outers are iside the sill area so will need an engineering solution, probably helicoil or insert. I'd prefer a correct size insert, don't know if you'd get a 5/16-24 helicoil.

#3 Re: S1 2+2: Front Frame 5/16-24 Fixed Nut Thread Issue

Posted: Tue Oct 22, 2024 2:01 pm
by rfs1957
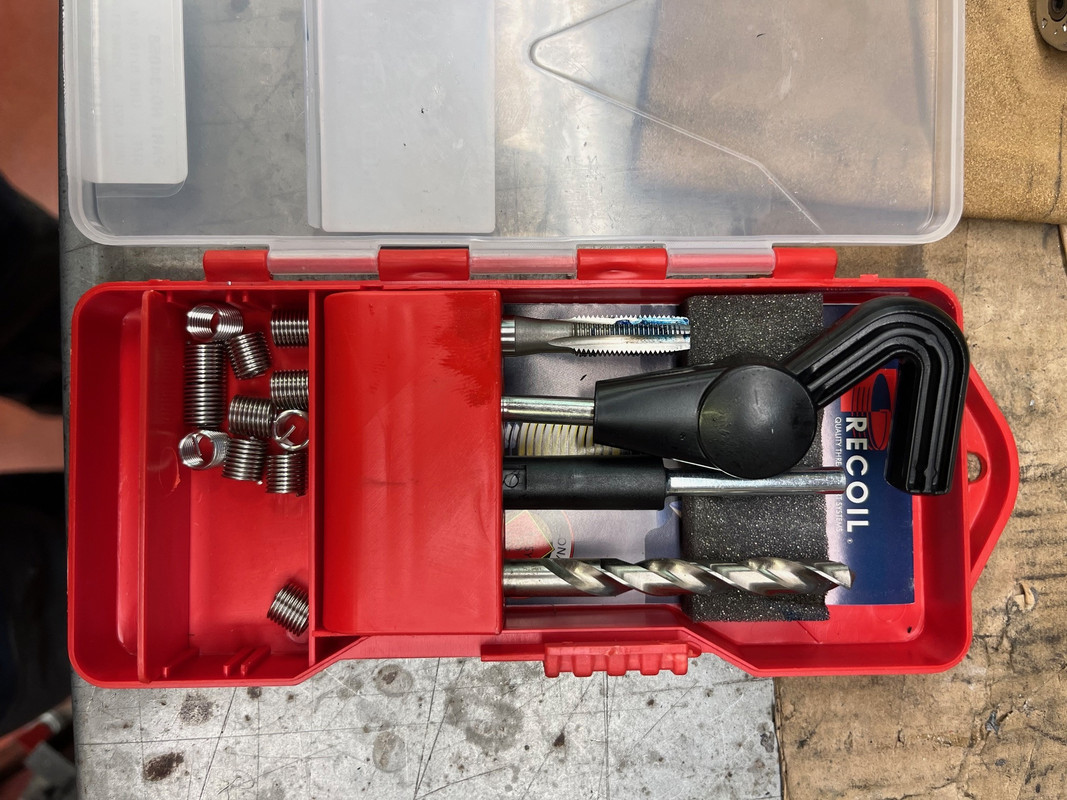
If it were me, I would Helicoil them, 5/16 UNF is easily available.

BUT you need to be very sure about the installed length of the Helicoils ; you would need to work out exactly what combined thickness of threadable metal you have available, and then (probably) adjust the length of your inserts pre-fitting so that they are the maximum fitted length possible, to obtain the highest strength, without either standing proud on the outside or the inside - the latter because it’s very difficult, if not impossible, to snap off an unsupported Helicoil-end.

The inserts are, in my experience, sold as multiples of the diameter, as in 1.0 ; 1.50 ; 2.00 etc

Shortening them should never be attempted with side-cutters, which deform horribly both the pitch and the wire end’s section.

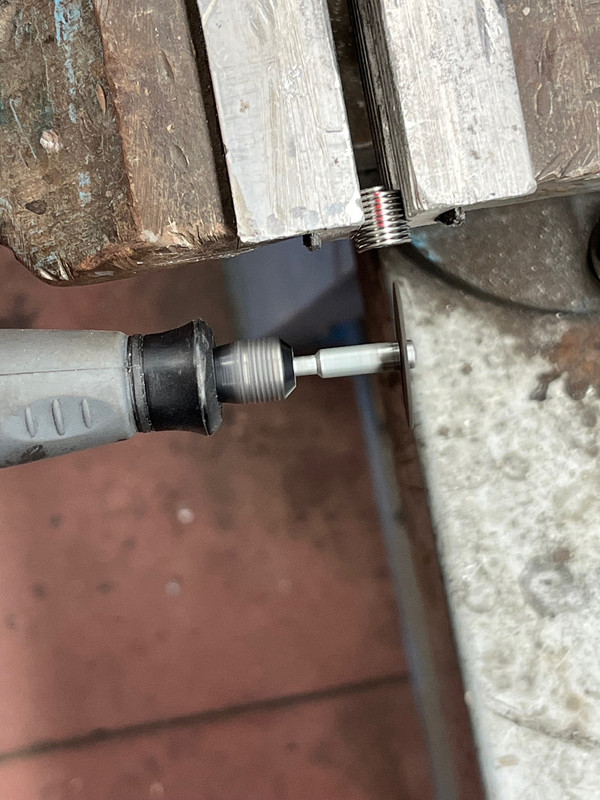
It should be done with a Dremel slitting disc, thin as possible to keep all the efforts delicate, approaching axially, with the spires held apart with a small screwdriver in the area the cut is to finish, so there is no collateral damage.

It sounds worse than it is, in practice.

The most critical aspect, and the one that determines the success, and the strength, of this repair, is in fact the accuracy of your drilling and your tapping.

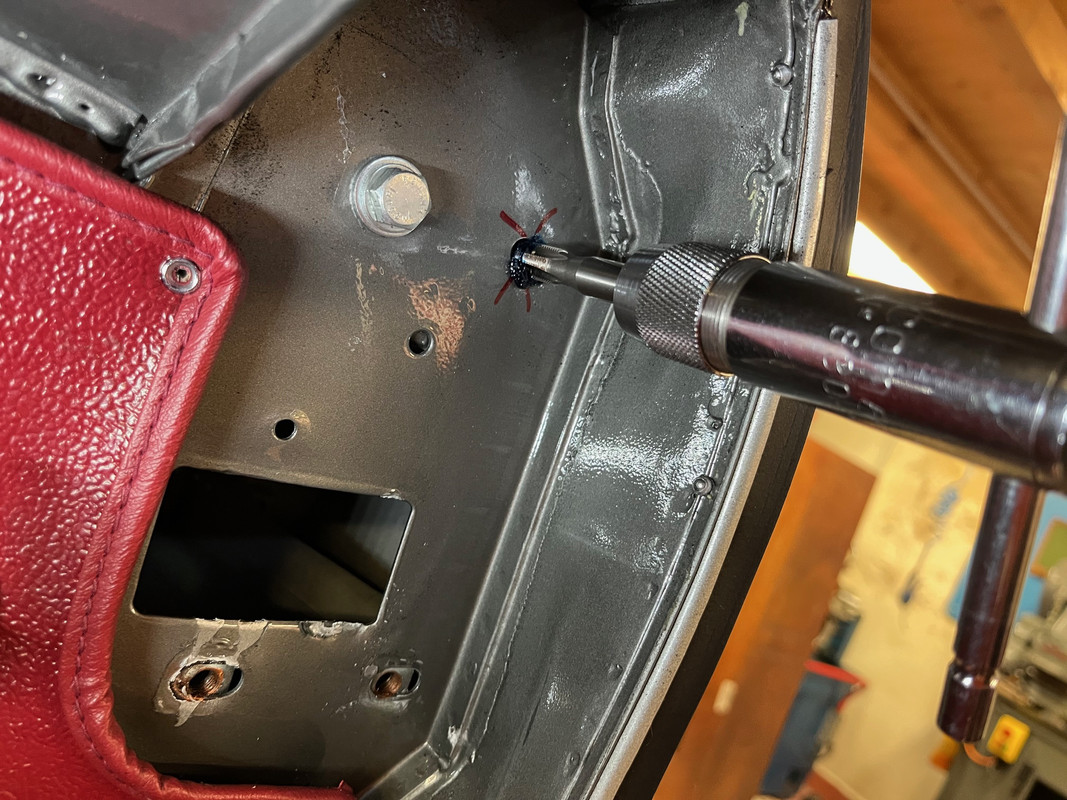
You ought to have a bit of minimum 1/2” steel plate that has been bored square at both the OD of the drill with which you will boring out the old threads, and the OD of the Helicoil tap that you will follow it up with, and devise a means of clamping it hard and flat on the bulkhead so that your drilling and tapping are square.

This is essentially the same principle that we, professionally, used to apply to stripped case and cylinder head threads where it was impossible (commercially) to get the offending component onto a drill press or a milling machine, and it will work just fine with a bit of care.

Practice off the car first :hammerdrill:

#4 Re: S1 2+2: Front Frame 5/16-24 Fixed Nut Thread Issue

Posted: Tue Oct 22, 2024 3:01 pm
by DWW
Before taking any drastic steps I would firstly try the re-tapping solution, might save you the hassle.

#5 Re: S1 2+2: Front Frame 5/16-24 Fixed Nut Thread Issue

Posted: Tue Oct 22, 2024 8:31 pm
by Series1 Stu
Rory's advice is spot on, as usual. One thing I can add though is that tang free helicoils are available, although you need the correct application tool.

Hopefully, they are available in the 5/16" 24tpi size.

Regards

#6 Re: S1 2+2: Front Frame 5/16-24 Fixed Nut Thread Issue

Posted: Mon May 26, 2025 10:24 am
by rfs1957
I had this problem recently on one of my 4 door-hinge fixings.

The lower pair are individual, and when one of them strips it is possible (at least on my car) to make a new one and get it back in place through its oblong hole, and back within its cage.

However, the upper pair are threaded into a common slab, and as far as I can see they are totally inaccessible nor replaceable.

By using the "good" hole to block the slab so the "bad" hole is centred, I put into practice what I wrote above, so now have some pictures to illuminate it, FWIIW.

Image

Image

Image

Image

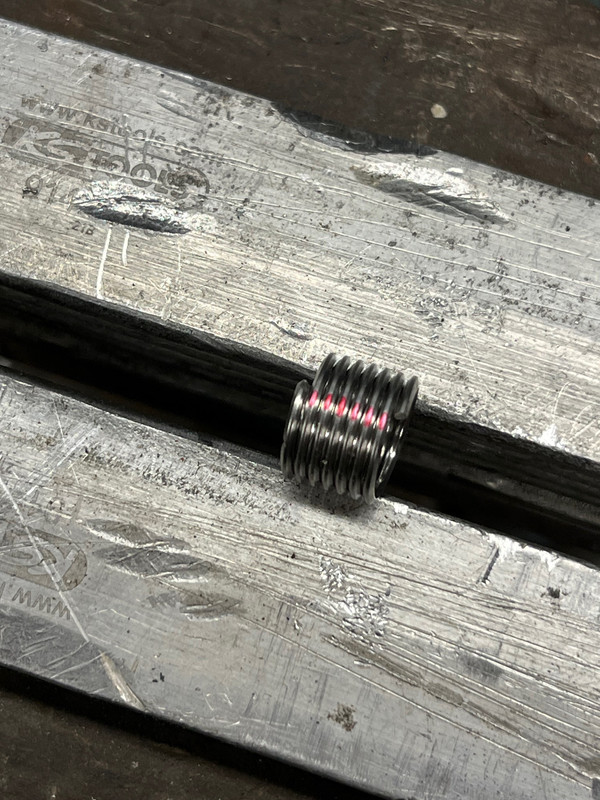
Reckoning the plate was about 5/16 thick, careful use of the Dremel to slice through the spires enables shortening of the insert - not seen, a small screwdriver can be used to create a gap at the apposite point so that the cutting becomes less fraught.

Image

Image