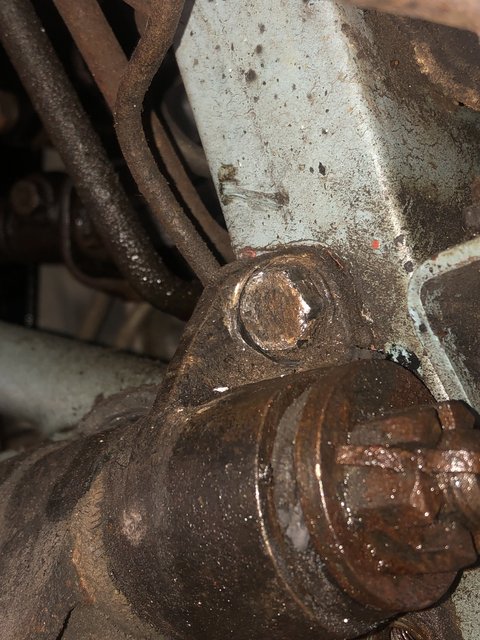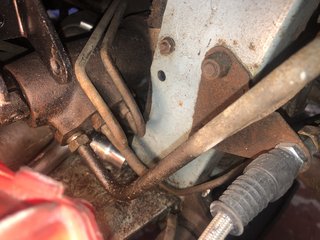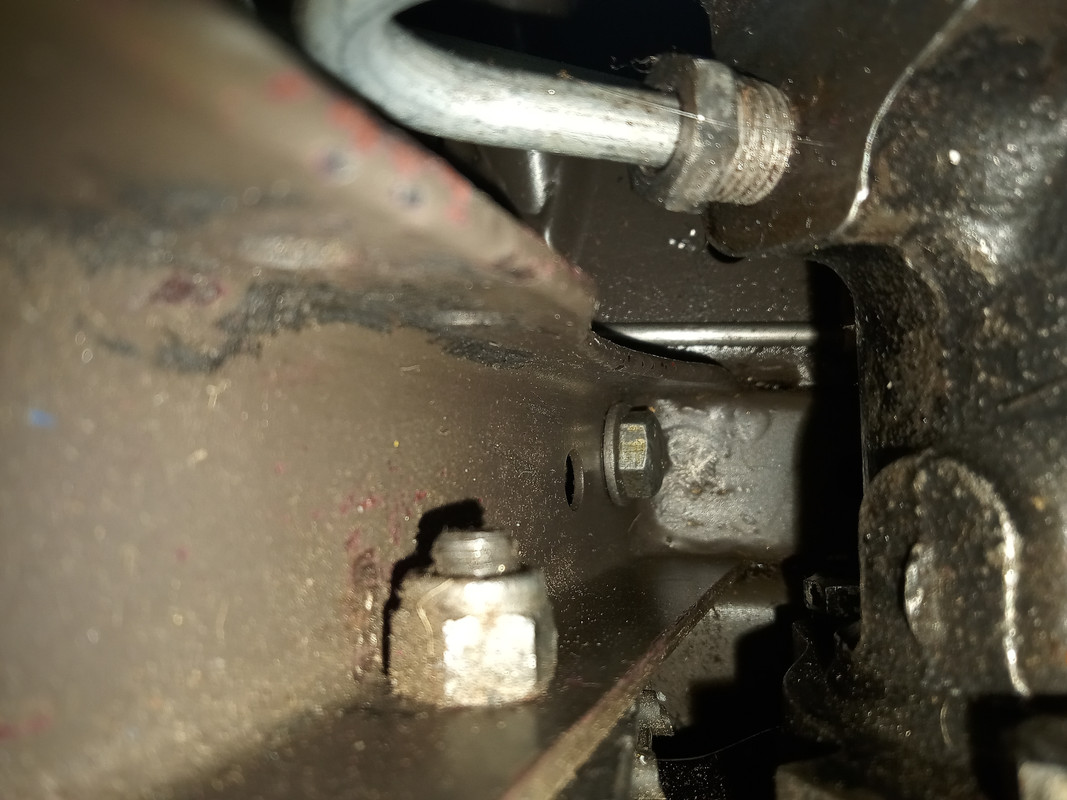

All was going well till I came to remove the top bolt on the forward fulcrum trunnion. At first it wouldn't move at all, but now it is moving it is not unscrewing.
As far as I can see there is no nut on the inner side of the picture frame - it's a closed tube at that point, I'm guessing there is a captive nut inside the frame that has become detached.
Has anybody else had a similar problem? Better, has anyone found a solution, please?
Many thanks
Nigel