Pre IRS installation

Talk about the E-Type Series 3
User avatar

Topic author
Apprentice1975
Posts: 40
Joined: Thu Aug 30, 2018 12:43 am
Location: Western Australia
Australia

#1 Pre IRS installation

Post by Apprentice1975 » Wed May 22, 2024 7:10 am

Hello all series 3 people,
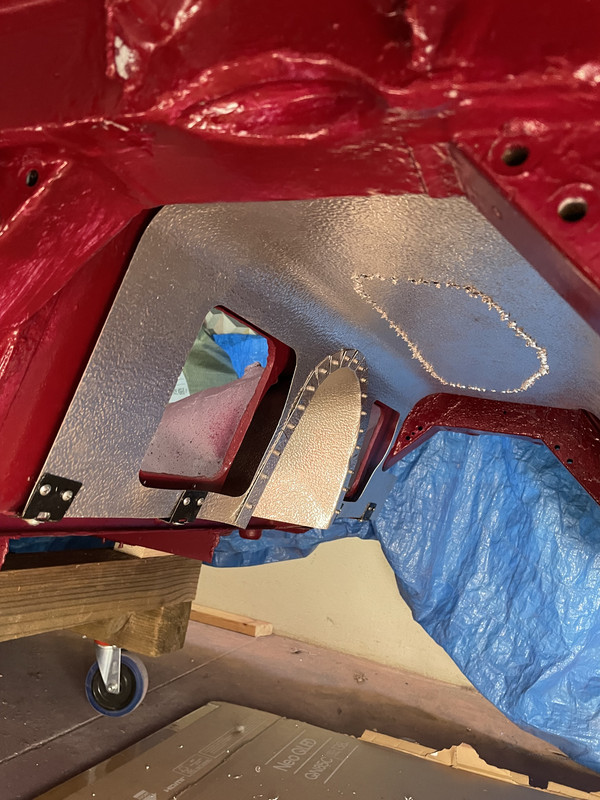
I'm getting to the IRS installation stage of my S3 restoration project.
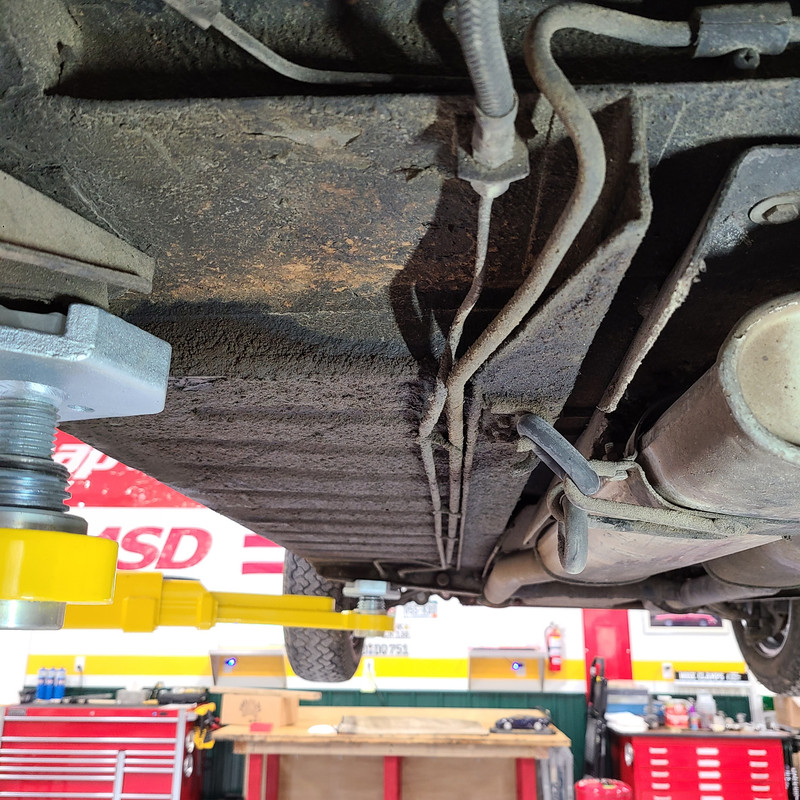
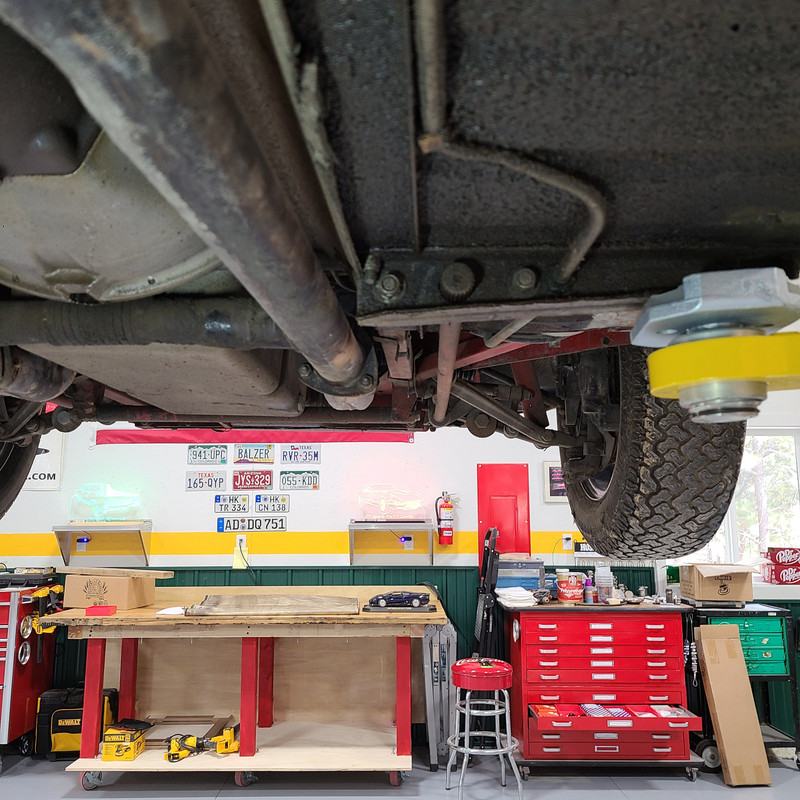
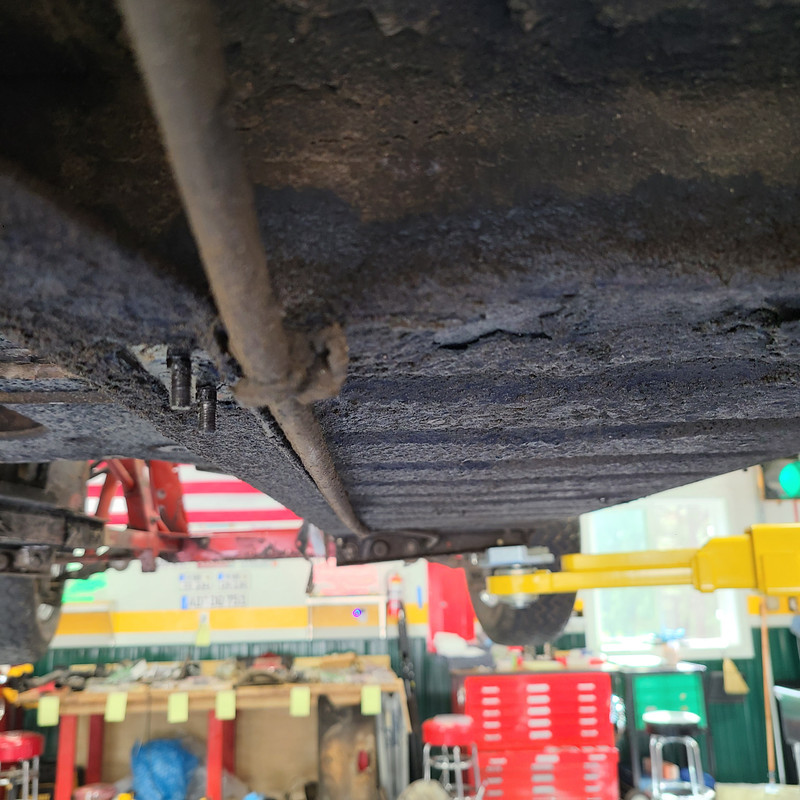
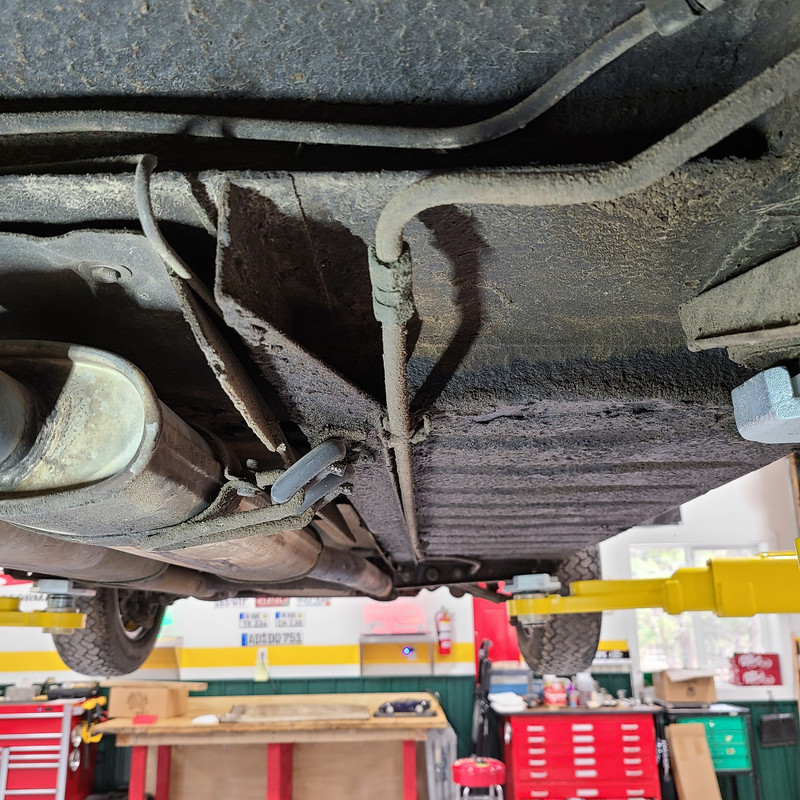
I've got the replacement heat shield and some heat resistant foam to attach to it, and I'm confident I've worked out how to install the shield using the right angle brackets arrangement. (I did remove the old shield a few years ago and it basically broke up).
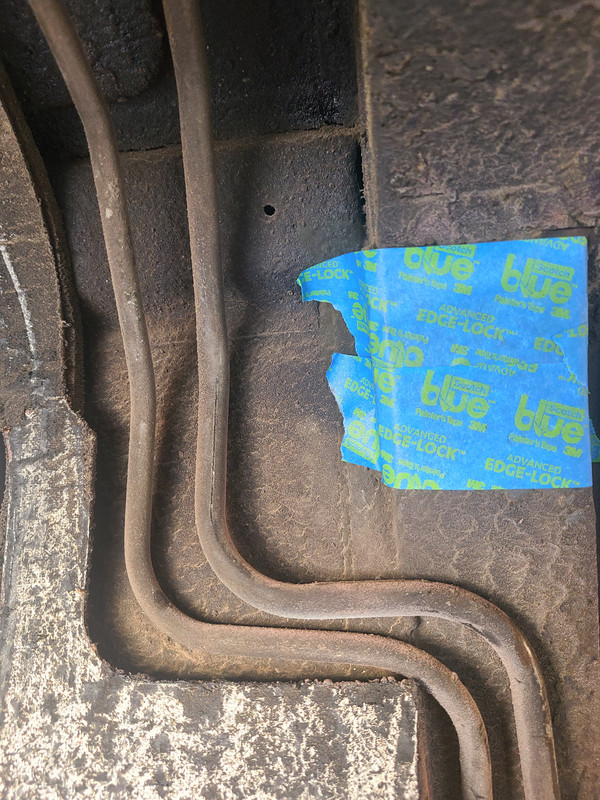
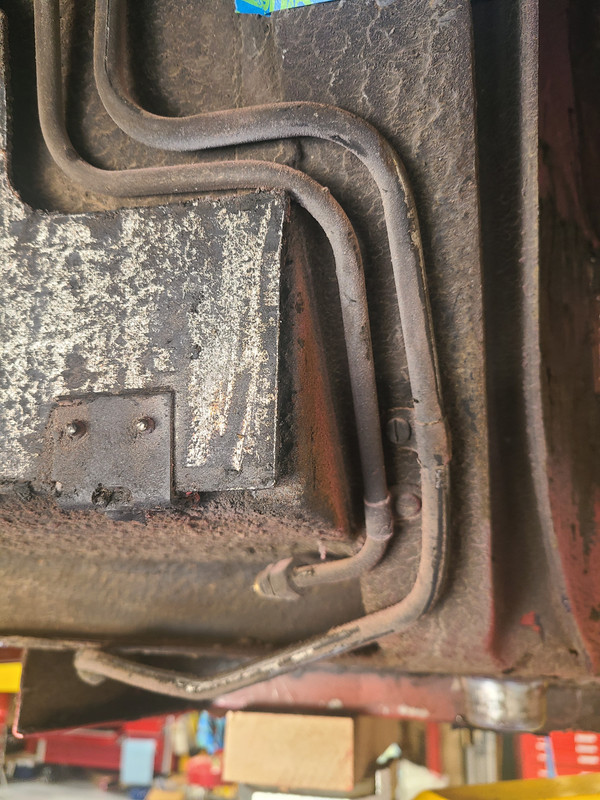
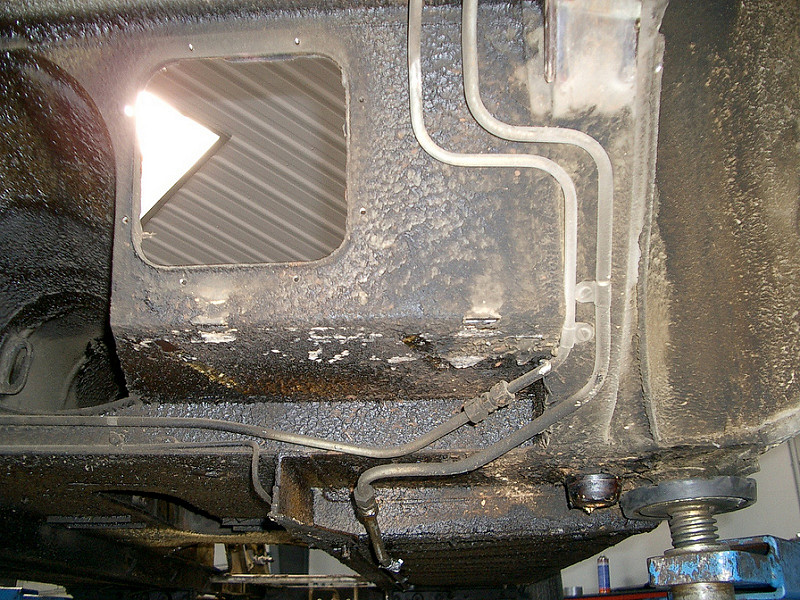
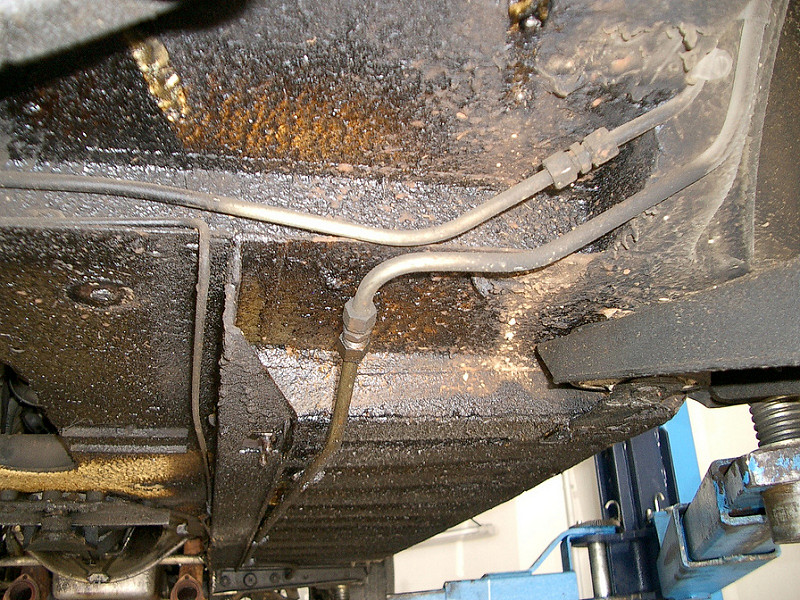
Is there anything you can suggest that needs to be done, or easier and best to be fitted in this area prior to the heat shield and IRS going in? I'm thinking possibly fuel pipe / brake pipe, but maybe these can go on later ?

Thank you

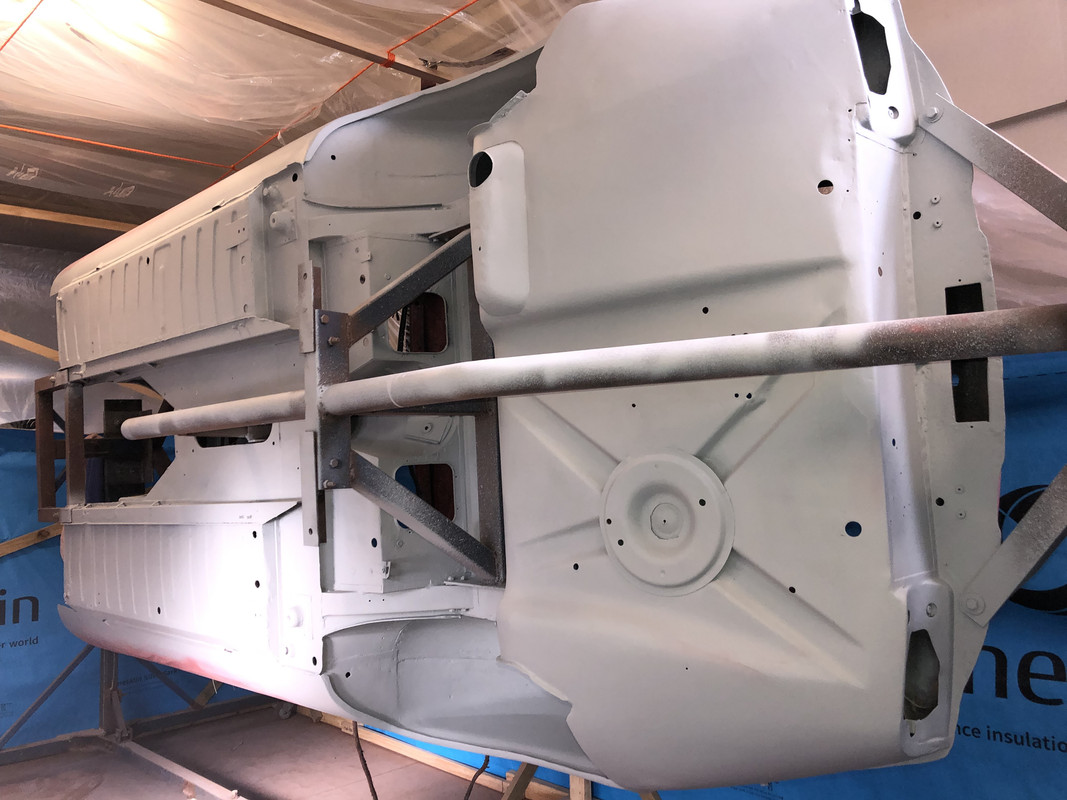
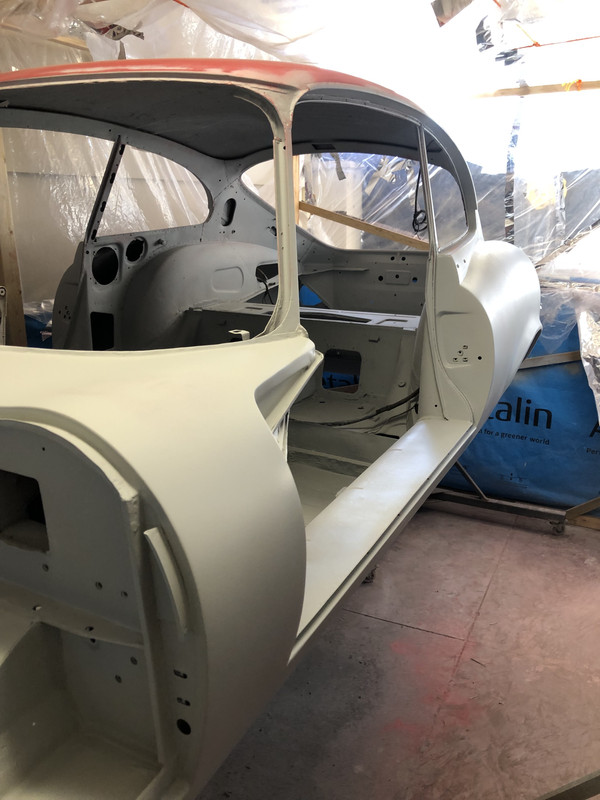
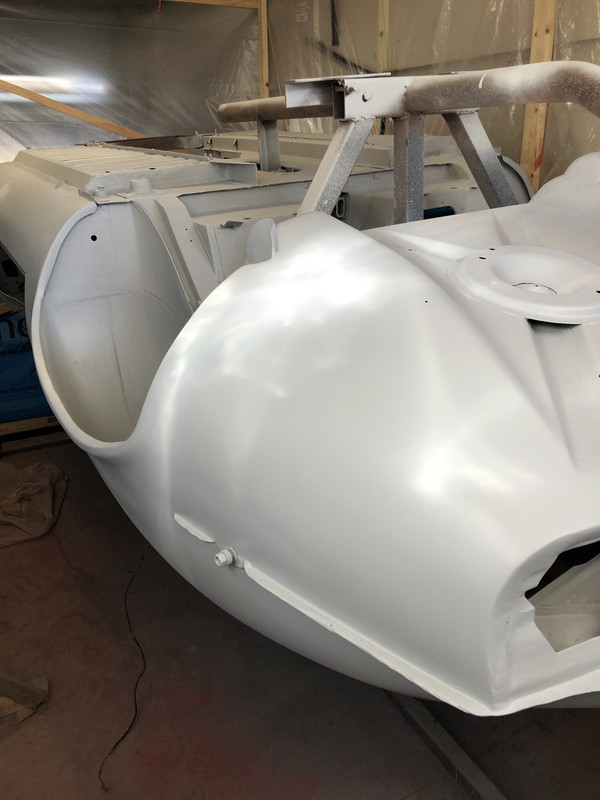
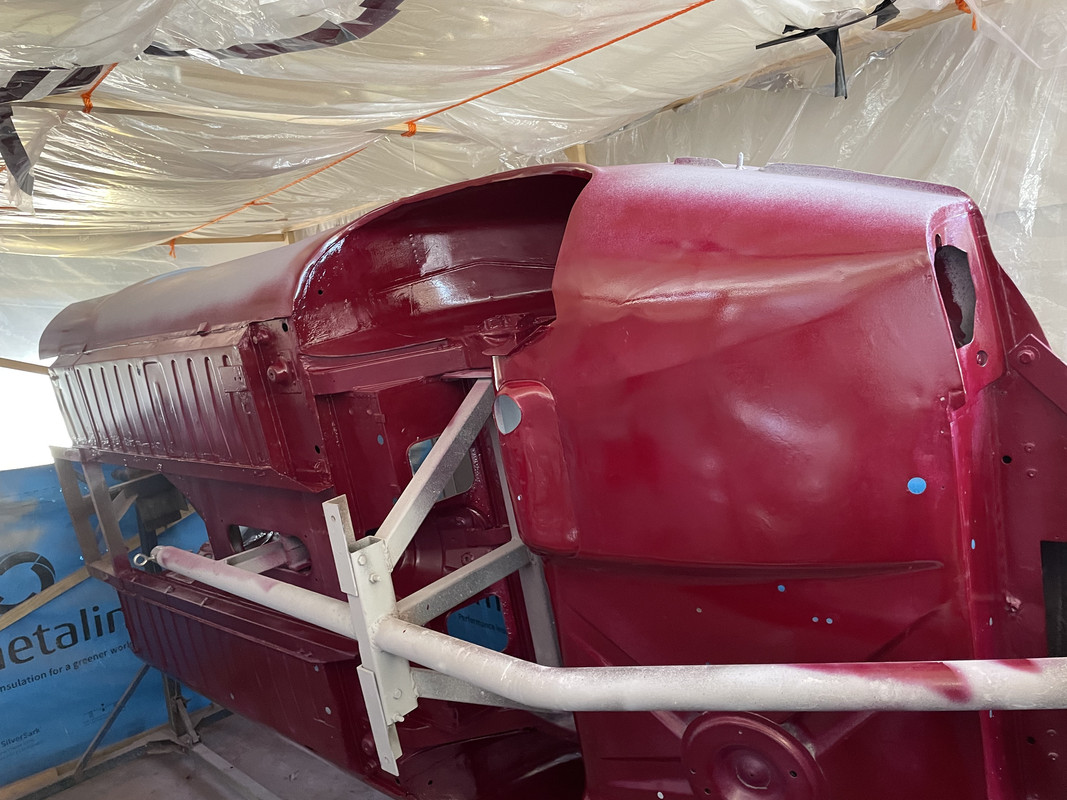
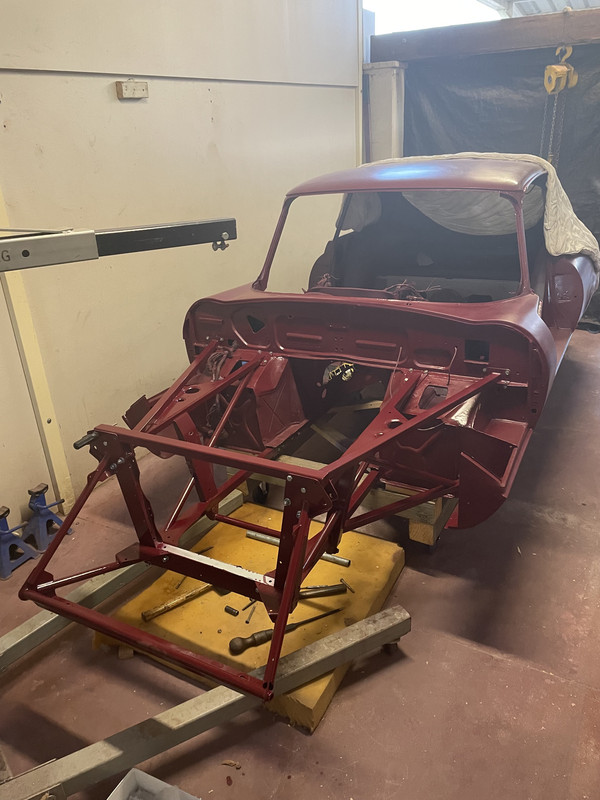
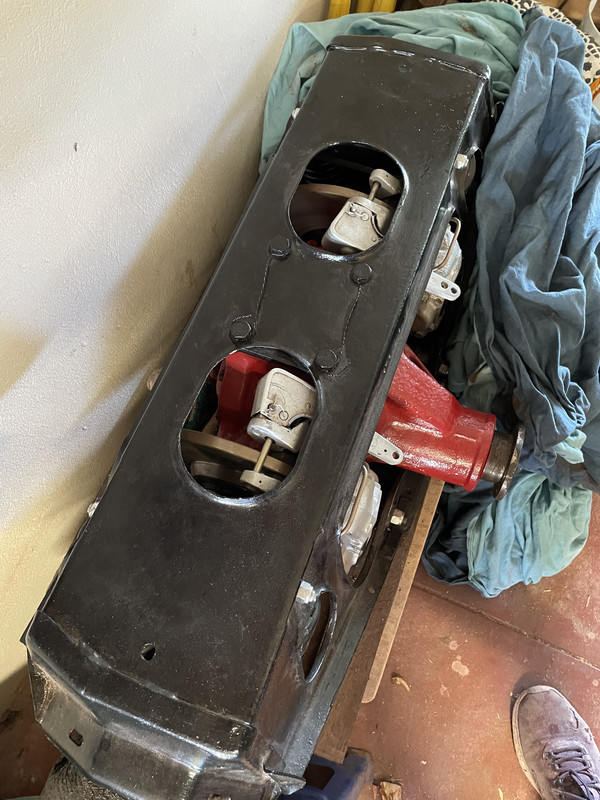
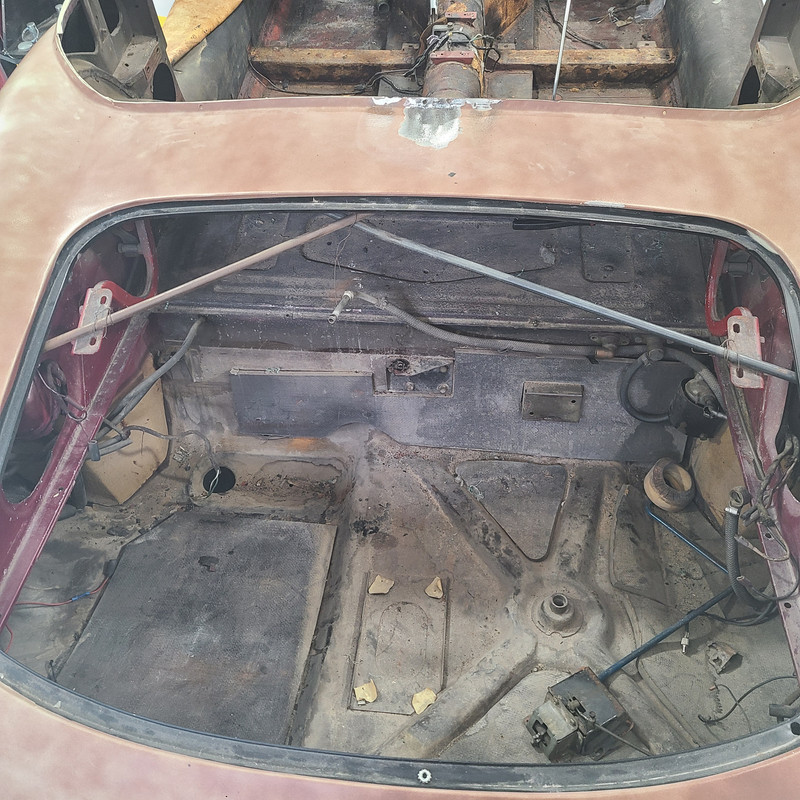
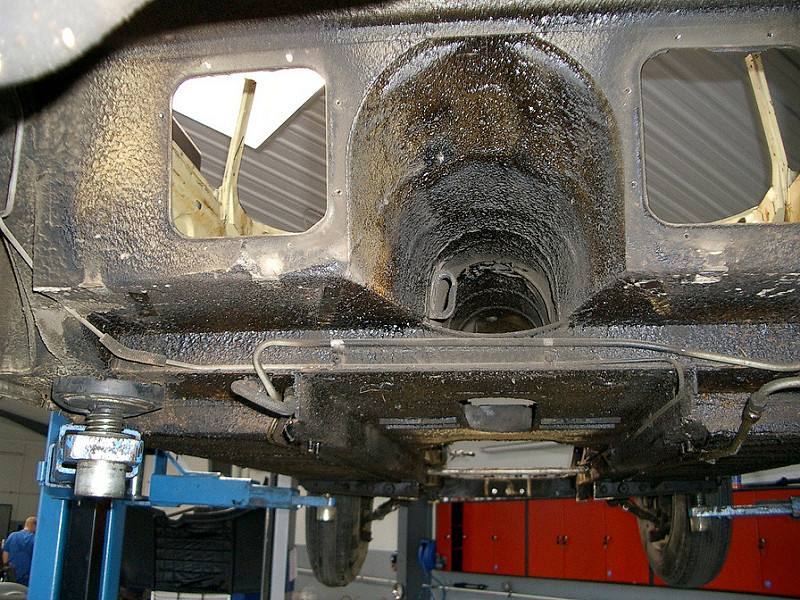
A couple of pics of the restoration so far.
It was originally painted regency red from factory (1971). During its life it was resprayed signal red.
I am reinstating the original colour as best I can knowing modern paints are different to 70's paints.
Some time ago I invested in a complete new front sub-frame as the drivers side (RHD) frame was damaged.
I'm pleased its off the rotisserie now, :bouncyyellow:


Image

Image

Image

Image

Image
Colin
my project - XKE Series 3 2+2 manual coupe

Link:
BBcode:
HTML:
Hide post links
Show post links


MarekH
Posts: 1752
Joined: Wed Jul 21, 2010 8:30 pm
Location: Surrey
Great Britain

#2 Re: Pre IRS installation

Post by MarekH » Wed May 22, 2024 8:26 am

Apprentice1975 wrote:
Wed May 22, 2024 7:10 am
I'm thinking possibly fuel pipe / brake pipe, but maybe these can go on later ?
I'd deal with the pipework whilst access is easy. The IRS can be wheeled in from the side through the wheel arch on a trolley and then raised up to meet the body. Put two of the IRS mounts on the body and two on the IRS cage. The centre of gravity of the IRS is about six inches further forward than you'd think it is just by looking.

Make sure the top shock absorber bolts are fitted the right way around. If you get this wrong, there is not enough clearance at the front between the IRS and the tunnel for the bolts to be unbolted in situ, so it's an "IRS out" issue if you have to replace any of the suspension struts or coils later on.

Don't let yourself be underneath an unsupported IRS at any time. The four mounts are designed to be in compression and can pull apart if the IRS is hanging for any length of time. The IRS weighs over 300lbs and will crush you if it drops unsupported.

kind regards
Marek

Link:
BBcode:
HTML:
Hide post links
Show post links

User avatar

mgcjag
Moderator
Posts: 9060
Joined: Fri Jul 09, 2010 6:15 pm
Location: Ludlow Shropshire
Great Britain

#3 Re: Pre IRS installation

Post by mgcjag » Wed May 22, 2024 8:30 am

Also think about fitting your propshaft...Steve
Steve
69 S2 2+2 (sold) ..Realm C type replica, 1960 xk150fhc

Link:
BBcode:
HTML:
Hide post links
Show post links

User avatar

lowact
Posts: 759
Joined: Mon Oct 09, 2017 10:05 am
Location: Canberra, Australia
Contact:
Australia

#4 Re: Pre IRS installation

Post by lowact » Wed May 22, 2024 10:37 am

Heat shield 1st, then the sections of supply and return fuel line that go above the IRS, also the section of the petrol vent pipe that goes above the IRS (from the expansion tank to the charcoal canister - reduces the smell of petrol fumes), then the IRS.
Regards,
ColinL
'72 OTS manual V12

Link:
BBcode:
HTML:
Hide post links
Show post links


MarekH
Posts: 1752
Joined: Wed Jul 21, 2010 8:30 pm
Location: Surrey
Great Britain

#5 Re: Pre IRS installation

Post by MarekH » Wed May 22, 2024 12:22 pm

mgcjag wrote:
Wed May 22, 2024 8:30 am
Also think about fitting your propshaft...Steve
Steve, you've forgotten to add the "smiley face" emoji to your post.
Failure to put the propshaft in first most definitely leads to this emoji:- :cussing:

kind regards
Marek

Link:
BBcode:
HTML:
Hide post links
Show post links

User avatar

Topic author
Apprentice1975
Posts: 40
Joined: Thu Aug 30, 2018 12:43 am
Location: Western Australia
Australia

#6 Re: Pre IRS installation

Post by Apprentice1975 » Wed May 29, 2024 6:00 am

thank you for advice, particularly from Marek re safety under the IRS and c of g of it.
I've checked the top shock bolt orientation, nuts to the outside. I had taken loads of pics when IRS came out, but none of the fuel or vapour lines.
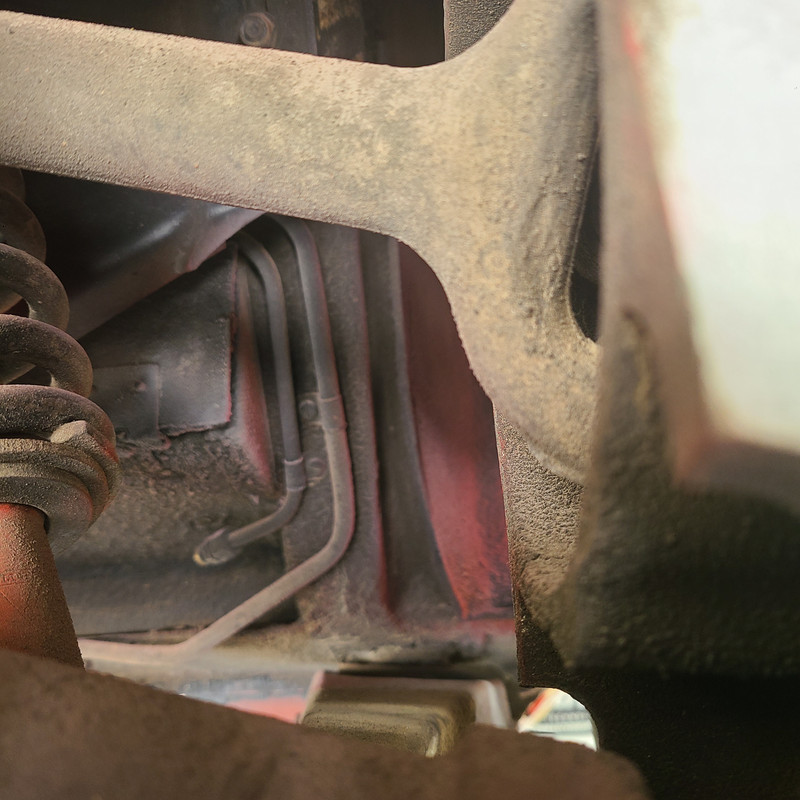
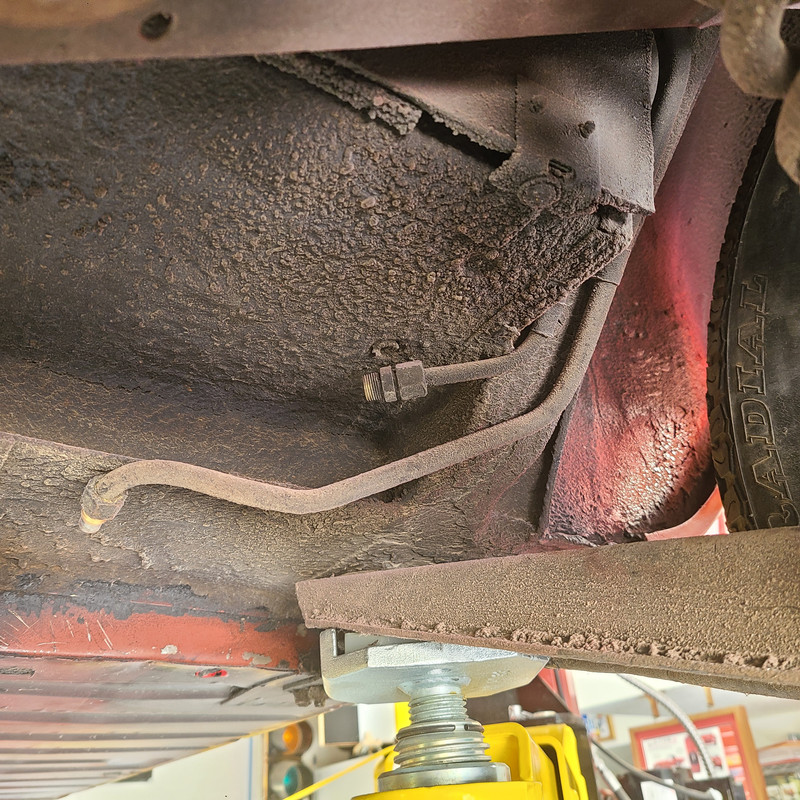
Any pics of this anyone has would be helpful.
Regarding prop shaft instal.
At the moment the car has no engine or box fitted so no rush on that front.. as long as i don't have a senior moment later 🥴
regards
Colin
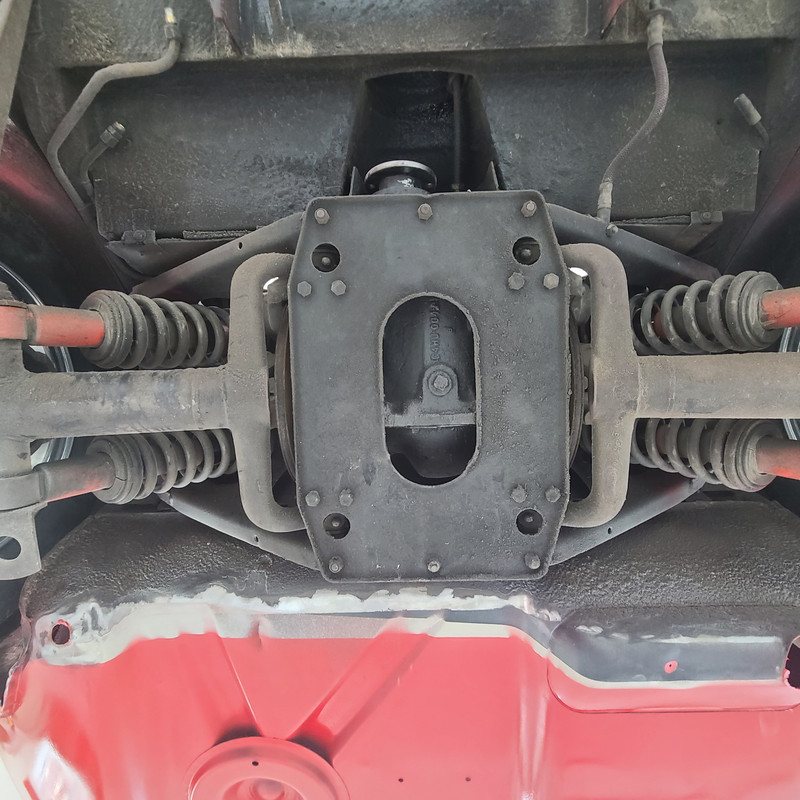
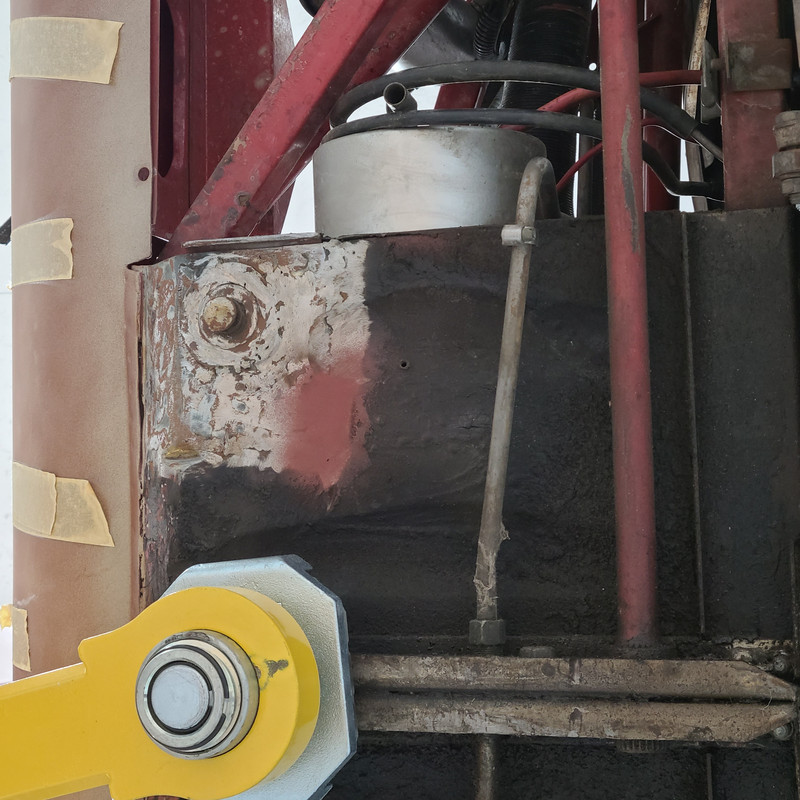
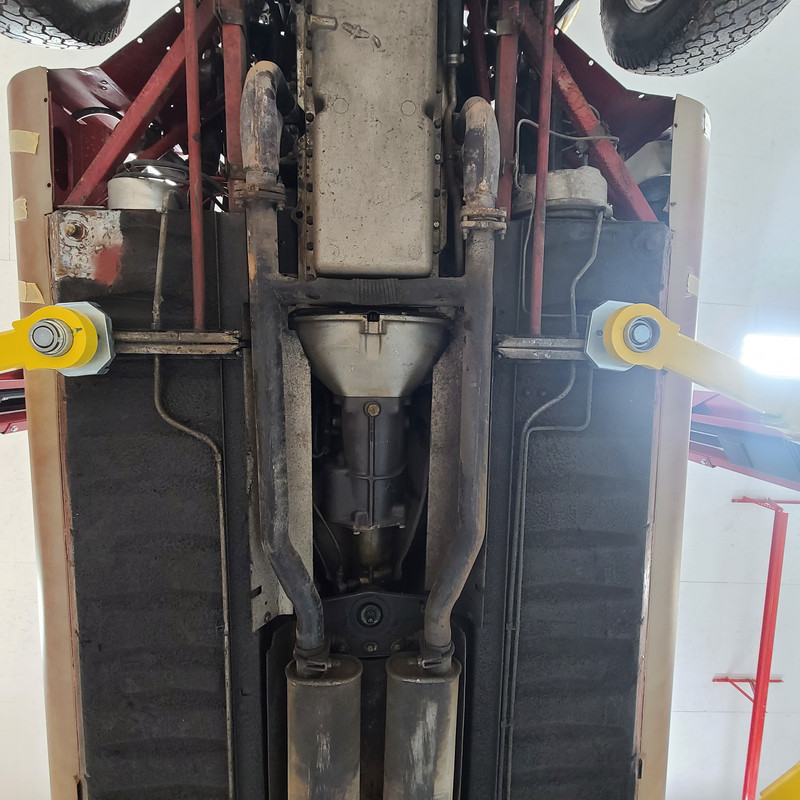
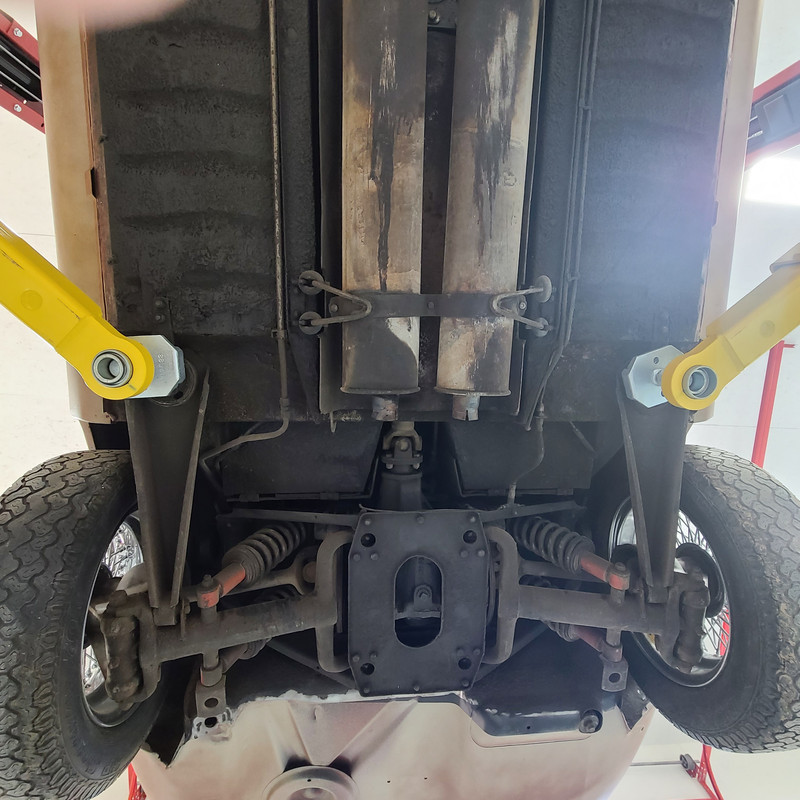
pics of iRS and heat shield prior to foam fitting and final assembly.
Image

Image
Colin
my project - XKE Series 3 2+2 manual coupe

Link:
BBcode:
HTML:
Hide post links
Show post links


Craig Balzer
Posts: 91
Joined: Fri Mar 03, 2017 2:02 am
United States of America

#7 Re: Pre IRS installation

Post by Craig Balzer » Wed May 29, 2024 3:00 pm

Colin

I am wrapping up my Series III restoration so I have a short ton of photos.
Here are a few I believe will help - I have more.
Details in captions

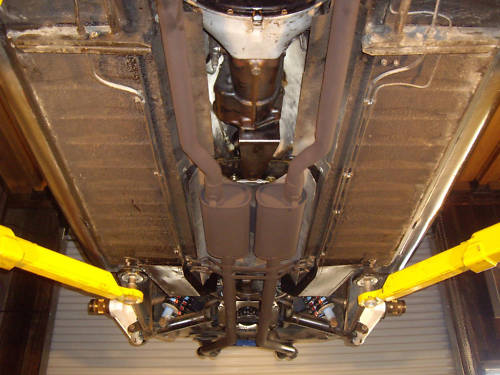
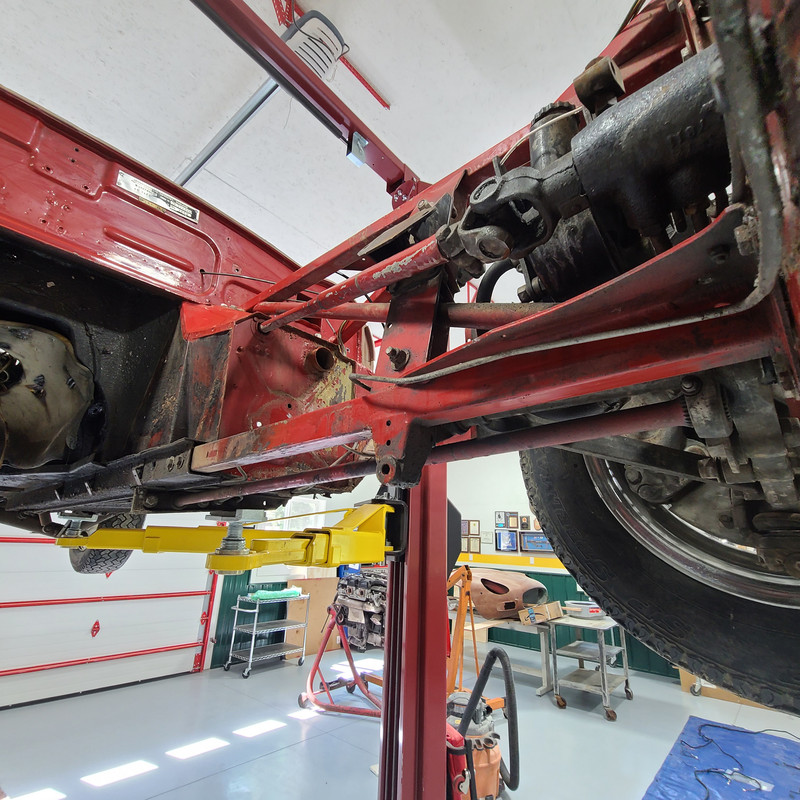
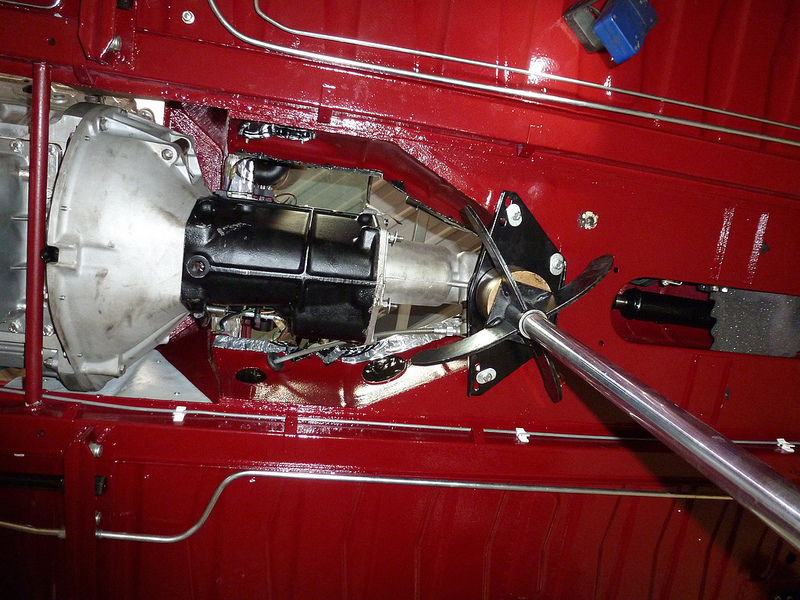
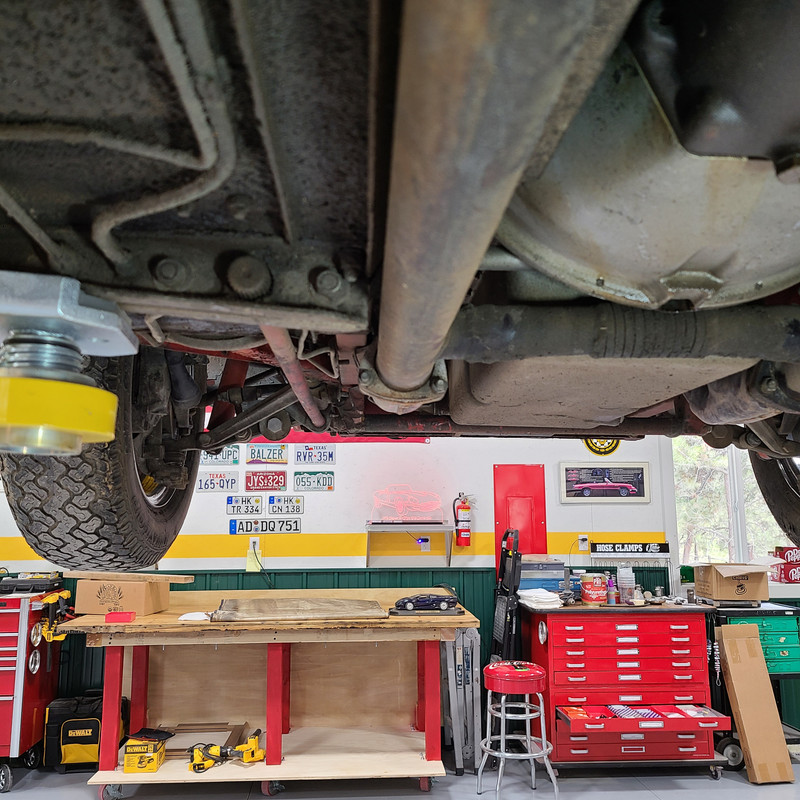
Image

Image

Image

Image

Image

Image

Image

Image

Image

Image

Image

Image

Image
Craig Balzer
Colorado Springs, CO, USA
1972 Series III OTS, 4-Speed (soon-to-be a Guy Broad 5-Speed), A/C, CWW

Link:
BBcode:
HTML:
Hide post links
Show post links

User avatar

Topic author
Apprentice1975
Posts: 40
Joined: Thu Aug 30, 2018 12:43 am
Location: Western Australia
Australia

#8 Re: Pre IRS installation

Post by Apprentice1975 » Wed May 29, 2024 10:45 pm

Hi Craig,
thank you for those pictures. This will help me a lot. If you have any more please post them too.
Kind regards,
Colin
Colin
my project - XKE Series 3 2+2 manual coupe

Link:
BBcode:
HTML:
Hide post links
Show post links


Craig Balzer
Posts: 91
Joined: Fri Mar 03, 2017 2:02 am
United States of America

#9 Re: Pre IRS installation

Post by Craig Balzer » Thu May 30, 2024 3:54 pm

Most of my other photos deal with the lines as they mount to the undercarriage, then pass though the torsion bar brackets and onward into the engine bay:


Image

Image

Image

Image

Image

Image

Image

Image

Image

Image

Image

Image

Image
Craig Balzer
Colorado Springs, CO, USA
1972 Series III OTS, 4-Speed (soon-to-be a Guy Broad 5-Speed), A/C, CWW

Link:
BBcode:
HTML:
Hide post links
Show post links

User avatar

Topic author
Apprentice1975
Posts: 40
Joined: Thu Aug 30, 2018 12:43 am
Location: Western Australia
Australia

#10 Re: Pre IRS installation

Post by Apprentice1975 » Fri May 31, 2024 2:28 am

Hi Craig,
that is very useful.
Thank you for taking the time and sending the pics.
Kind regards,
Colin
Colin
my project - XKE Series 3 2+2 manual coupe

Link:
BBcode:
HTML:
Hide post links
Show post links

User avatar

Danetype3
Posts: 37
Joined: Sat Nov 02, 2019 5:27 pm
Denmark

#11 Re: Pre IRS installation

Post by Danetype3 » Sun Jun 23, 2024 9:12 am

My experience with the alu sheet metal heat shield I bought, were not great. It looks nice, but when I fitted the IRS, there was not sufficient space around the diff and hand brake mechanism. I had to heavily modify it and still the space was so little that in the end I decided not to use it. Typical OEM quality... Perhaps yours is better, but I would double check.

In retrospect it would have been best to only use the large part of the alu sheet metal and use a flexible heat shield from glass fiber with alu toplayer around the diff end and use rivets to fit it in place. Then there will be plenty of space for the hand brake mechanism etc.

Kind regards
Paul

Link:
BBcode:
HTML:
Hide post links
Show post links

User avatar

Topic author
Apprentice1975
Posts: 40
Joined: Thu Aug 30, 2018 12:43 am
Location: Western Australia
Australia

#12 Re: Pre IRS installation

Post by Apprentice1975 » Sun Jun 23, 2024 10:16 am

hi Paul,
thanks for input.
I keep looking at what i've done so far with the heat shield I'd purchased.
I got some heat resistant foam - self adhesive style , cut, shaped and stuck that on ,, sandwiched between shield and body.
Another forum member also has commented negatively about the aftermarket al heat shield.
Let's see what happens when I try install the IRS.
I have not fitted the IRS yet as i've moved to the other 'elephant' in my garage... the bonnet...!!!
All good fun.
Colin
Colin
my project - XKE Series 3 2+2 manual coupe

Link:
BBcode:
HTML:
Hide post links
Show post links

User avatar

lowact
Posts: 759
Joined: Mon Oct 09, 2017 10:05 am
Location: Canberra, Australia
Contact:
Australia

#13 Re: Pre IRS installation

Post by lowact » Thu Jun 27, 2024 12:06 am

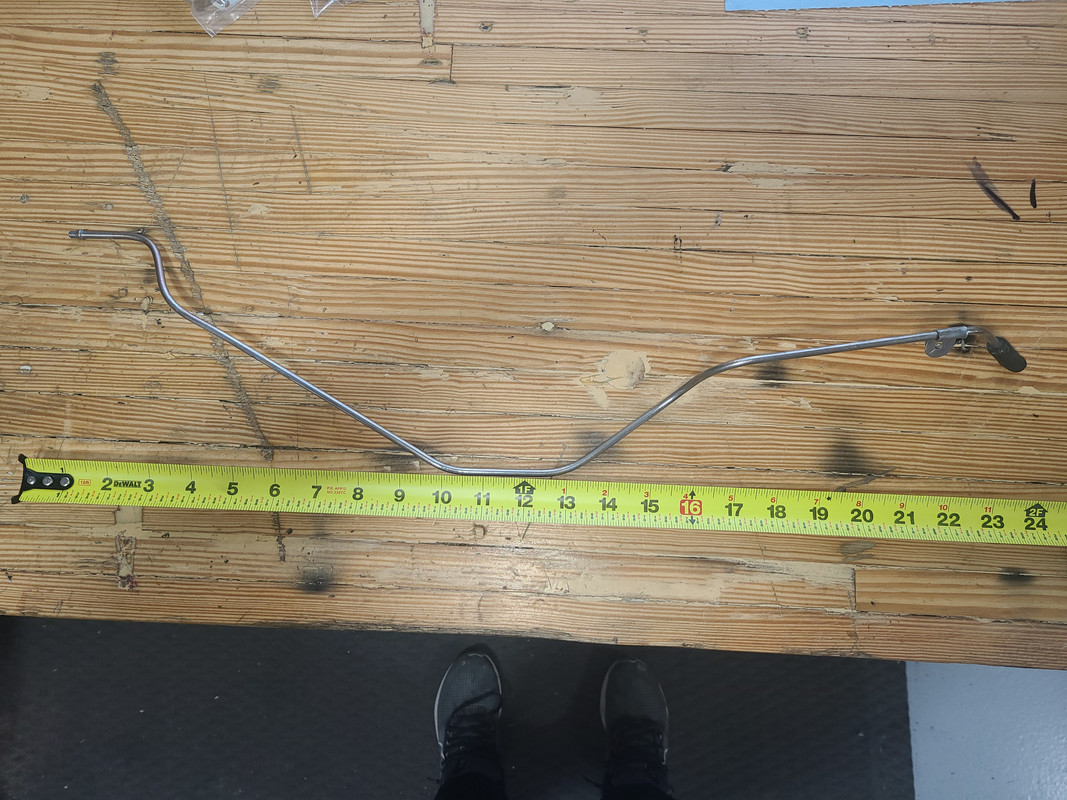
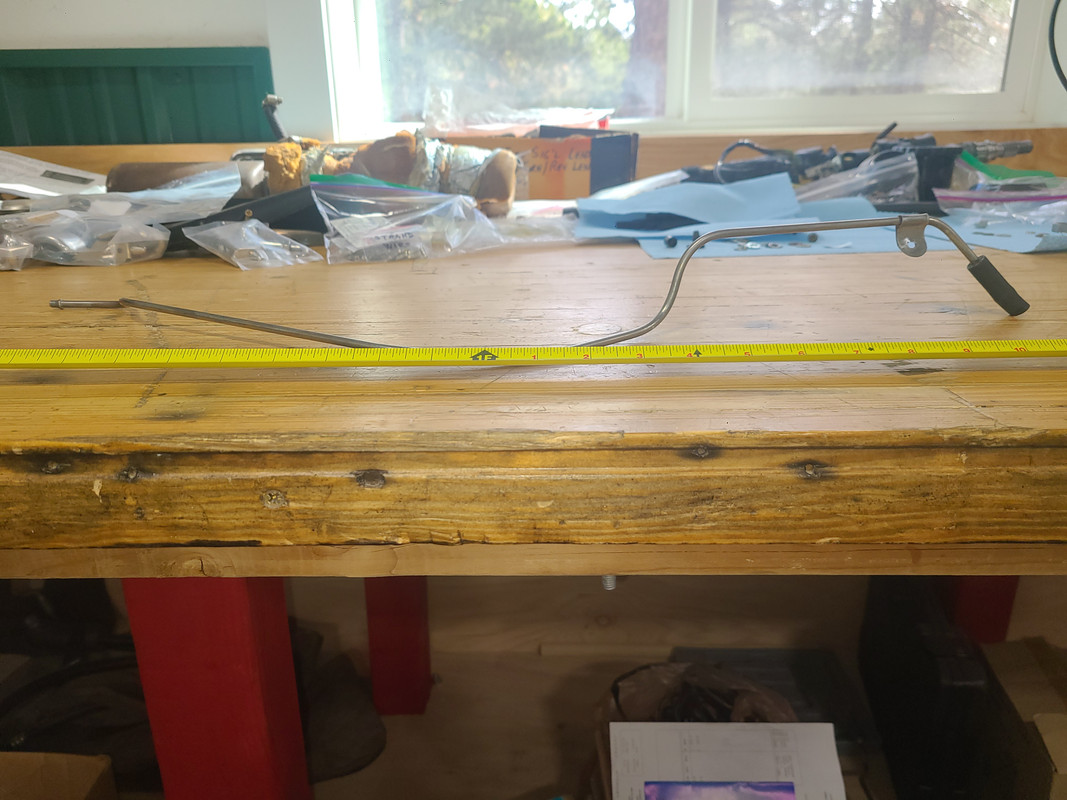
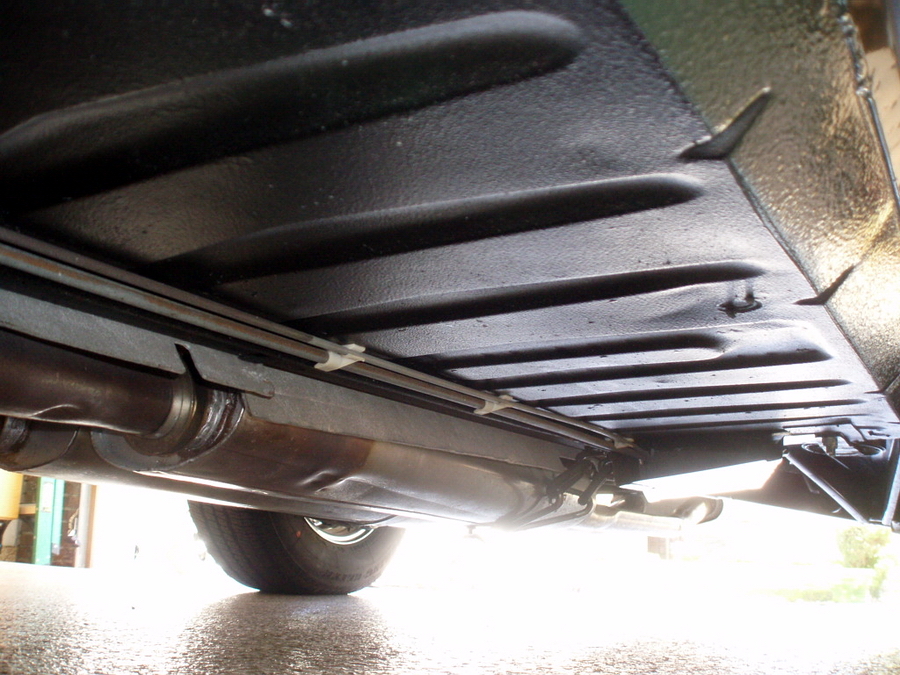
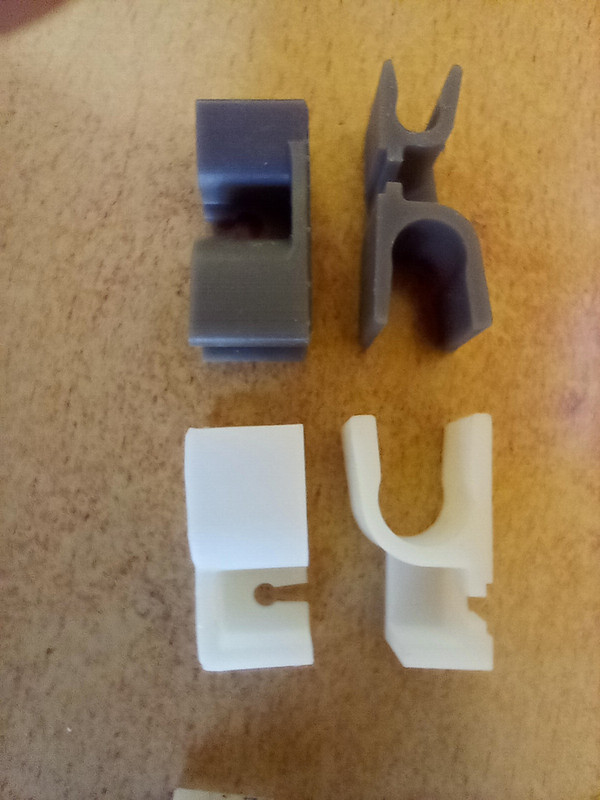
This reminded me to feedback to sngb about their fuel line clips
Image
The return line clips (grey) are good. However the supply line clips (white) are too brittle, all broke trying to install them. Bought a 2nd lot, same.
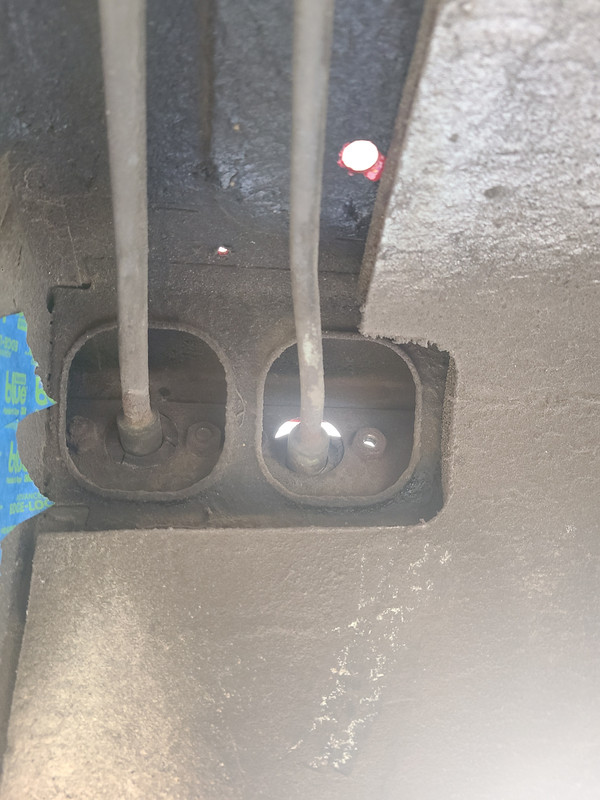
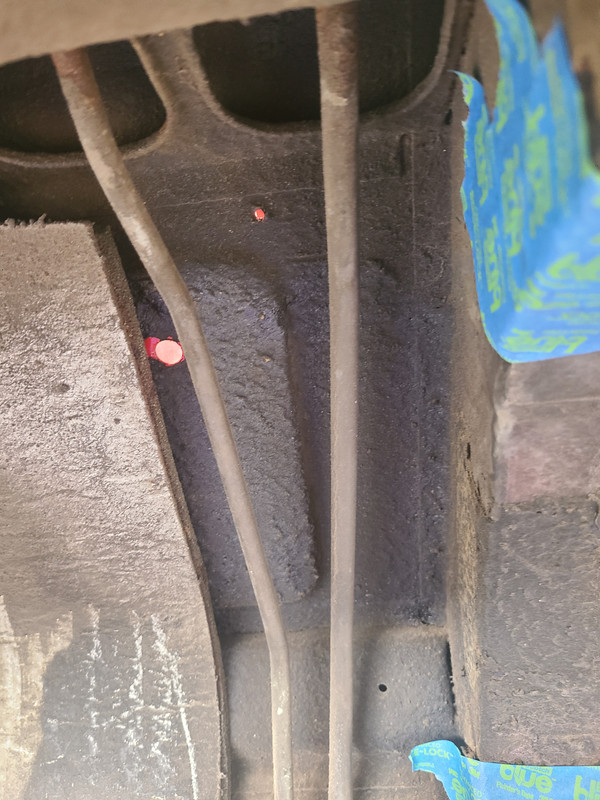
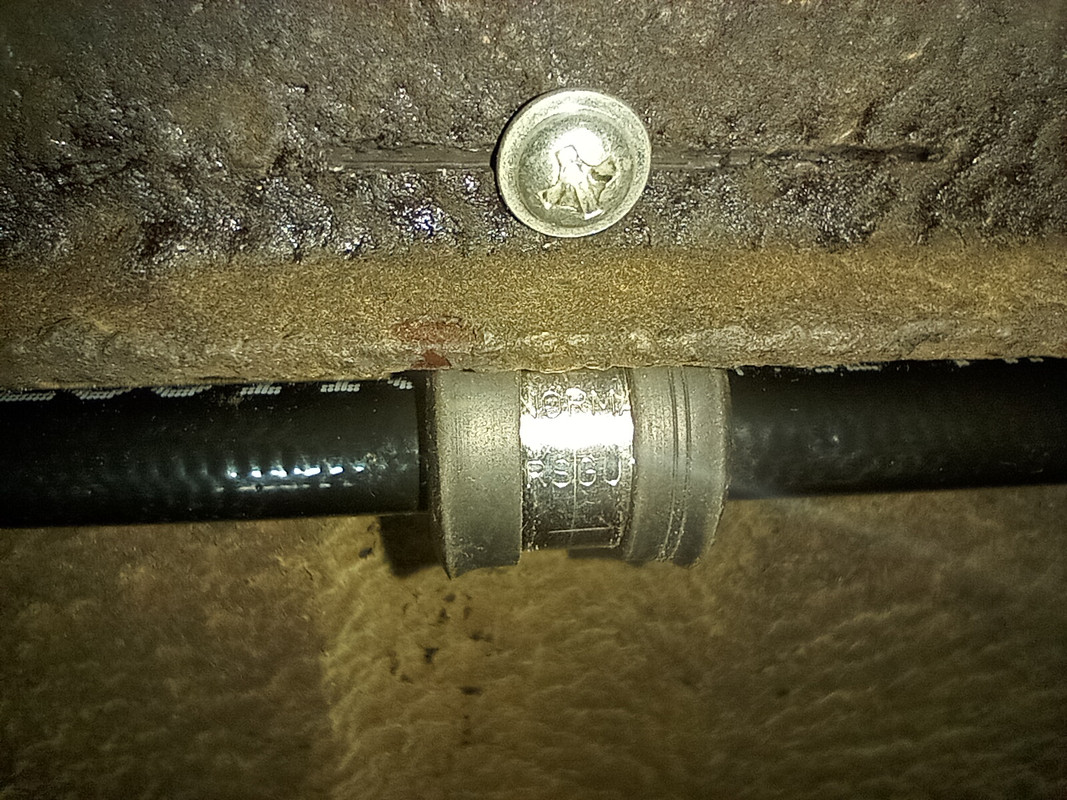
Instead I use hose clips, retained by s/t screws that don't penetrate the floor.
Image
Fitting the IRS, compressing new mounts, can be extraordinarily difficult. I make a tool that makes this extraordinarily easy. Details in a thread "IRS mounts" on this forum.
Regards,
ColinL
'72 OTS manual V12

Link:
BBcode:
HTML:
Hide post links
Show post links


Craig Balzer
Posts: 91
Joined: Fri Mar 03, 2017 2:02 am
United States of America

#14 Re: Pre IRS installation

Post by Craig Balzer » Thu Jun 27, 2024 3:46 pm

What size s/t screws did you use? They gotta be pretty short/small . . .
Did you use the existing locations of the nonfunctional clips to place the screws? or just space them so they looked right?
Craig Balzer
Colorado Springs, CO, USA
1972 Series III OTS, 4-Speed (soon-to-be a Guy Broad 5-Speed), A/C, CWW

Link:
BBcode:
HTML:
Hide post links
Show post links

User avatar

lowact
Posts: 759
Joined: Mon Oct 09, 2017 10:05 am
Location: Canberra, Australia
Contact:
Australia

#15 Re: Pre IRS installation

Post by lowact » Fri Jun 28, 2024 11:44 am

The stamped impressions in the floor pan leave gaps (~3 mm clear) between the floor and the supporting rails that run along each side of the tunnel. The ends of the hose clamps are pushed into these gaps at 30 cm intervals. The s/t screws, 4 mm dia. and 8 mm long incl. the tip, are drilled and tapped through the rails; the screws protrude through the clamp's mounting holes the full height of the gap, to the underneath of the floor.
Means for my supply line I have 4 supports instead of the oem 3. I’m using hose (for propane) instead of pipe, so I need the extra support. Hose is the same OD as the oem supply pipe.
Regards,
ColinL
'72 OTS manual V12

Link:
BBcode:
HTML:
Hide post links
Show post links

User avatar

bitsobrits
Posts: 567
Joined: Tue Dec 27, 2011 2:09 am
Location: Omaha, NE area
United States of America

#16 Re: Pre IRS installation

Post by bitsobrits » Fri Jun 28, 2024 12:16 pm

Are you running propane in this car?
Steve
'65 S1 4.2 FHC (early)

Link:
BBcode:
HTML:
Hide post links
Show post links

User avatar

lowact
Posts: 759
Joined: Mon Oct 09, 2017 10:05 am
Location: Canberra, Australia
Contact:
Australia

#17 Re: Pre IRS installation

Post by lowact » Sat Jun 29, 2024 11:36 am

One day, currently in the middle of a conversion. Liquid injection, dedicated (no petrol).
Regards,
ColinL
'72 OTS manual V12

Link:
BBcode:
HTML:
Hide post links
Show post links

Post Reply Previous topicNext topic