Post
by politeperson » Fri Nov 13, 2020 9:32 pm
Phoenix,
I assembled and fitted a bonnet last week. I have done a few.
I started with a new center section. The rest of the parts were second hand.
As you suggest, it is easiest to assemble up side down.
Assemble the front clam and wings first, using the headlight rim and front of the wheel arch as your first datum.
Use clamps to force the center section around to match the curve of the lower (now on top) lower valance. Also clamp the wings on too, ensuring they align where the wing beading will go. They take force to clamp together.
Then mark your flange holes, disassemble, drill your holes and reassemble with the correct spacer washers and fasteners. I use old ones if I am painting, then replace them.
The wing to center section bolts point inwards, the indicator flange bolts point downwards.
Fitting, clamping and aligning the first 4 main sections, bolting them together takes a few hours.
I like to paint these sections after drilling with a satin version of the final color before bolting together.
Dont worry about the differing lengths of the wings and center section yet.
Now attach and clamp the main bonnet spar. This is the bit that is under the bonnet section in front of the windscreen from one side of the bonnet to the other. It is attached ether side by the two butterfly brackets. Blot it with 4x 3/16 screws either side. Then you bond it along its entire length and tack it into place when clamped down the the main bonnet center section. After this bit is in, I like to paint it.
Now you have to think about bonding in the air ducts and diaphragms.
I like to loosely assemble the whole inner structure prior to bonding. This includes the flanges that will join all of this gubbins to the underside of the bonnet.
Only by assembling all these parts together, even only loosely, can you be sure you will glue the flanges in the correct place on the bonnet center.
You may notice that the diaphragm that joins the air intake duct to the outer wing bolts through a specific hole in the wing/center panel flange.
Loosely bolt it all into place using old screws, as this will be temporary, you will be painting over then, then replacing them with new one by one.
Now get the sealer out. Any automotive quality sealer will do. you will need 2 tubes @£5 a go and a corking gun.
I string a good bead in between the flanges and the bonnet, only removing various diaphragm panels as i need to, then re screwing them together as I need to to ensure alignment whilst the sealer is still tacky. Make sure it squishes out good and even. Remove the excess with a scraper/cloth and bin it.
Make sure all your empty bolt/ screw holes are still aligned and screw everything tight. You will have about 35 minutes to get in all that sealer before it goes off, there so dont mess around.
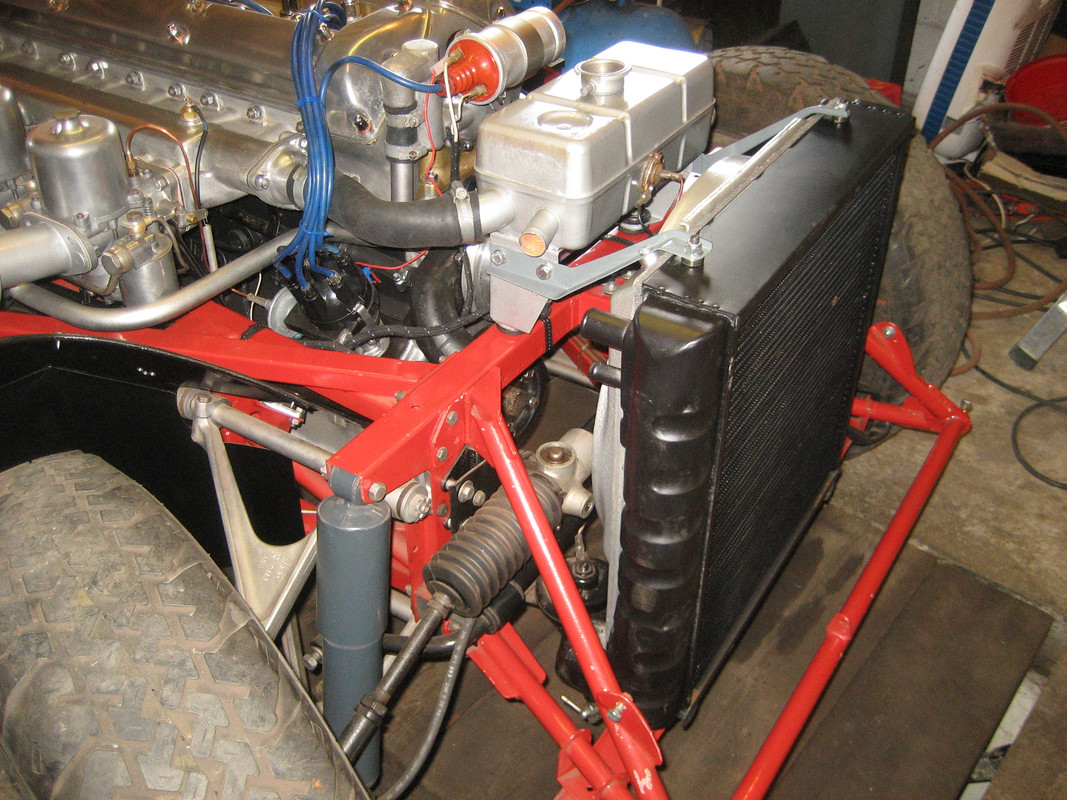
Make sure everything is pushed down and ensure the two air ducts are far enough apart to allow the radiator grill to drop in between them (they may need a push sideways).
You need to leave it for at least 24 hours.
At this point I like to finish stone chipping and painting, then I replace all the fasteners with those from a Hudsons kit.
You are now ready to drop the bonnet on and start adjusting it to the car.
Dont forget that the bolts connecting the diagrams to the wings should be loose. Removing the 2 butterfly brackets will allow the wings to flap out over the bulkhead to allow the bonnet to close whilst you measure for final cuts.
Having fitted the bonnet, it is essential you mark the center of the bonnet, the bulkhead scuttle and the picture frame (from underneath). This is your datum. You must keep the center section of the bonnet running true to the direction of the car and central.
The first thing to align with the bonnet shims, is the wheel arch to sill. Once this is aligned and the bonnet is central your options become limited movement wise.
When undoing the 4 bolts on the bonnet hinges, bear in mind which plane you are trying to move the bonnet. Backwards/forwards or up and down. If you unscrew two bolts too much, the heads will interfere with each other, so think about it.
The rest of the subject of bonnet fitting is covered in the technical section. No two bonnets are the same.
Basically, you cant squeeze the wings in until you have cut the bonnet the first time. A lorry strap can help here pull the wings in whilst you tighten the diaphragm/butterfly bolts. Keep you bonnet centralised.
If the center section/scuttle is too high on one side when closing, raise the other side with shims at the hinge.
Once you have squeezed the wings in and set them with the diaphragm and butterfly bolts, you need to think about the lower wing sill gap. It needs to match your lower door gap.
Finally you will cut the bonnet edge all the way around with a 1mm cutting disc exactly parallel to the scuttle edge. Not that easy, I use tape.
Dont worry, it will all be fine!
Finishing off an S1 roadster