If anyone can find anything, please flag it up and I'll modify this post accordingly.
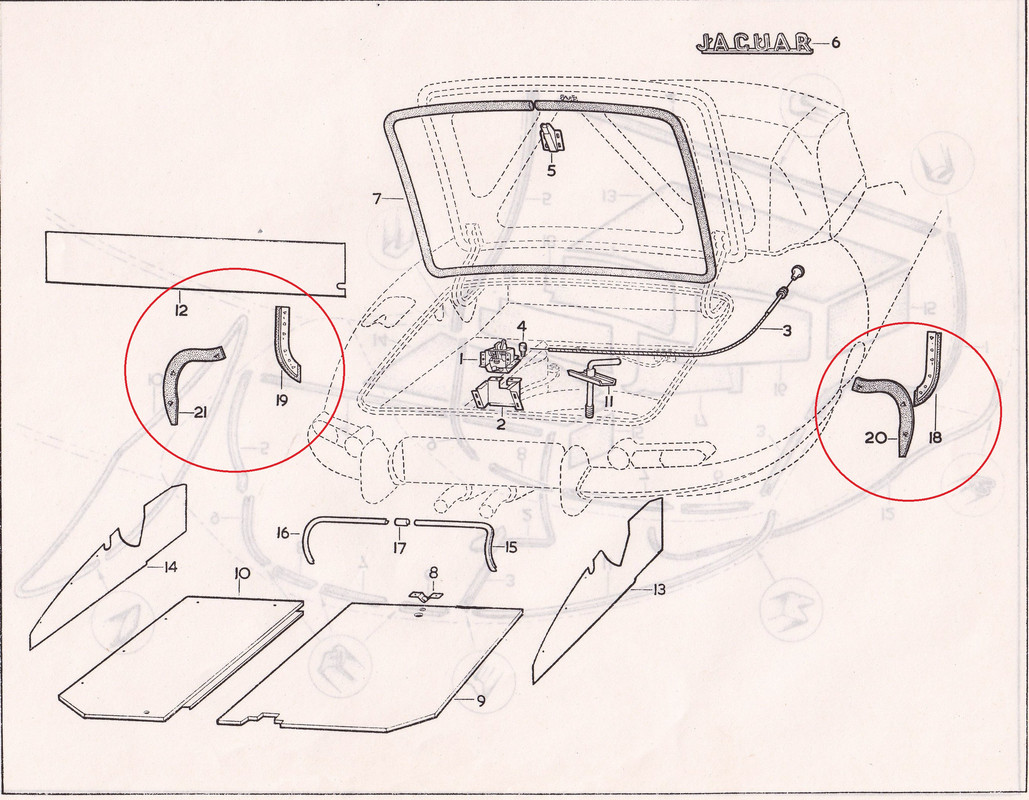
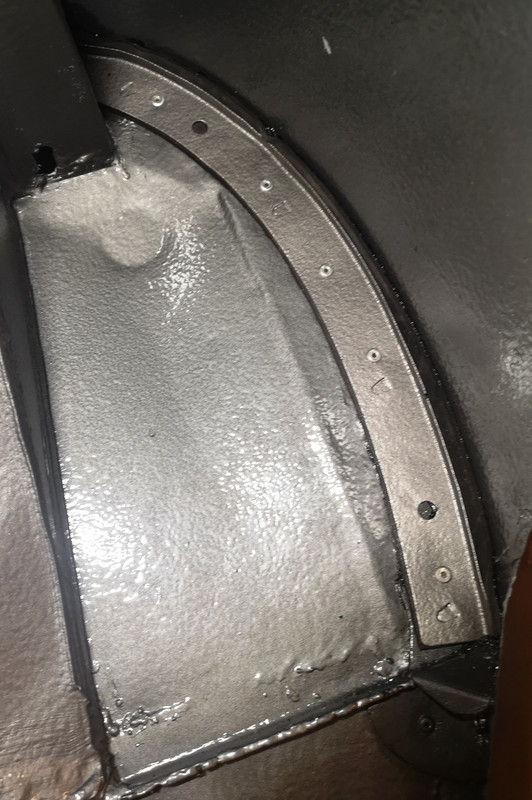
It took me nearly 20 years to realise that these sealing flaps are the only things keeping water - and road-muck - out of the boot, to the rear, and the volumes behind the door locks, to the front.
The earlier cars used 4 plates with rubber flanges to seal these gaps, moving to 6 (the rear seals became two components on each side) from cars 850656 and 897024 onwards, if my reading of the J30 parts book is correct.
Thus parts BD.15891/2/4/5 became BD.25200/25201/25198/25199, according to Robey, although they do not appear to list the BD.25363 and BD.25364 that would have completed the 6-part arrangement.
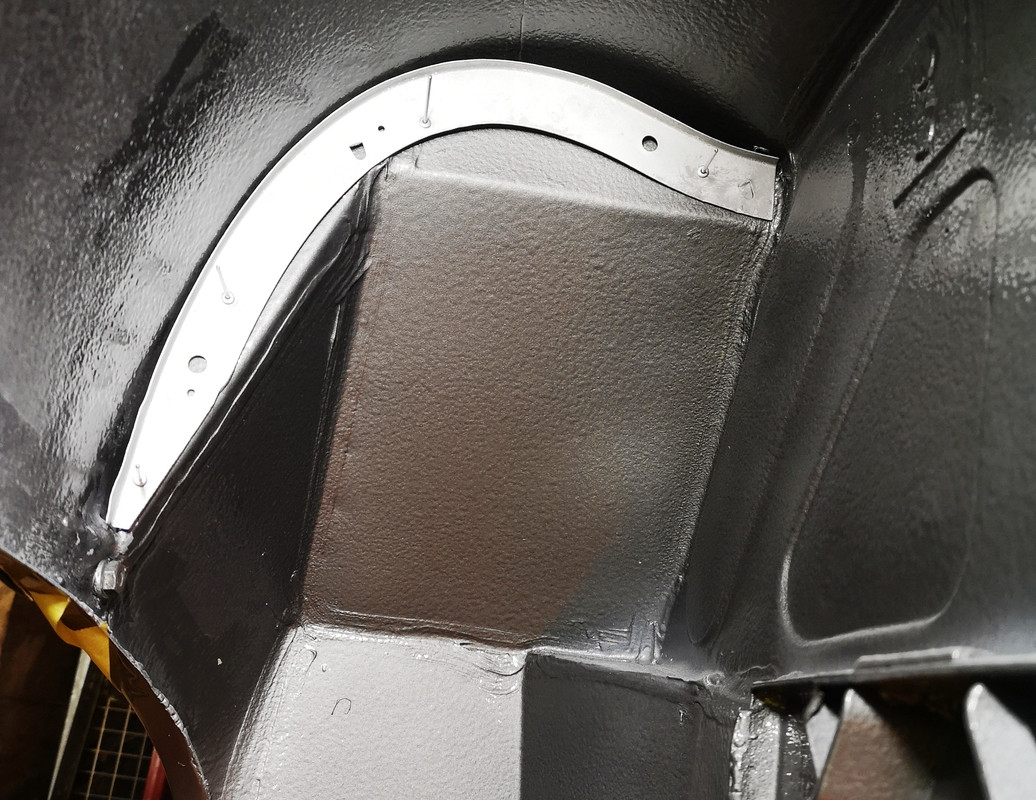
The four French-Curve plates that fulfill the role were not a particularly good fit to the shape of the rear wings on my car, so I split them in several places to adjust their shape, then brazed the gaps ; if I had been smarter and better-prepared I would have done this with TIG, and then I'd have had them hot-galvanised, as they are ripe for rot.
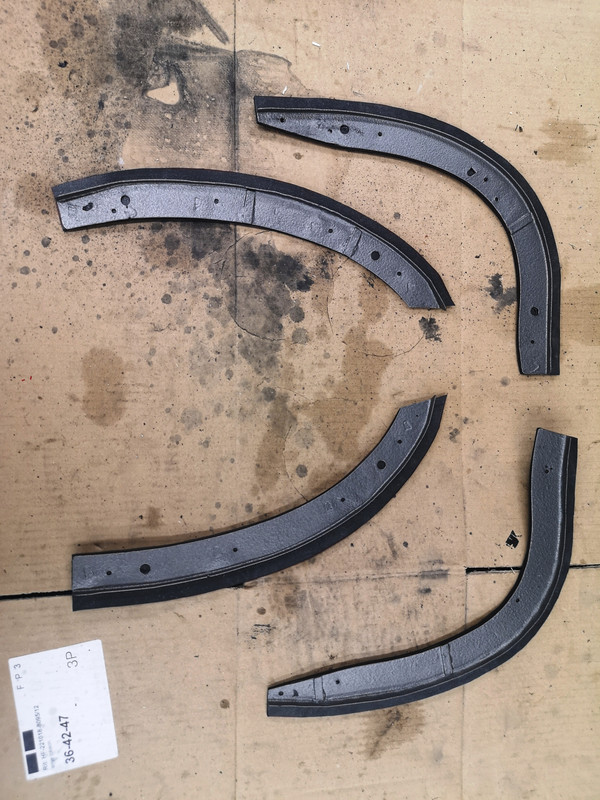
Ideally, I reckon that once fitted the curves should be about 8mm shy of the wing shape, along their length.
The rubber flaps that are then compressed by these curved plates would seem to be best replicated with some sort of EPDM material, but my tests with this in both 2mm and 3mm thicknesses led me to conclude that I got less wrinkling and a better seal when I used fully three thicknesses of much thinner pond-liner EPDM of only 1mm thickness.
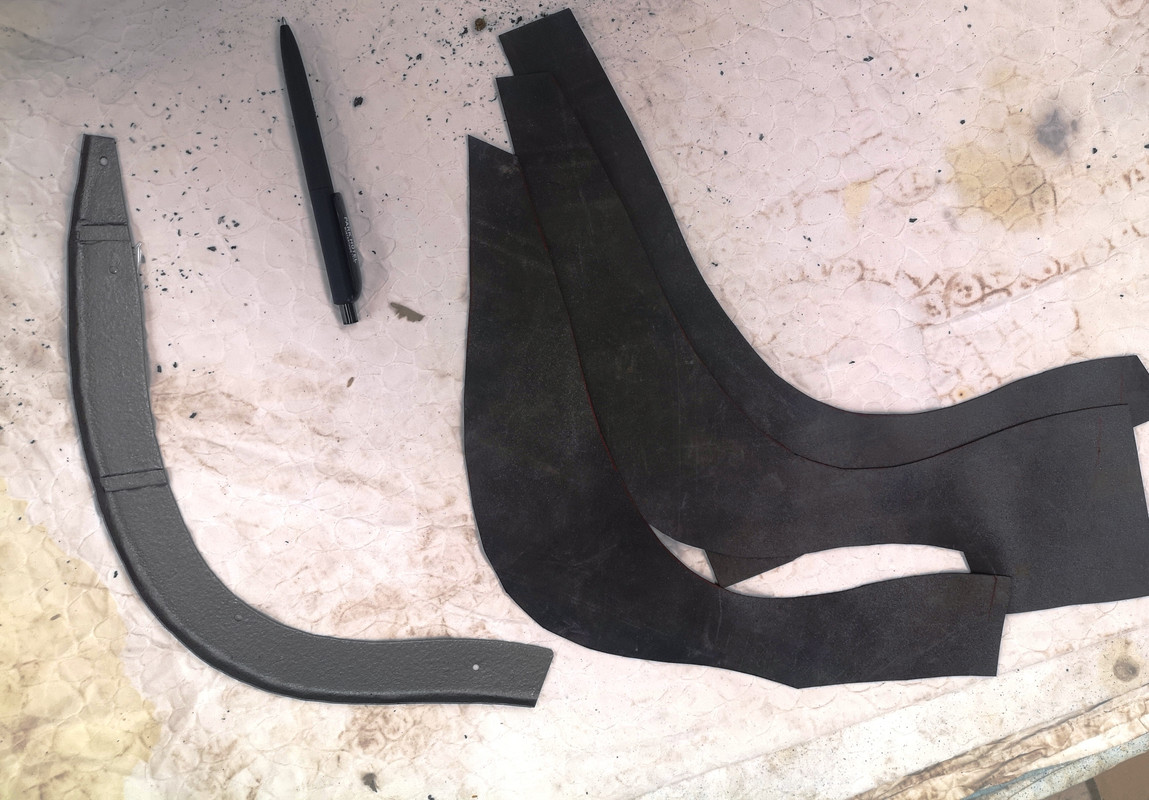
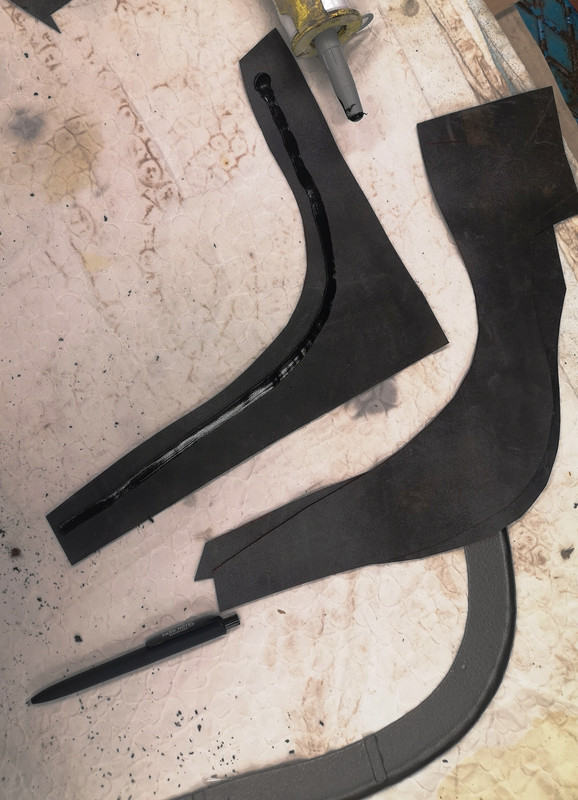
Three identical pieces were clamped together with each steel curve, onto a flat surface, using just a bead of black SIKA polyurethane body sealing compound along the centre, to hold them in place, then left to cure ; then you can trim the edges to leave a suitable lip against the wing.
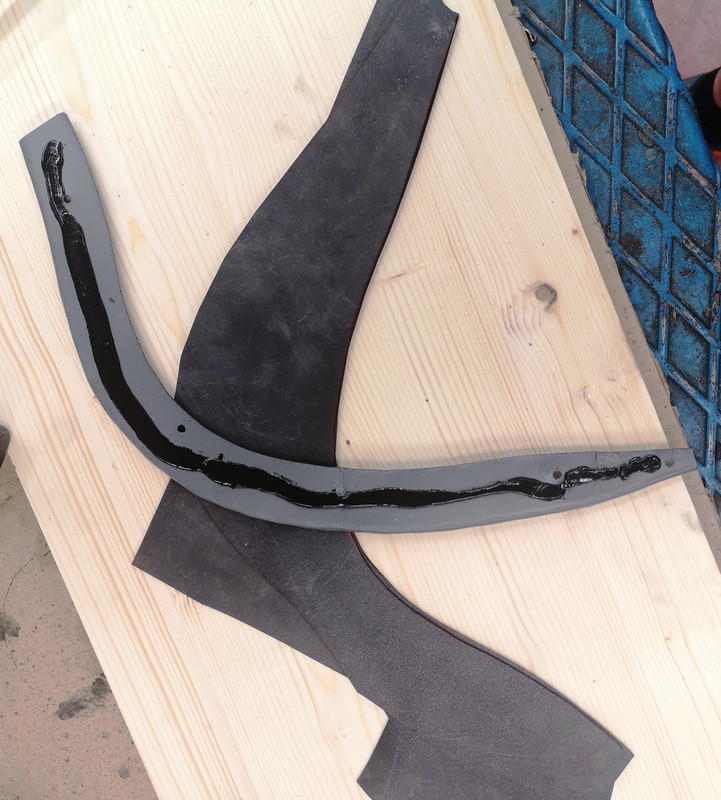
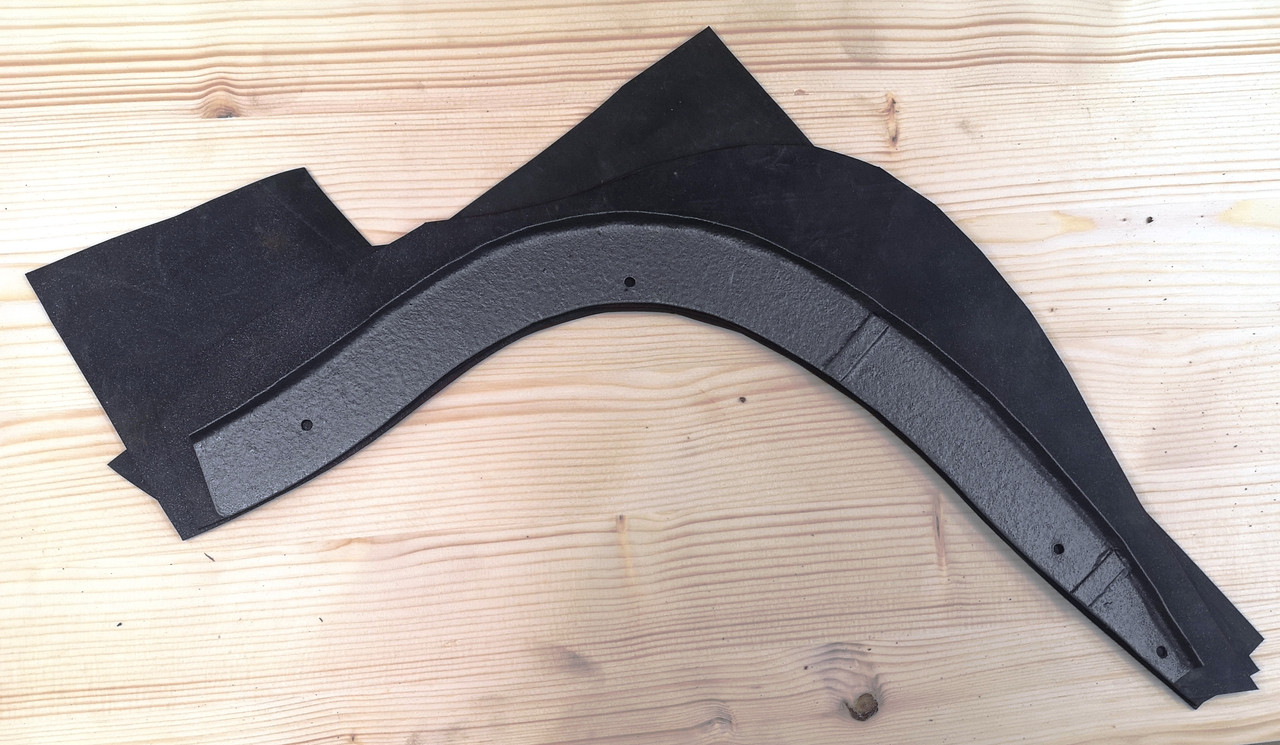
Whilst pushing them hard into place, and having blocked off the previous holes in the shell with blobs of PU sealant,
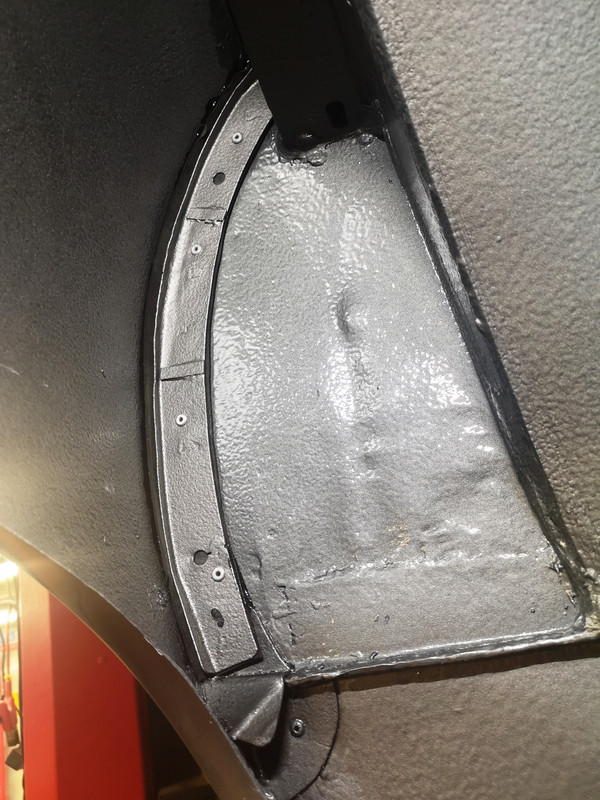
holes are drilled through the curve and into the shell, pushing rivets into the holes as you go to freeze the position.
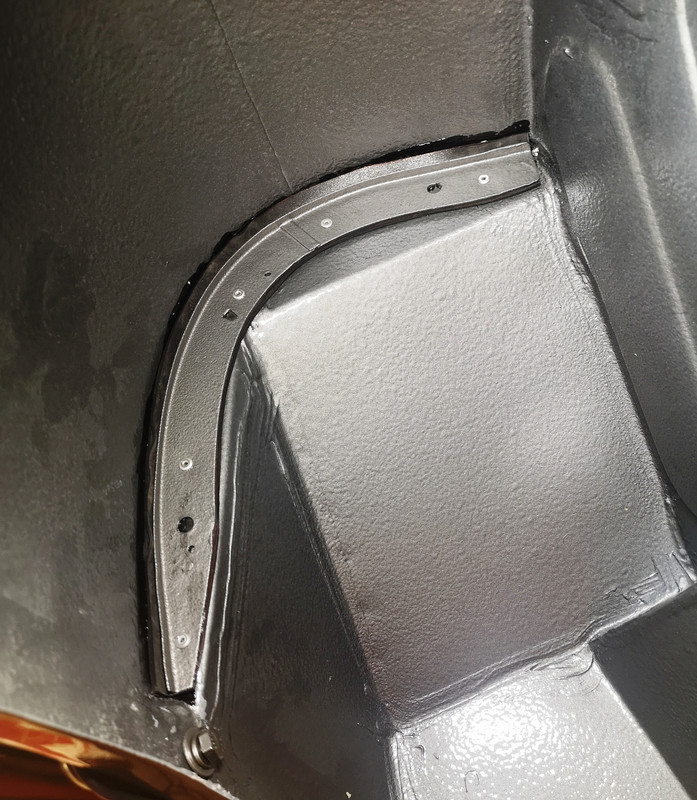
It's then worth identifying, particularly at the top of each assembly, what other gaps exist - I had to use more PU sealant than I had expected to make sure water couldn't get over the top of these seals.
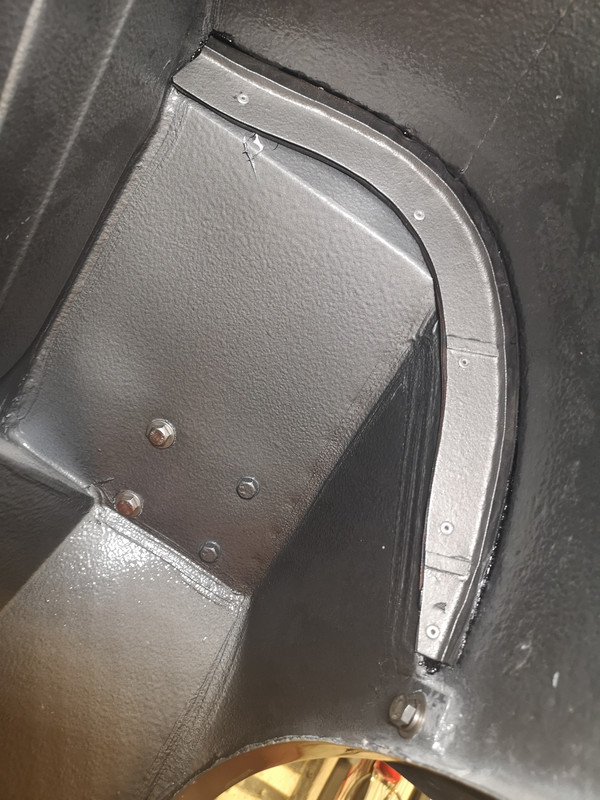
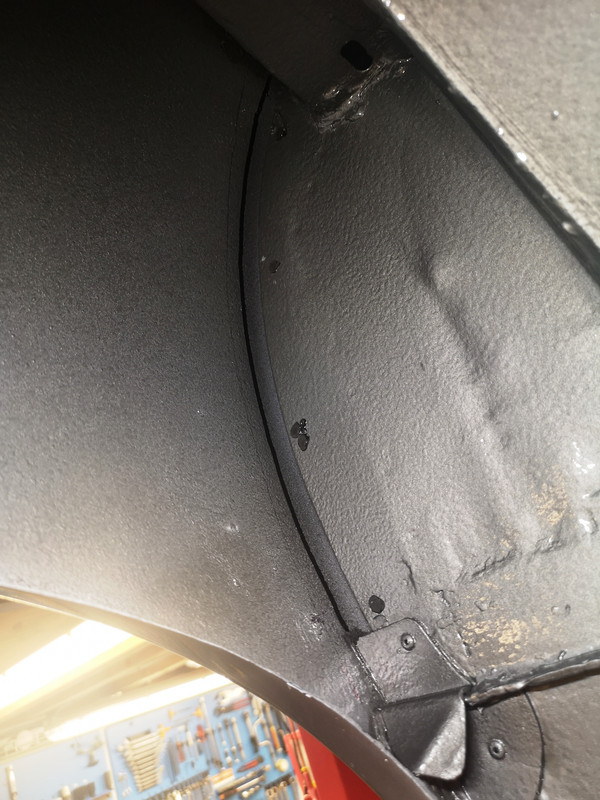
A marker pen can be used to show where the lips will lie, once fitted, then upon final assembly you first run a bead of PU sealant along your felt-tip line, push the curves hard into place, pushing the rivets into the holes as you go, and then use the rivet-gun to clamp everything into place definitively.
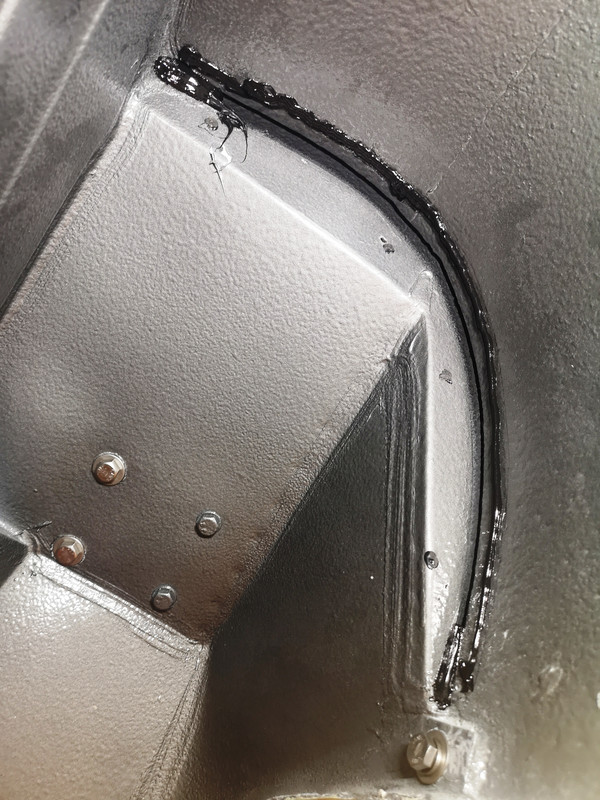
I suspect this is an oft-neglected aspect of reassembly and hope that this will be of some help to others.