


Even though the result I obtained has yet to be proven, the method and the pitfalls would have been good to appreciate before I started.
My hood cover had been brand new seven years ago (thanks Jack, fitted at BAS in Wales) and had done about 7.000km, but once I decided to restore the car (that everyone thought was perfect already, naïve souls) it came back off, together with everything else that was fastened to the shell.
It had nagged away at me for the past few years that re-fitting it was going to be a challenging bitch of a job, with nothing to pull on (once the excess fabric has been cut off ......) and that I could only end up with a worse job than Jack had done.
I even considered driving it back to Wales again .......
Anyway, here's what happened.
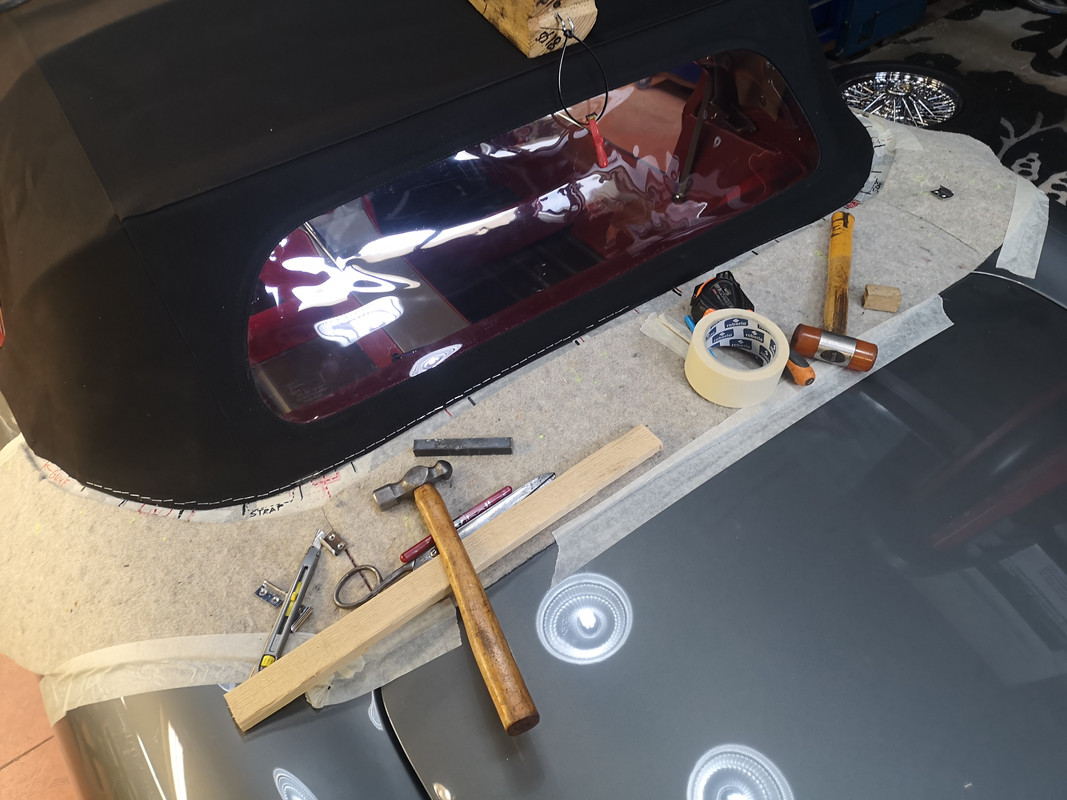
I could in fact see every staple and screw mark in the hood, and find the same ones in the tack-strip covering, as whilst that had been removed from the shell it was easy enough to re-use.
So I initially aimed to just try to get everything back where it had been, until Jack suggested that I could usefully try and get more tension back in it whilst I was at it - the fit had been fine, but stretch is inevitable.
The only way to do this is to not fully attach the hood at the front, fasten the fabric at the back, and then hope the resulting tension is there when you lock the hood-hooks to the windscreen.
And thereby hangs the tale, because that tension is highly sensitive to the "gap" you leave - in my case there was about a 15mm gap between the top chrome rail on the screen and the seating within the hood pan, which was pure guess-work.
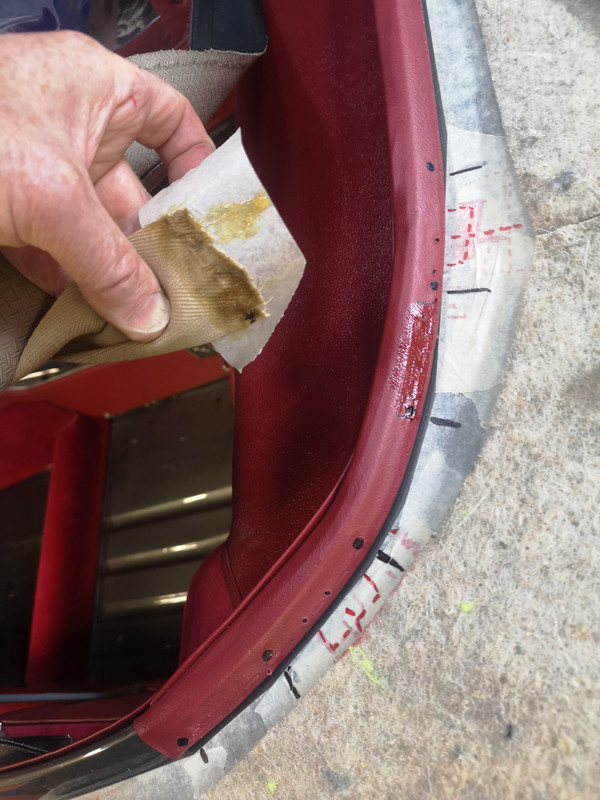
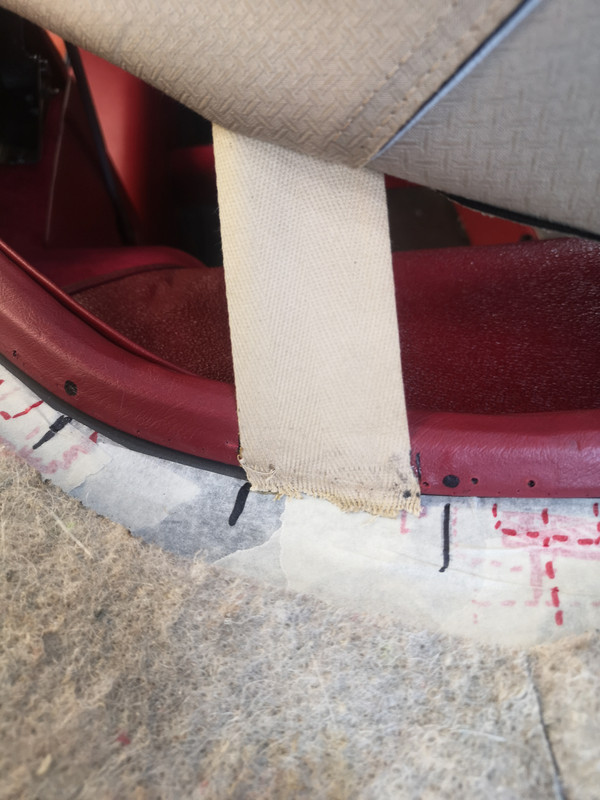
With no excess materiel to grasp either in the webbing or the hood fabric, I decided to use contact adhesive between both of them and the tack-strip, which BAS don't do (or need to) but which appeared to have the great advantage of NOT having to pull on not-very-much AND operate the stapler at the same time.
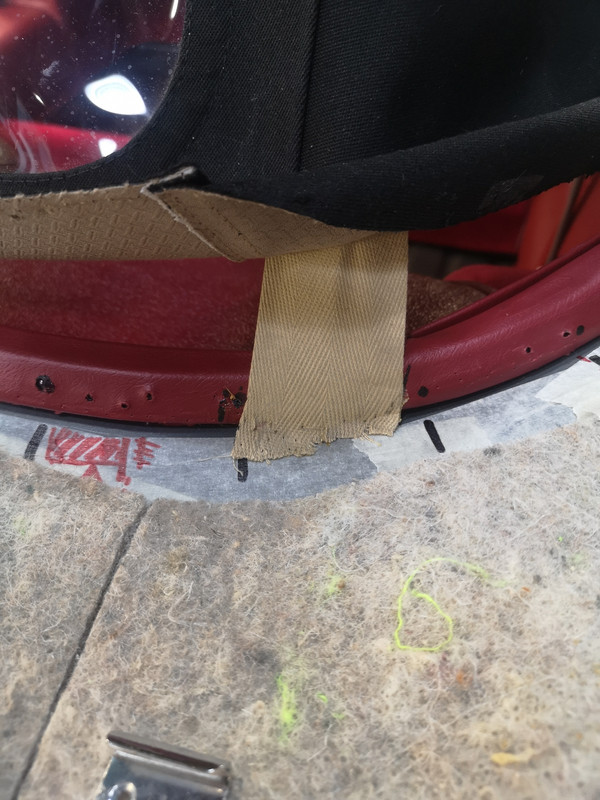
I began with the webbing, and appeared to have gained about 10mm on Jack's initial position, and once this was anchored with the staples, on top of the glue, I was able to shut the front hooks and establish that so far all felt fine.
This, I think, is a reasonable prediction of what follows, and it's still easy to correct at this point.
The next bit was so stressful that I forgot to take any pictures
Then, still with the same gap at the front of the hood-to-screen, I pulled whatever tension I could get in the hood fabric and - starting in the middle - progressively extracted the protective plastic-bag strip whilst pressing the glued surfaces together, followed by the use of a mallet.
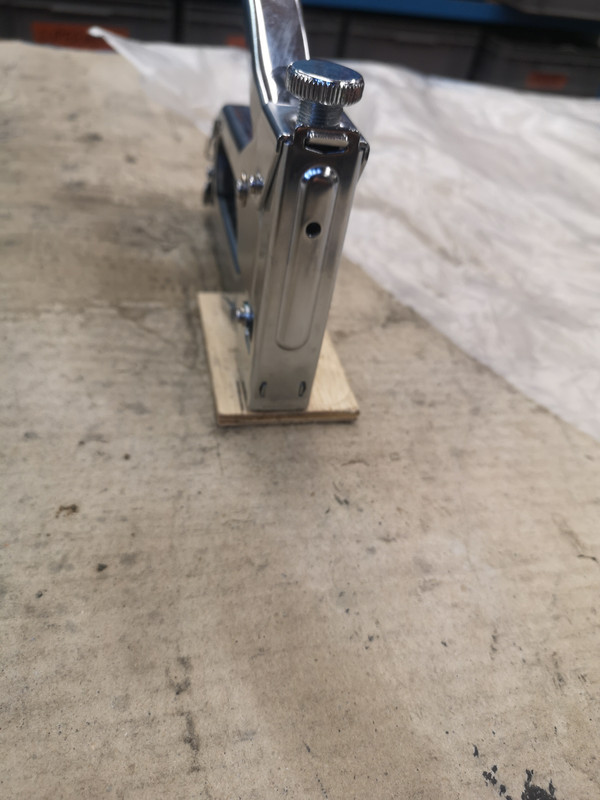
The result was a pretty regular 10mm of tension gained on the original staple marks, and with a wooden stop fastened to the end of the stapler, to give a regular line in relation to the bodywork curves, and a regular lateral spacing of the staples, I then threw all caution to the winds and cast it all in stone by stapling over the top of the glued position from one end to the other.
Given the shear-strength of contact-adhesive you could probably test your work at this point, before stapling, but the gung-ho in me got the better.
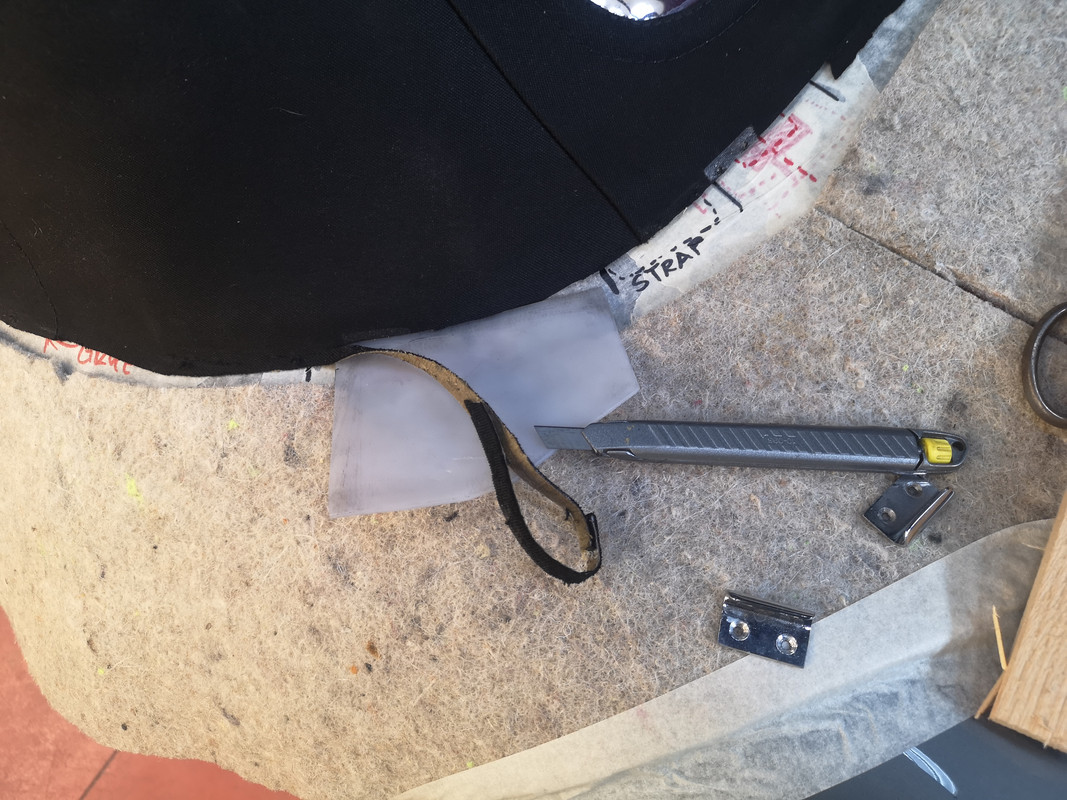
Cutting off the excess required a very sharp knife and a bit of stiff polythene (cut from a 20L can) which acts as a suitable sliding martyr, using the lower edge of the tack-strip as a guide.
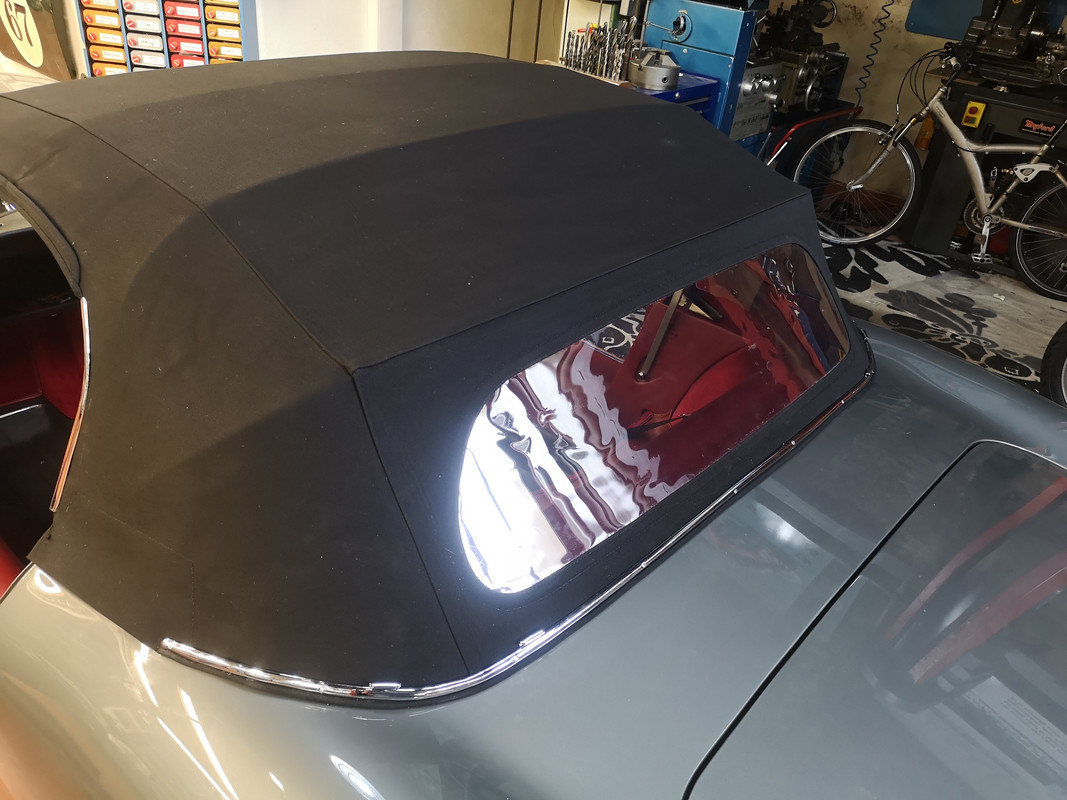
Fortunately the result, once tensioned with the hood-hooks, which were a bit of a fight tho' I've had worse, is pretty damn perfect - it's tight as a drum, and looks a million dollars.
Will it survive use, or will I end up with a big black flag flapping in my draft and a hundred staples rattling in the breeze ?
I promise to be honest about it ............
My other tips (or what I learned) would be :
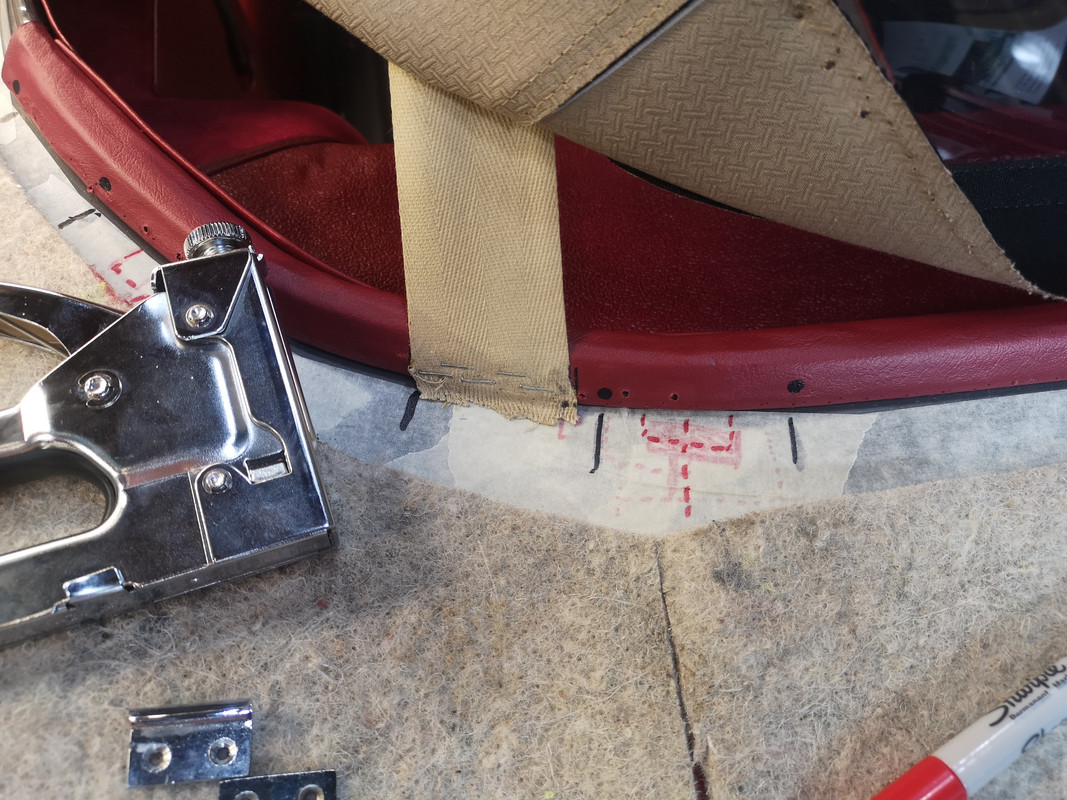
take some time to mark out on a strip of 50mm masking tape stuck to the rear scuttle where all the screws lie ;
use the inside-light as a reference and establish a centre-line on your tape ;
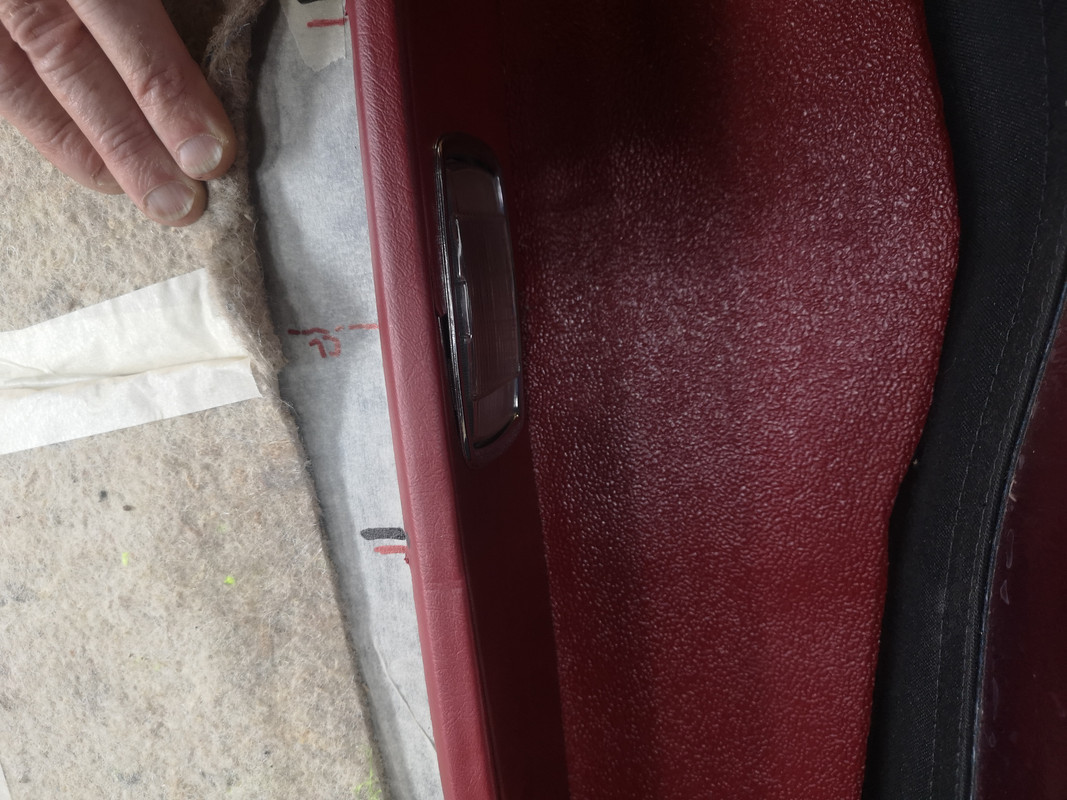
already, it's a good idea to mark the outside of the tack-strip where all its securing screws are as you glue the wrapped vinyl into place ;
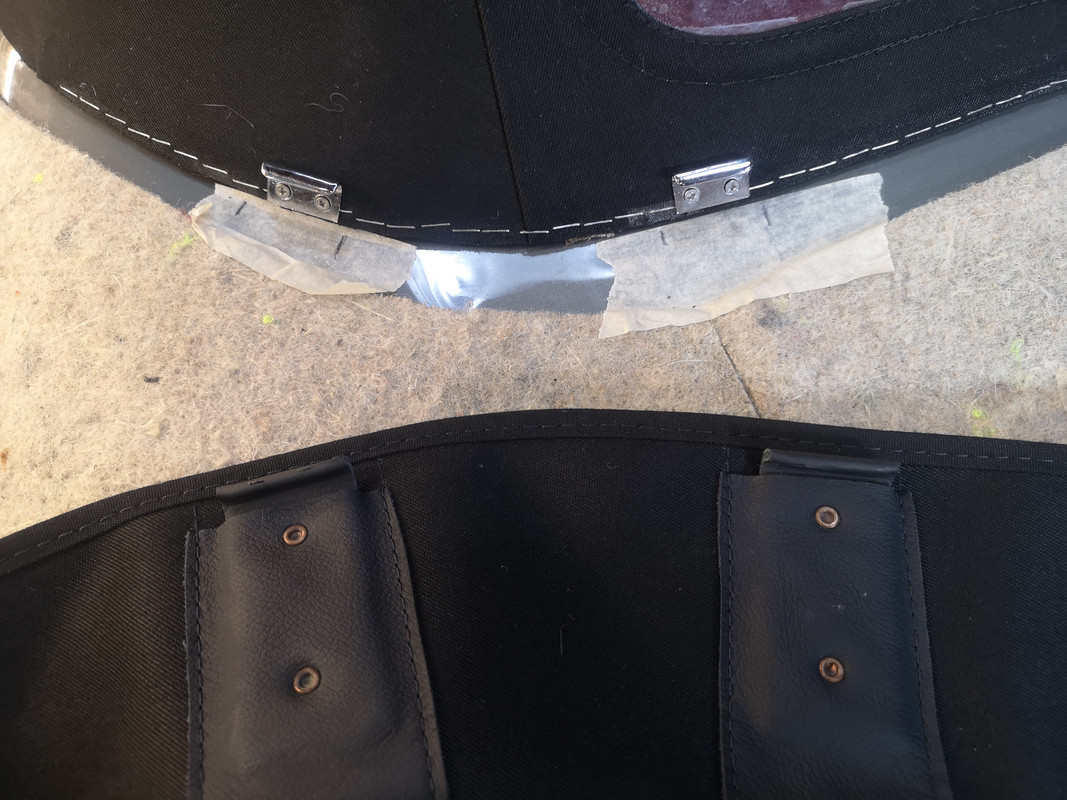
use the hood-bag to calculate where the retention hook-plates need to sit ;
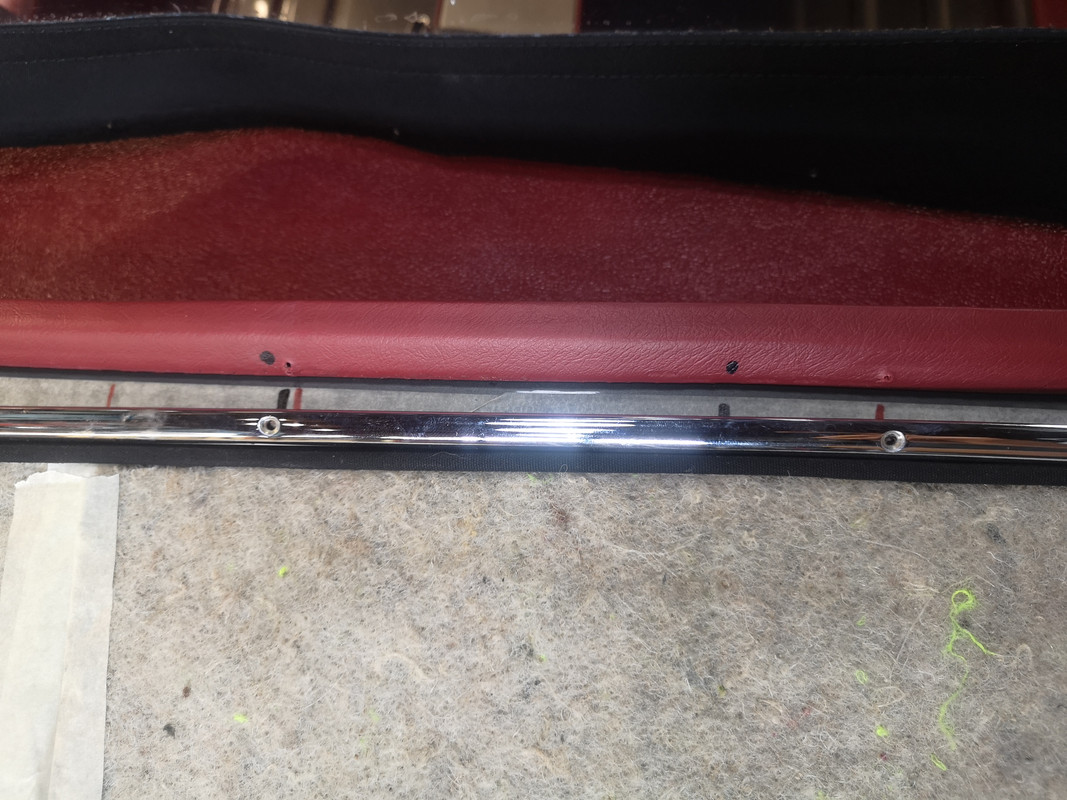
overlay the chrome finisher to see where its fixing screws fall ;
all this with the objective of not drilling into stuff that's hidden, when a little movement of one thing or another makes this not a fatality ;
by putting the staples in at the lower edge of the tack-strip, you can basically avoid any interference with the rest of the screws as they lie closer to the centre ;
I used a manual stapler using 8mm (depth) staples - Jack says you can use 10mm, which is obviously better ;
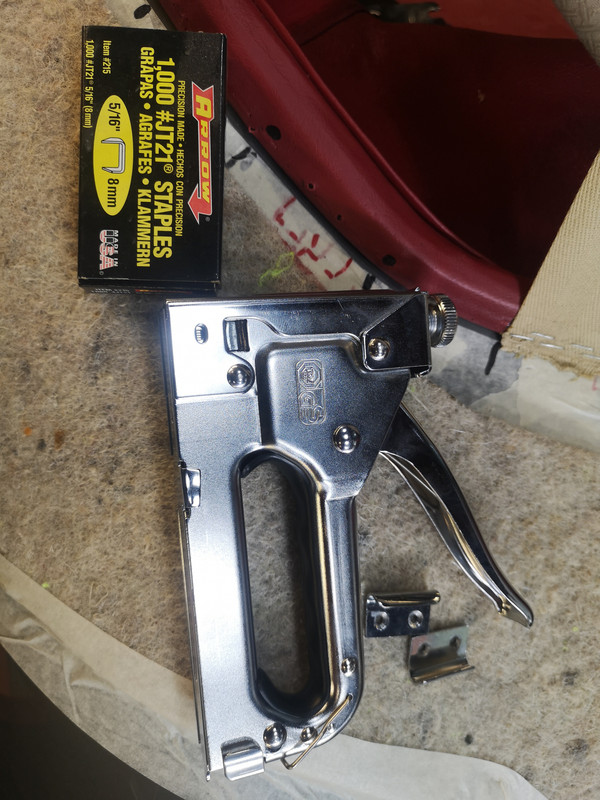
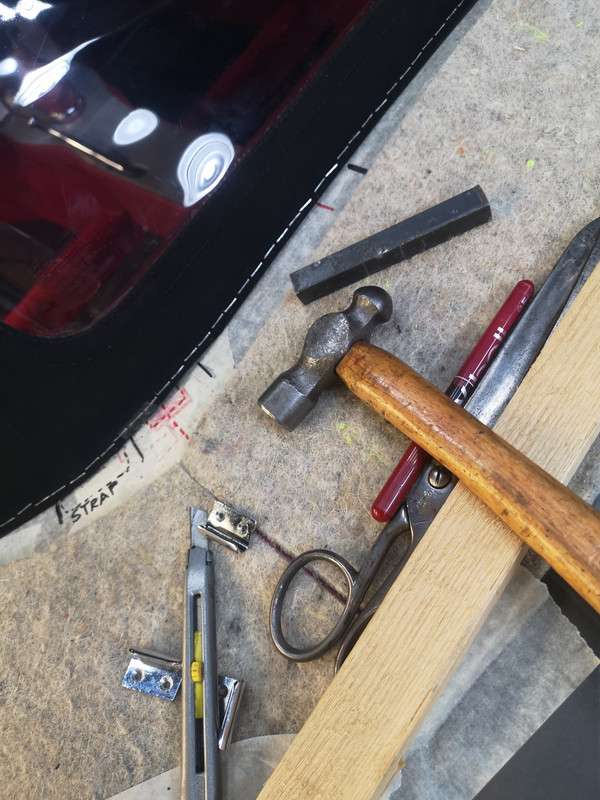
I, ahem, "confirmed" their insertion with a hammer and a flat steel drift ;
don't cut the excess fabric off too close to the lower edge of the tack-strip like I did, it's better to leave more meat and let it touch the bodywork, as this interface is anyway covered by the fabric bead that's glued to the chrome finisher ;
however you do it, you'll end up adding another set of gruyere holes in the shell - I would hasard that it's impossible and probably not even desirable to try and re-use the previous holes that served this purpose ;
as I drilled I squirted CF50 anti-corrosion into every hole, the other advantage of this is that it greases the self-tapping threads and you can get away with a smaller drill without the self-tappers refusing to advance, or snap even, if you advance/exit in steps like you would with a tap ;
by using #6 x 19mm CSK screws you can essentially get all eighteen of them (10 for the chrome strip, 8 for the hood-bag hooks) through the tack-strip and into the metal bodywork ;
once it was all in place I then removed all these, and blew out/off all the swarf ;

