Al Wrote:
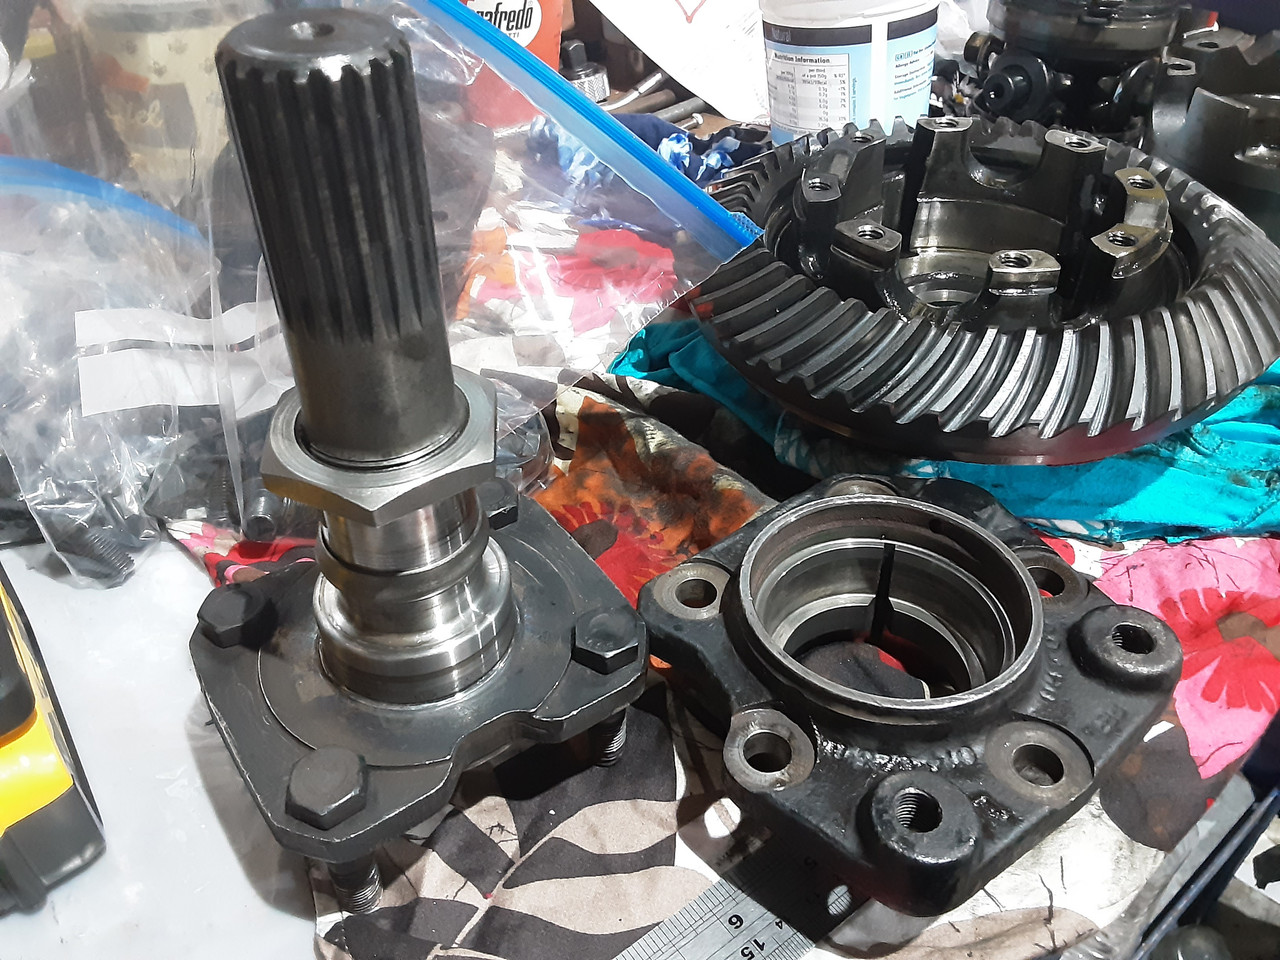
it looks as though I have a type 2 diff or could it be type 3!
It's a Type 2, definitely not a Type 3
Al Wrote:
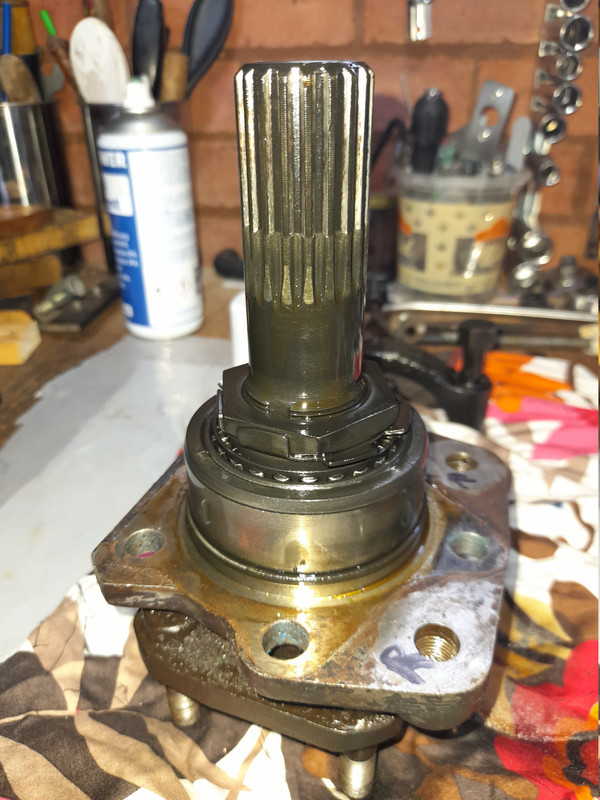
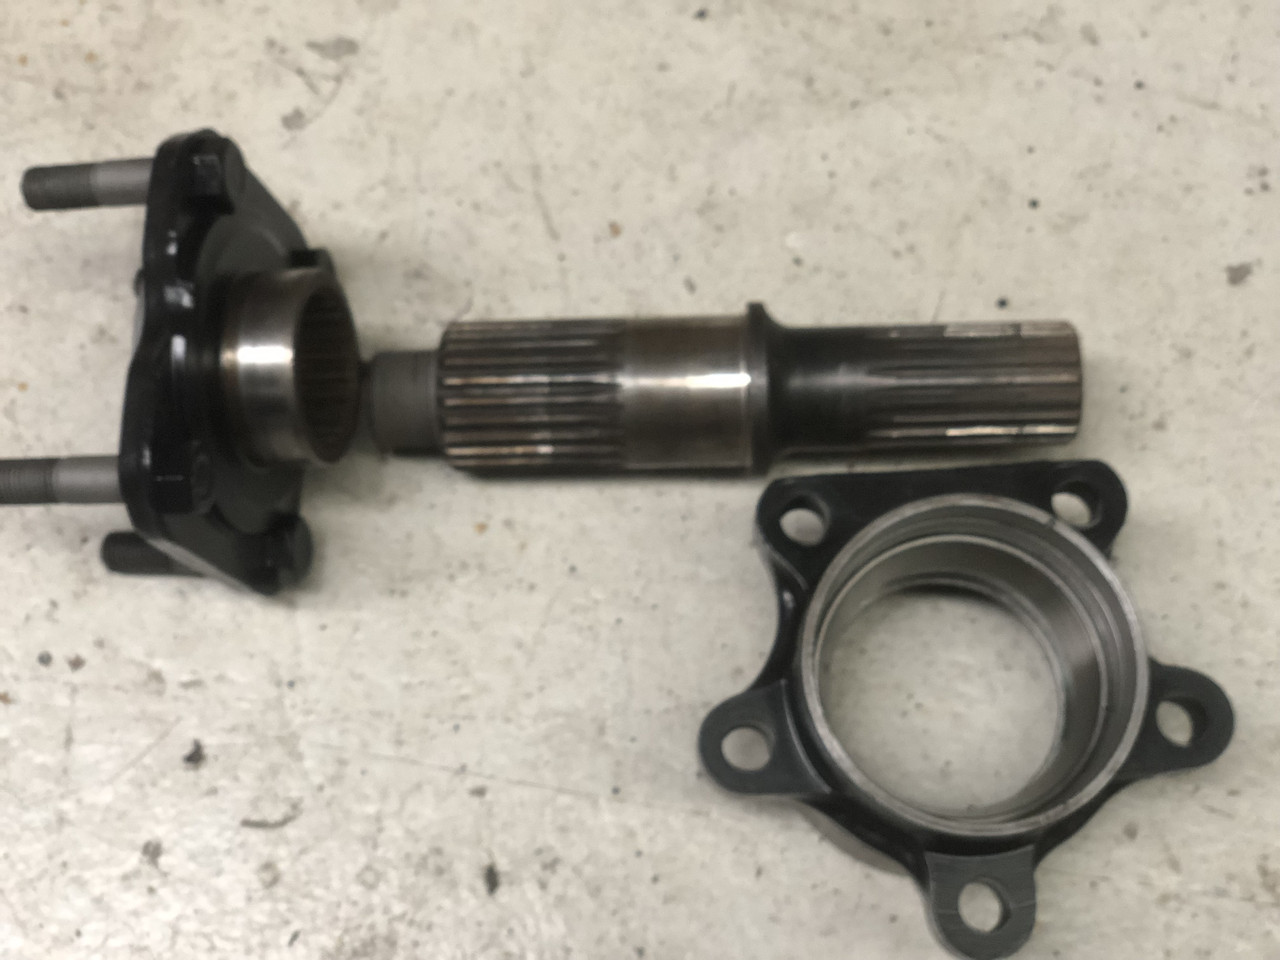
Having split the output coupling today it's a single unit. Interesting thing is it also uses a collapsible spacer to get it's preload on the taper bearings for the output shaft. I thought they used a sleeve and shims.
After the Hoffman Bearing for the Type 3 diff was no longer available, diffs for later cars, from circa XJ6 Series 3 on, the bearing system went to opposing, taper roller bearings, and used a collapsible spacer to set the pre-load. At the time of the S1 cars with Type 1 differentials, the call out was for circa 0.002" End Float for the output shaft bearings. By the time of XJ6 Series 3, XJS, and other models, the call out was for pre-load. It's called evolution. I suspect that your diff has had new output shaft bearing fitted in the past, and the repairer has gone with the collapsible spacer. They are more convenient to use, for it's a one time assembly to achieve the correct setting, whereas, you will have at least 2 (at best) assemblies to achieve the correct pre-load when using a spacer and shims. The collapsible spacers are known to change over time from spirited driving. I still prefer to use the spacer + shim concept, except, I only use a solid spacer and no shims, where I have them to hand in 0.025mm thickness increments, or I can make the required size "Just In Time", if I don't have the correct size on the shelf.
Al Wrote:
One other point is that my diff preload looks as though it's done by shims between diff case and the inside face of the diff bearing. Totally different to the workshop manual I have. Is this right for a type 2 or is it a type 3!
I stated that shims were used in that manner in my previous Post. Your diff is definitely not a Type 3, and if the output shaft is one piece, it is definitely a Type 2. The pre-load for the diff centre bearings is set in exactly the same manner for Type 1 and 2 differentials. The shims for Backlash and Pre-load are calculated virtually simultaneously, with the Backlash being set correctly first, then shims strategically removed to get the correct pre-load, and maintain the correct Backlash.
Al Wrote:
The Internal diff components look good. Not sure what's acceptable wear on clutch friction plates but the coating, if there was one has gone. Wear is about 4 to 10 thou.
I would be replacing the plates, for you have done the hard work by having the IRS out and the diff stripped to its component parts. 0.010" wear is definitely on the heavy side.
Al Wrote:
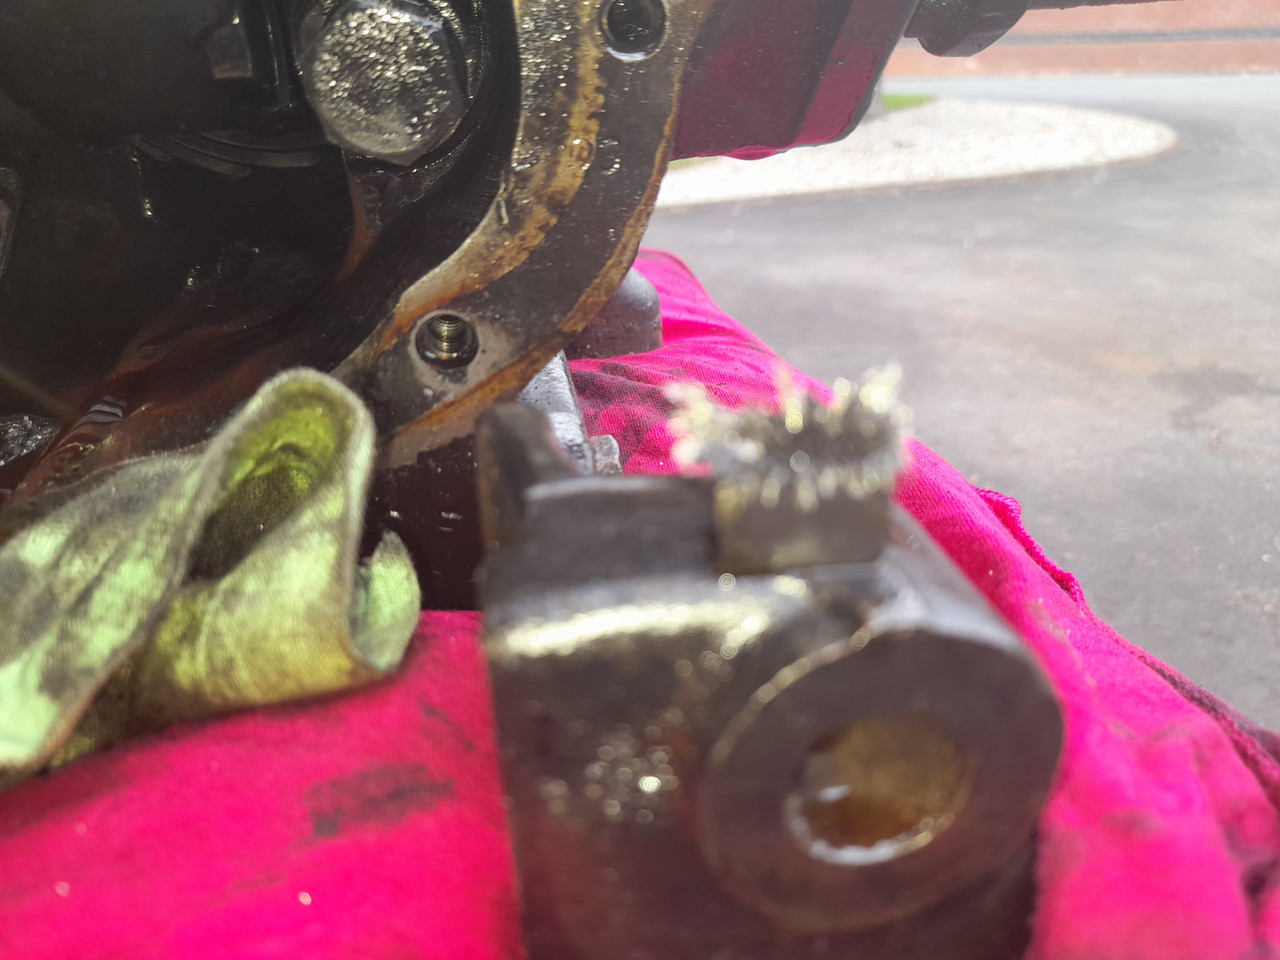
Apart from the clutch plates, the only thing I've found is that one of the retaining springs on one of the output taper bearings was missing. Could this be the source. Has the spring gone through the mincer.
What springs are you referring to? With a Taper Roller Bearing, there should be an inner race, the bore of which should be an interference fit on the shaft, rollers, and a cage to retain the rollers. Can you post a picture of the spring?
Regards,
Bill